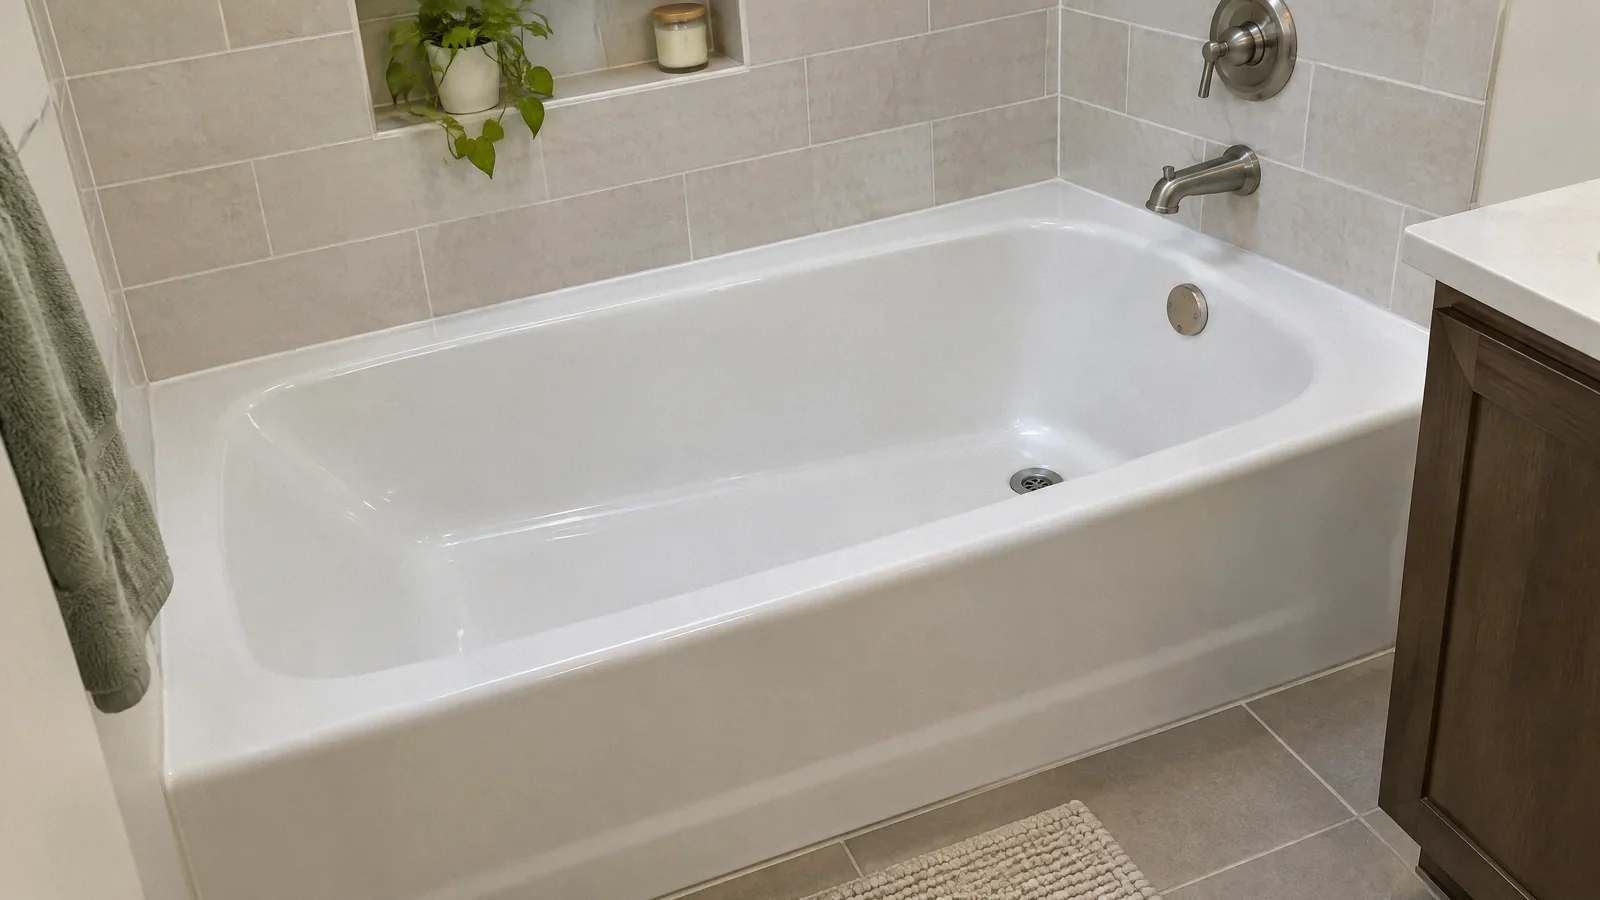
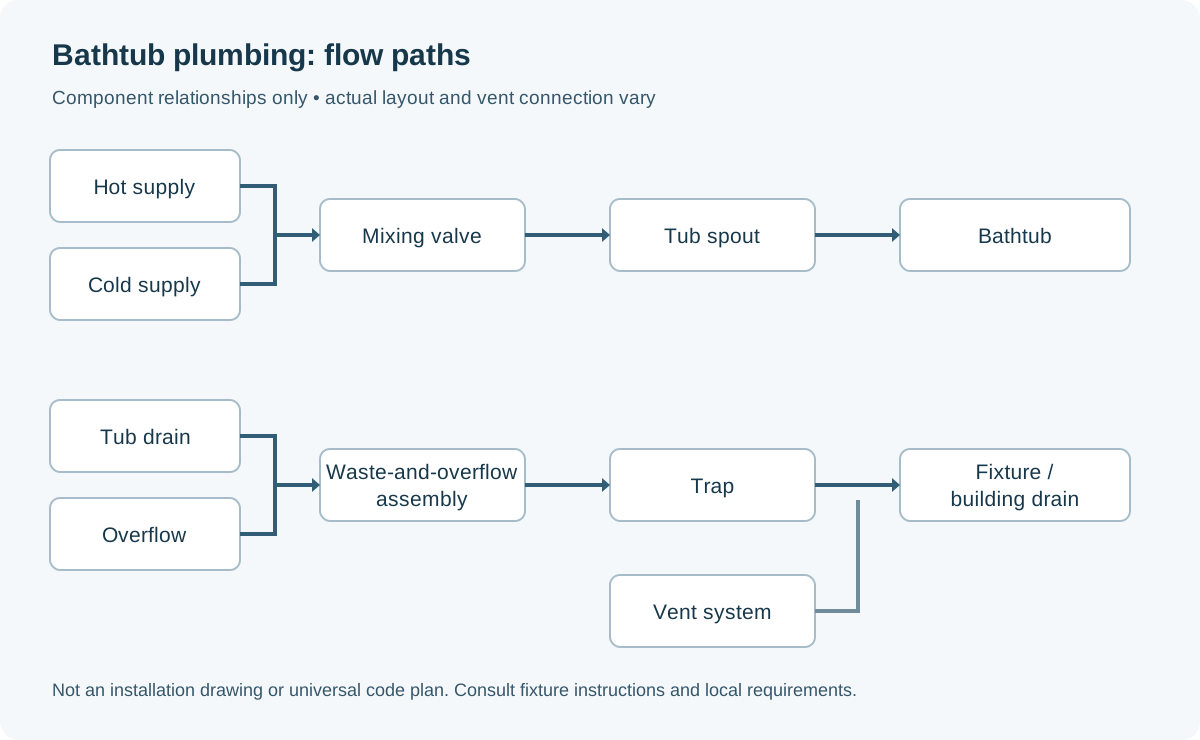
A bathtub has hot and cold supply connections to a mixing valve and spout, plus a drain and usually an overflow connected to a waste assembly. Wastewater passes through a trap into the building drain, with venting arranged according to the applicable code. The exact layout depends on the tub, building and local rules.
A simple plumbing diagram
Supply path: hot and cold water → shutoffs where provided → mixing valve → tub spout or shower outlet. Drain path: tub drain and overflow → waste-and-overflow assembly → trap → fixture drain → building drainage system. A vent connection protects the trap seal as required by the applicable plumbing code. This diagram is not a scaled installation drawing.
The precise position of the trap, vent, fittings and access depends on the fixture, framing and jurisdiction. A freestanding tub, alcove tub and tub-shower combination may use different parts and clearances. Follow the fixture manufacturer’s installation instructions and the locally adopted plumbing code; do not assume a diagram from a different model is an approved plan for your home.
Supply lines, valve and spout
Hot and cold supply pipes deliver pressurized water to the mixing valve. The valve controls the flow and temperature sent to the spout and, in a combination fixture, the shower. Some installations have accessible shutoffs near the fixture; others rely on another shutoff location. A dripping spout and a leak behind the valve are different problems, even though both involve the supply side.
Before installation, verify the valve and trim are compatible, the spout is positioned for the tub, and the manufacturer’s required clearances and backflow protections are met. The applicable code and manufacturer govern temperature-control and installation requirements. A qualified plumber can inspect existing supply piping and determine whether it is suitable for the new fixture.
Drain, stopper and overflow
The drain opening at the bottom of the tub carries water out. A stopper closes the opening to retain bath water; its mechanism may be operated at the drain or by a control associated with the overflow, depending on the model. The overflow opening near the upper end of many tubs provides a second path into the waste assembly when water reaches that level.
The overflow is not a guarantee against flooding. It can be overwhelmed, blocked, disconnected, or leak at a gasket. The drain and overflow typically join in a waste-and-overflow assembly beneath or behind the tub before reaching the trap. Connections and gaskets need to match the fixture and be installed as the manufacturer specifies.
Trap and vent
A trap retains water in a bend to form a seal between the fixture and the drainage system. Proper venting protects that seal from pressure changes and allows the system to function as designed. The vent is part of the building drainage system; it is not simply an open pipe left inside a wall. The arrangement, pipe sizes, distances and permitted fittings depend on the adopted code.
The International Code Council’s discussion of trap requirements illustrates why traps and their seals need protection, but the International Plumbing Code is not automatically the governing code everywhere. California and individual jurisdictions can adopt different codes and amendments. Ask the local building department and plumber which rules apply to the specific project.
Planning an installation
Start with the tub’s specification sheet and installation instructions. Confirm its dimensions, drain location, support requirements, compatible waste-and-overflow kit, finished floor elevation and access needed for connections. Check the existing trap and drain location before the tub is set; a new tub may not align with the old rough-in.
Coordinate any framing, floor support, waterproofing, valve placement and finish work. Ask the local authority whether a permit and inspection are required. Work involving changes to concealed supply, drainage or vent piping should be planned and performed by a qualified plumber under the applicable requirements. Avoid cutting structural members or concealed utilities to make a fitting work.
Testing and access before closing the work
A manufacturer’s installation guide calls for watertight drain connections. The installer should follow the fixture instructions and local inspection requirements for testing the supply, drain and overflow connections. Test procedures vary by fixture and installation; do not treat a single visible drop test as proof that concealed joints are sound.
Plan access where required or useful for service without compromising waterproofing or fire-rated construction. Record the fixture model, valve and drain components, permit and inspection information. If water appears below an existing tub, stop using the fixture and investigate the source instead of assuming the overflow or caulk is responsible.
How this differs from finding a leak
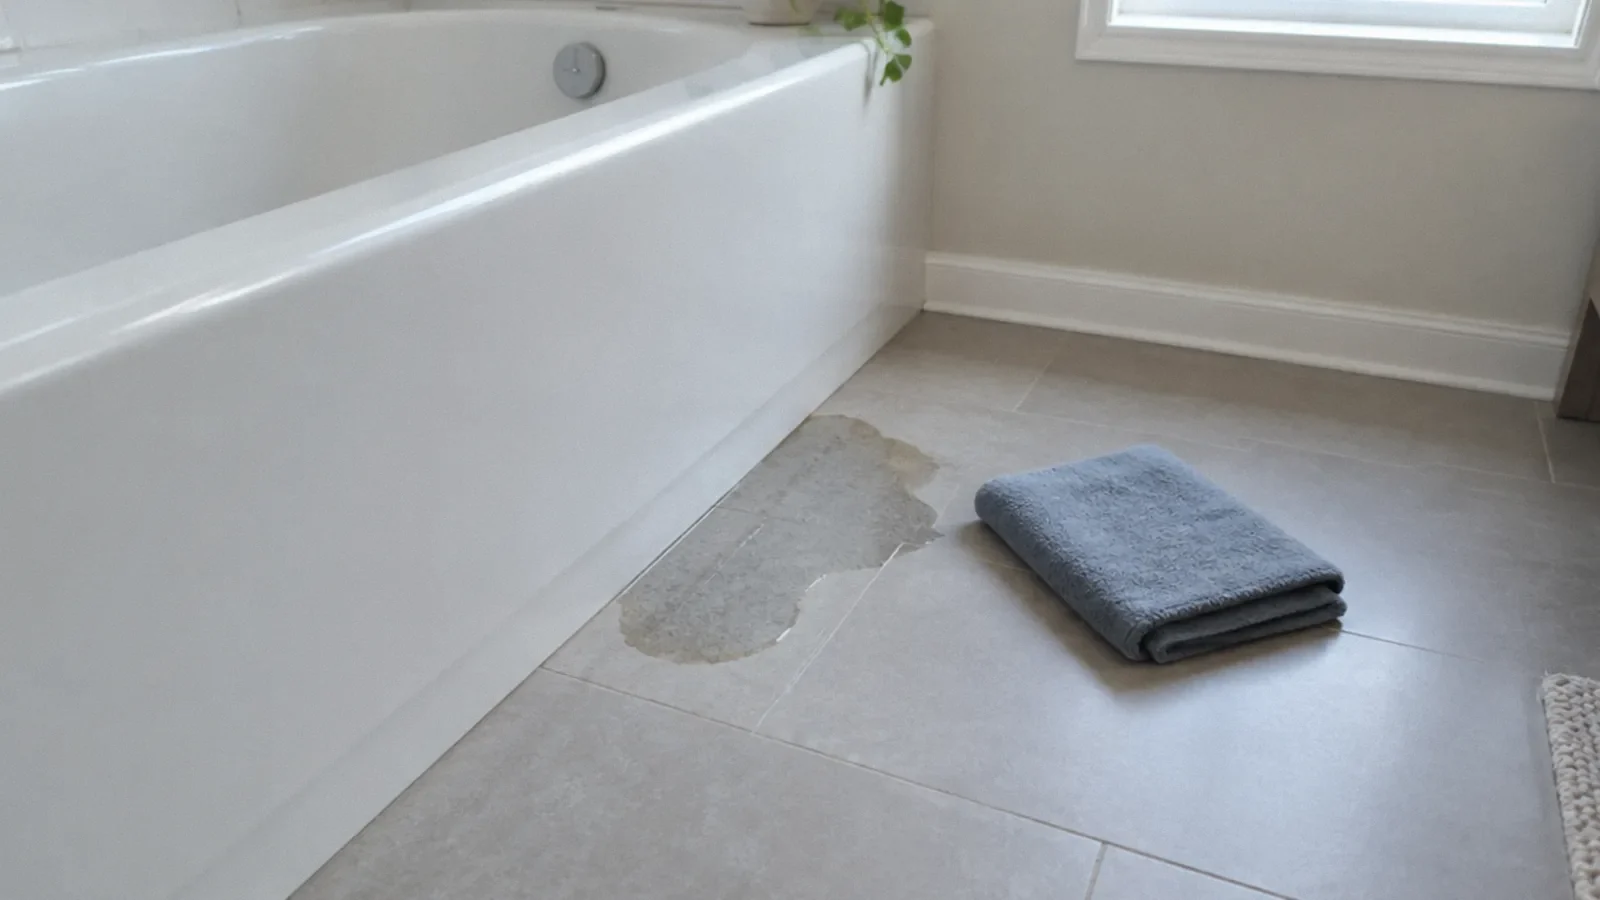
Understanding the plumbing layout helps communicate with an installer, but it does not identify a leak in an existing bathroom. Water can escape at a supply fitting, valve, drain, overflow gasket, tub edge or shower enclosure and travel before becoming visible. A stain on a ceiling may indicate the exit point rather than the failed connection.
Document when the water appears and contact a qualified plumber for targeted diagnosis. If water is near electrical equipment or a ceiling is bulging, stay clear and arrange appropriate help. Do not repeatedly fill the tub to reproduce a leak when doing so could worsen the damage.
Your next-step checklist
- Obtain the exact tub and drain installation instructions.
- Confirm supply, drain, trap and vent layout with a qualified plumber.
- Check permits, access and local code requirements.
- Coordinate support and waterproofing before finishes are installed.
- Document the required inspections and leak checks.
Related questions
Does the overflow replace a drain trap?
No. The overflow joins the waste path; the trap holds a water seal in the drainage system.
Is the same plumbing diagram correct for every bathtub?
No. Tub designs, existing piping and locally adopted requirements differ. Use the manufacturer’s instructions and a project-specific plan.
Does an overflow prevent all bathtub flooding?
No. It has limited capacity and can be blocked, disconnected or leaking.
Sources & context
Public guidance supports the principles in this article. The practical questions and examples are editorial interpretation, not a site assessment or a coverage decision. State-specific rules apply only where identified.
- Freestanding Bath Installation Instructionsmanufacturer
- Overview of Plumbing Trap Requirementsstandards