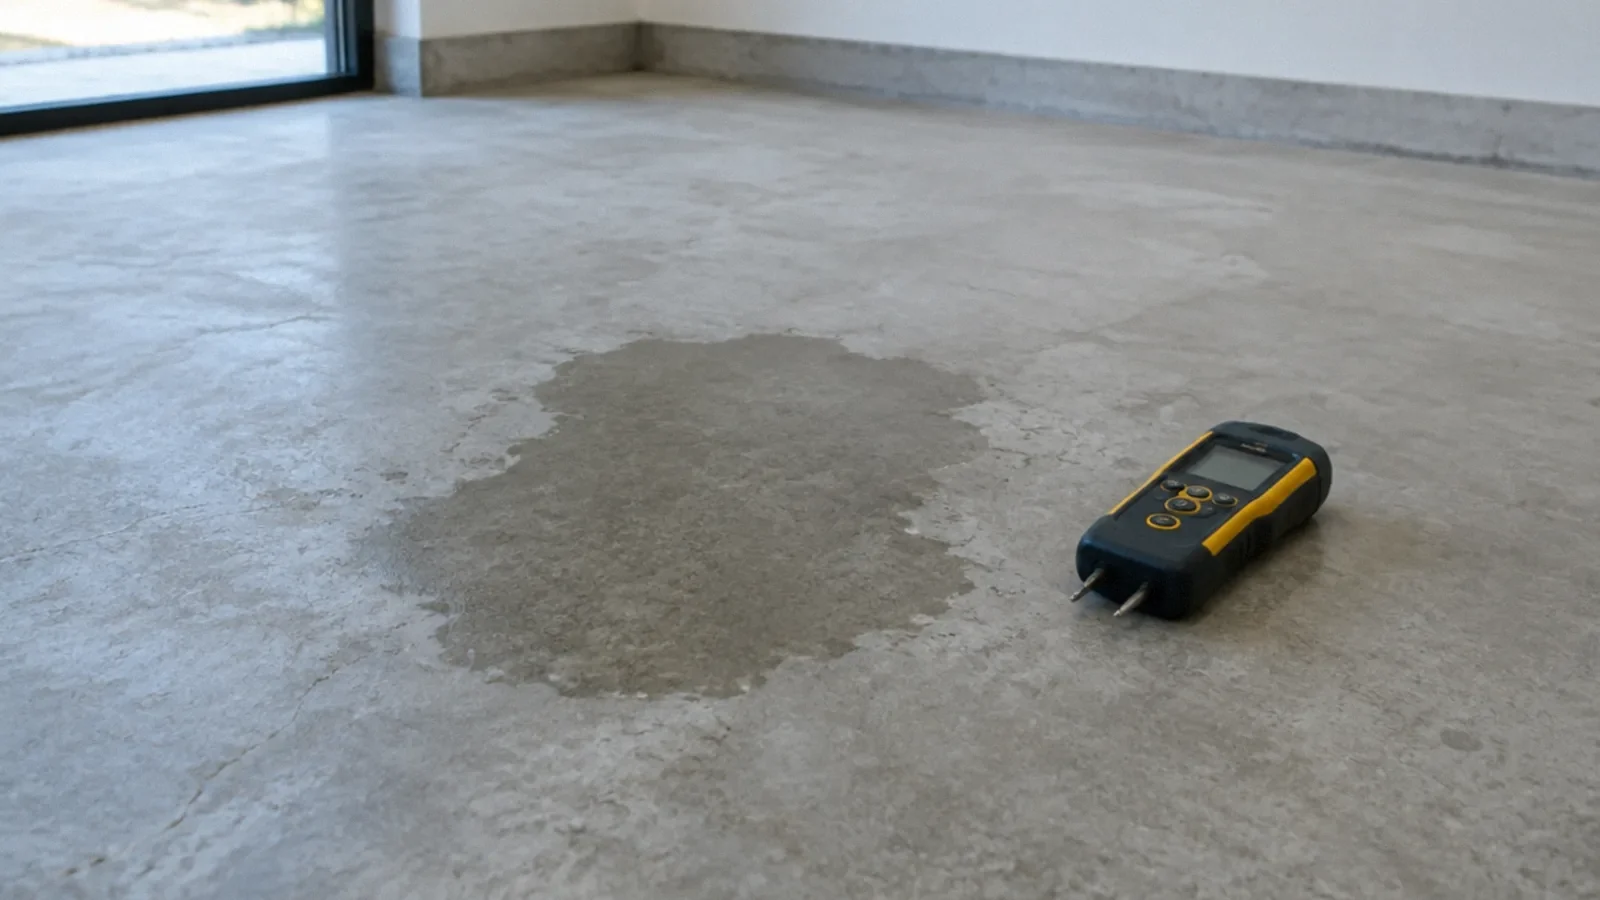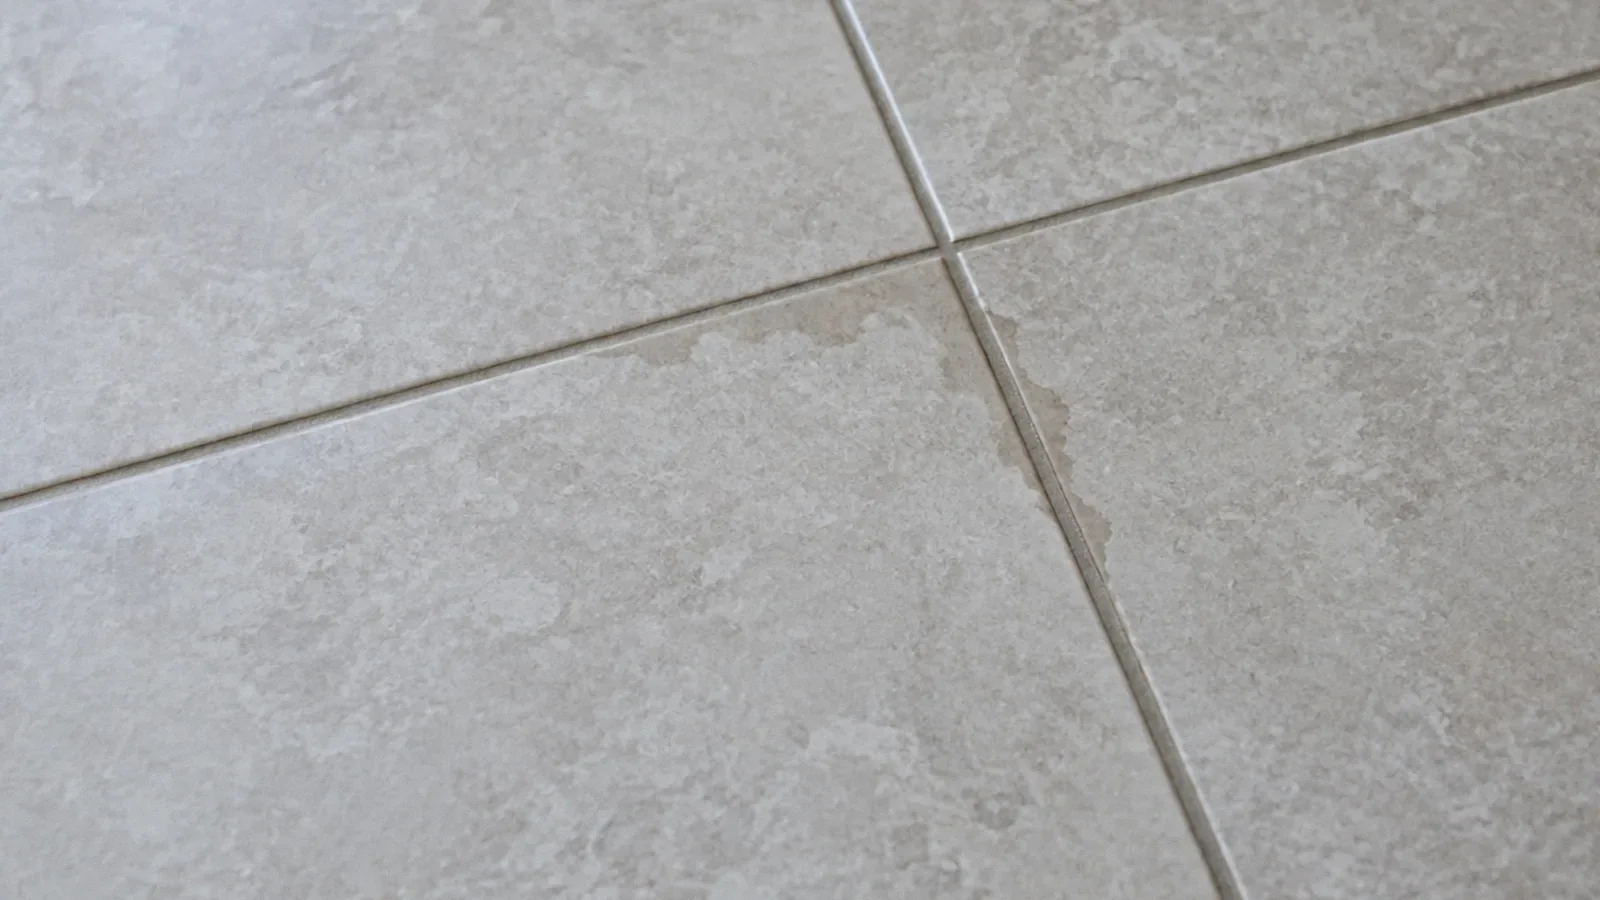
Tile and grout can look intact while water affects layers behind or below them. Determine whether moisture is within the intended wet-area system or beyond its waterproofing. Surface appearance, a meter scan, or a thermal image alone cannot settle that distinction.
The tile face is only one component
A tiled assembly can include grout, setting material, waterproofing, backer, framing or concrete, and penetrations. Those components have different functions. Replacing grout is not automatically a repair to a failed waterproofing system, and water observed near tile may originate from plumbing rather than the tile installation.
Start with where moisture appears and when it occurs. Shower use, rainfall, or a supply leak can suggest different investigation paths. Do not deliberately flood the assembly to reproduce a problem without a professionally planned test.
Distinguish expected wetting from leakage beyond the system
Some moisture near the finish does not by itself prove that framing behind the waterproofing is damaged. The crucial question is whether water is escaping the intended water-control layer or remaining in a location where the assembly cannot manage it.
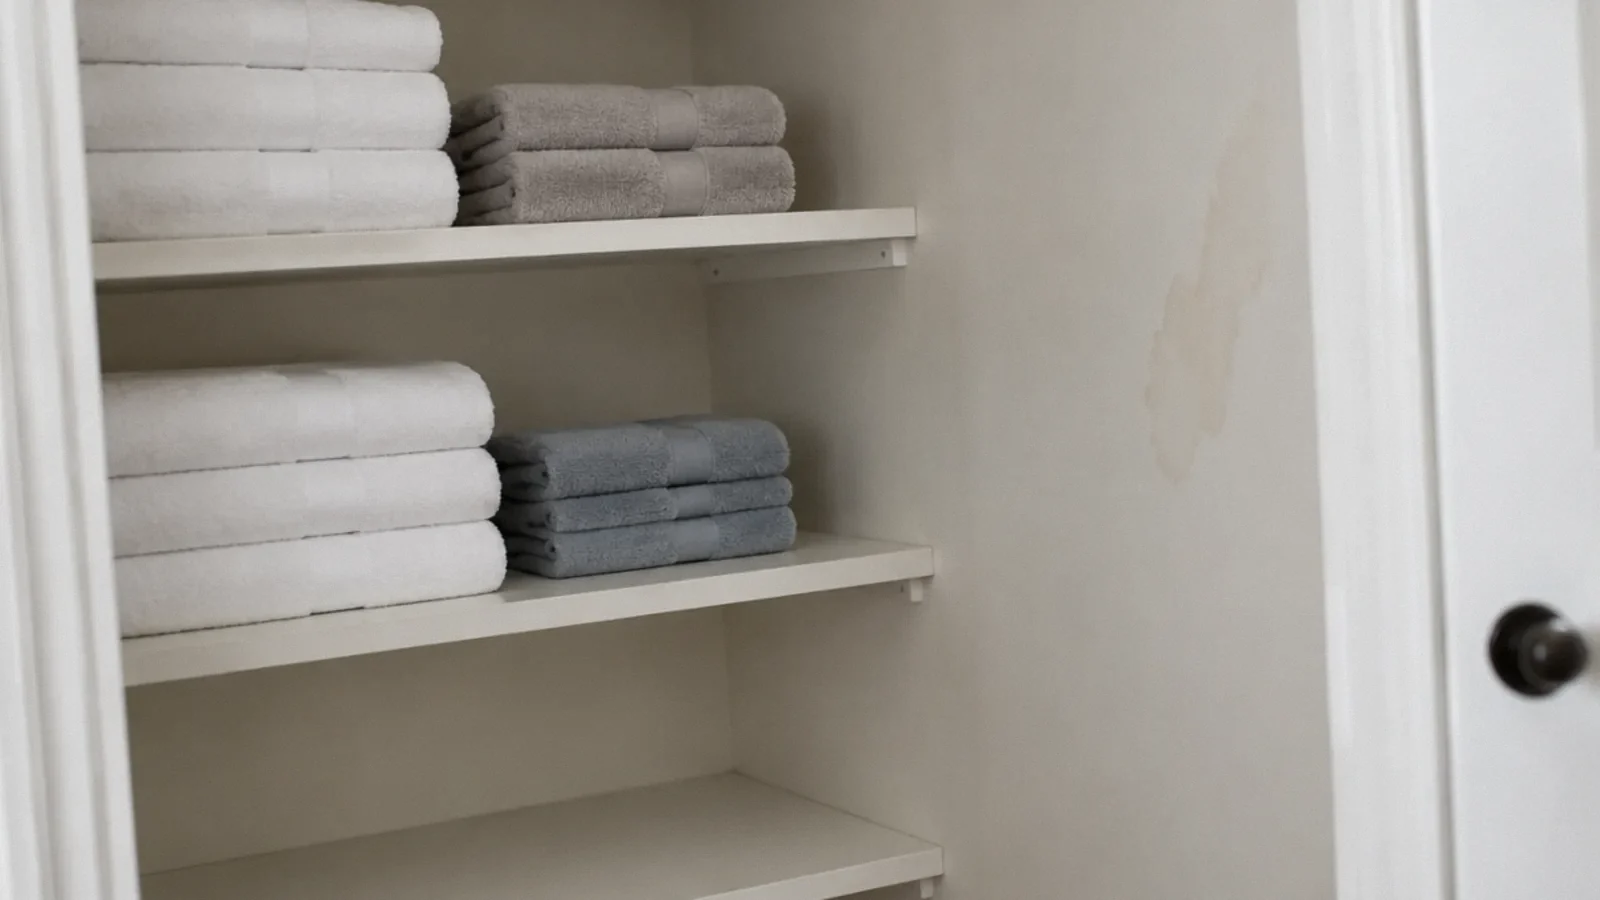
Inspect adjacent rooms, accessible backs, ceilings below, and perimeter details through safe means. A stain outside the tiled area may be especially useful evidence. Record construction and test limitations when the opposite side is inaccessible or another shower shares the wall.
Tools provide clues with important limits
Pinless moisture readings through tile may respond to the layered assembly and construction elements. Thermal imaging shows surface temperatures, which can reflect recent hot water or other heat patterns. Neither tool literally sees water through every layer.
Use screening to choose targeted confirmation. EPA’s moisture-control guidance supports interpreting instruments in relation to materials, while its clean-water flooring table explicitly calls for checking underflooring. Ask what layer the measurement represents and what further access would resolve uncertainty.
Removal should follow an investigation plan
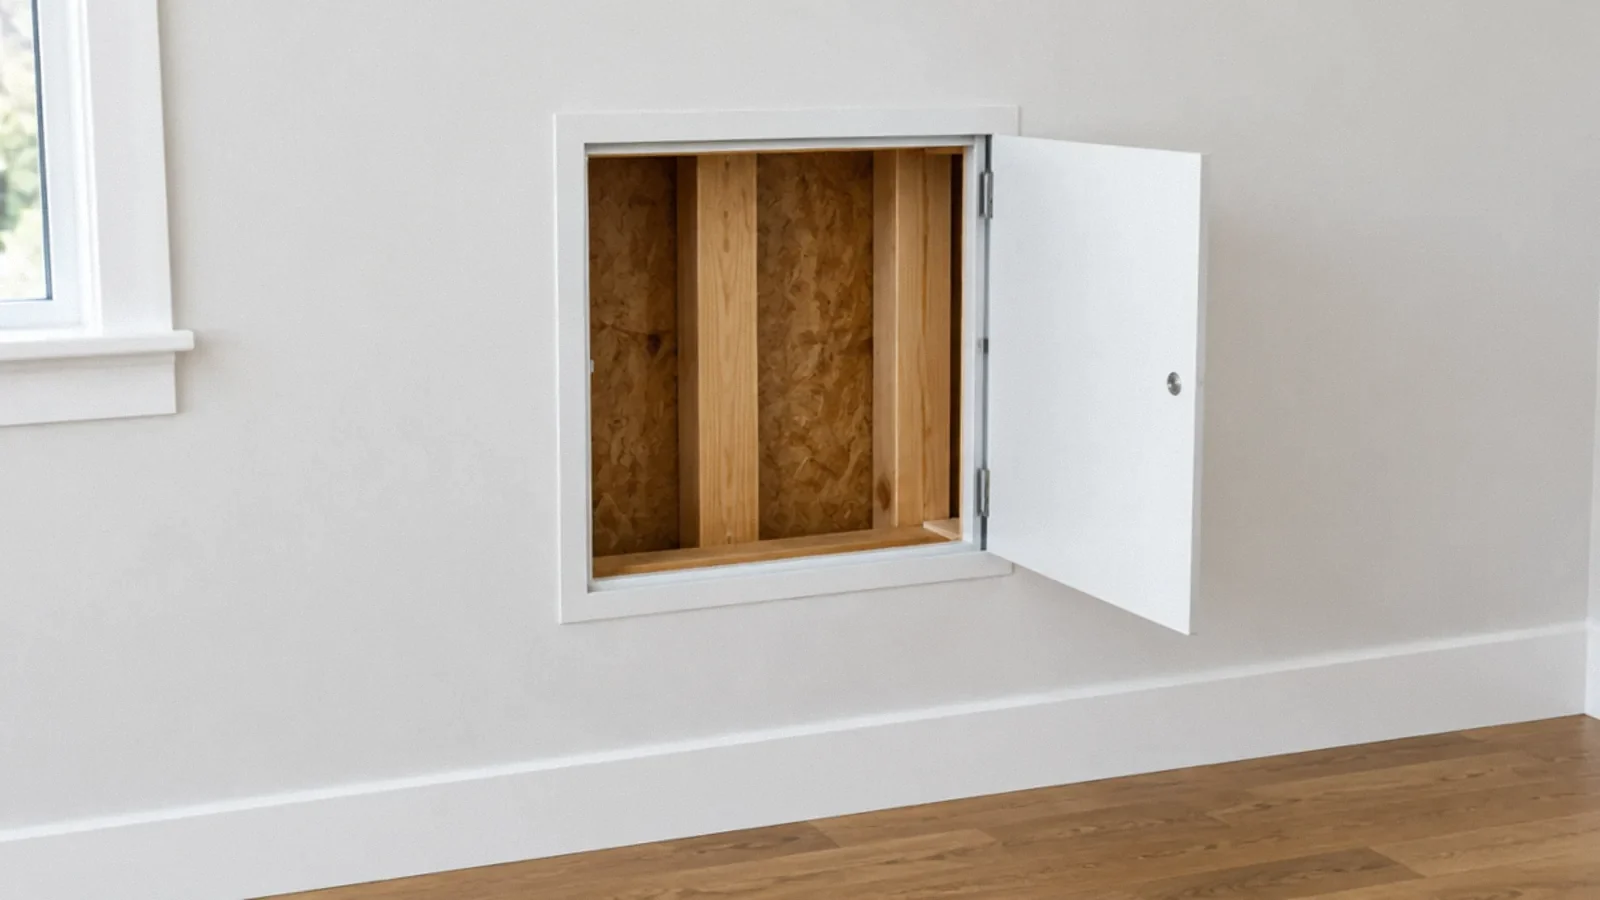
Opening the dry side, a local finish area, or a lower access point may provide useful information depending on the construction. The method should account for utilities, hazardous materials, and preserving the waterproofing system where possible. A random hole can create another defect without answering the original question.
If removal exposes wet backer or framing, document extent and condition before proceeding. The repair should restore continuity of the relevant waterproofing details, not merely replace the visible tile. Product compatibility and installation instructions belong in the reconstruction plan.
A shower wall with conflicting tool results
Imagine a tiled wall with an elevated scan response but no visible stain outside the shower. A recent hot shower also produces a thermal pattern. Neither observation establishes whether moisture is confined to the intended wet-area layers or has reached framing behind them. The investigator should identify the construction and seek evidence relevant to that boundary.
Accessible adjacent drywall, the ceiling below, or a safely planned inspection point may provide more useful information than repeatedly scanning the tile face. If the back of the wall belongs to another shower, note that access constraint explicitly. It may change the investigation method but does not justify declaring the concealed framing dry without evidence.
Now consider staining on the ceiling below that appears after shower use. That pattern increases the reason for a targeted plumbing and enclosure investigation, but it still does not identify the exact failure. A drain connection, supply component, or waterproofing detail may require different tests and repairs.
Distinguish a finish repair from a water-control repair
Replacing cracked grout may improve the finish, but the proposal should explain how the diagnosed pathway is corrected. If waterproofing continuity is the issue, the repair needs to address that layer and its transitions. If plumbing is responsible, a tile repair alone may leave the source active.
Before closing, record the tested source repair and the condition of exposed backing and framing. A retained layer should meet the relevant moisture and serviceability requirements for the reconstruction. If it cannot be adequately inspected or treated through the current opening, reconsider access before the finish makes it harder.
An appropriate stop point is uncertainty about how the replacement waterproofing connects to the existing system. A patch that looks complete can still have an unverified transition. Ask the installer to identify the accepted repair detail for the actual materials. This does not require the homeowner to design the system; it requires the responsible trade to explain a coherent repair rather than relying on tile and grout appearance alone.
For floor tile outside a shower, the investigation may instead focus on wet underlayment or substrate from a separate leak. Keep the analysis tied to that event rather than assuming every tile-related moisture question is a shower failure.
Before the tile is closed again
Confirm source correction, appropriate cleaning, retained-material condition, and moisture suitability for the chosen repair system. A floor can be dry enough in one exposed area while moisture remains beneath neighboring tile or cabinetry. Clearly mark what was actually evaluated.
If a contractor proposes only regrouting, ask how that action addresses the diagnosed pathway. It may be a valid finish repair in a particular case, but it should not be presented as a universal cure for water found below tile.
Suspected mold behind wall or floor tile
A recurring musty odor, staining at an accessible edge, loose tile or damp material next to the assembly can justify a closer look. None identifies a mold species, and black discoloration alone does not establish its cause. Avoid scraping, drilling or removing suspected growth yourself to obtain a diagnosis. A specialist can evaluate the moisture history, extent, utilities and possible hazardous materials before choosing controlled access.
If findings indicate concealed moisture, an opening may be needed to inspect the backer and framing or the floor substrate. Ceramic tile can remain intact while a wood subfloor swells or cement-based substrate stays wet; a meter reading through a layered floor cannot independently establish the condition of every layer. The repair plan should specify which tile and backing can be retained, which contaminated or damaged porous material needs removal, how the exposed substrate will be dried, and how waterproofing transitions will be restored. EPA advises checking underflooring and drying it when needed after clean-water damage. Extensive growth, sewage, structural concerns or inaccessible cavities call for professional help.
Your next-step checklist
- Identify tile, setting material, waterproofing, backer, and substrate where possible.
- Record when and where moisture appears outside the intended wet area.
- Treat meter and thermal findings as evidence requiring interpretation.
- Choose targeted access that answers a specific question.
- Restore the complete water-control detail before replacing the finish.
Related questions
Does cracked grout prove a shower leak?
It warrants evaluation but does not alone identify the waterproofing condition or source. Plumbing and assembly details may also be involved.
Can tile be kept after a clean-water spill?
Possibly, but the layers beneath and around it still need assessment. EPA specifically notes the importance of checking underflooring.
Is a thermal camera the only way to investigate?
No. History, visible inspection, suitable moisture measurements, plumbing testing, and selective access can all contribute. The method should fit the actual assembly.
How can water under tile be dried?
First identify and stop the source, assess the substrate and determine whether safe access or removal is needed. Tile and grout appearance alone do not establish that the layers below are dry.
Sources & context
Public guidance supports the principles in this article. The practical questions and examples are editorial interpretation, not a site assessment or a coverage decision. State-specific rules apply only where identified.
- EPA: Table 1, Water Damage Cleanup and Mold Prevention (clean-water material guidance)official
- EPA: Moisture Control Guidance, Chapter 1 (moisture transport and whole-assembly control)official
- EPA: Cleanup of water-damaged flooringofficial guidance
- EPA: Mold cleanupofficial guidance
Community questions behind this topic
These discussions helped identify reader concerns. They are anecdotal, not technical or legal authority.