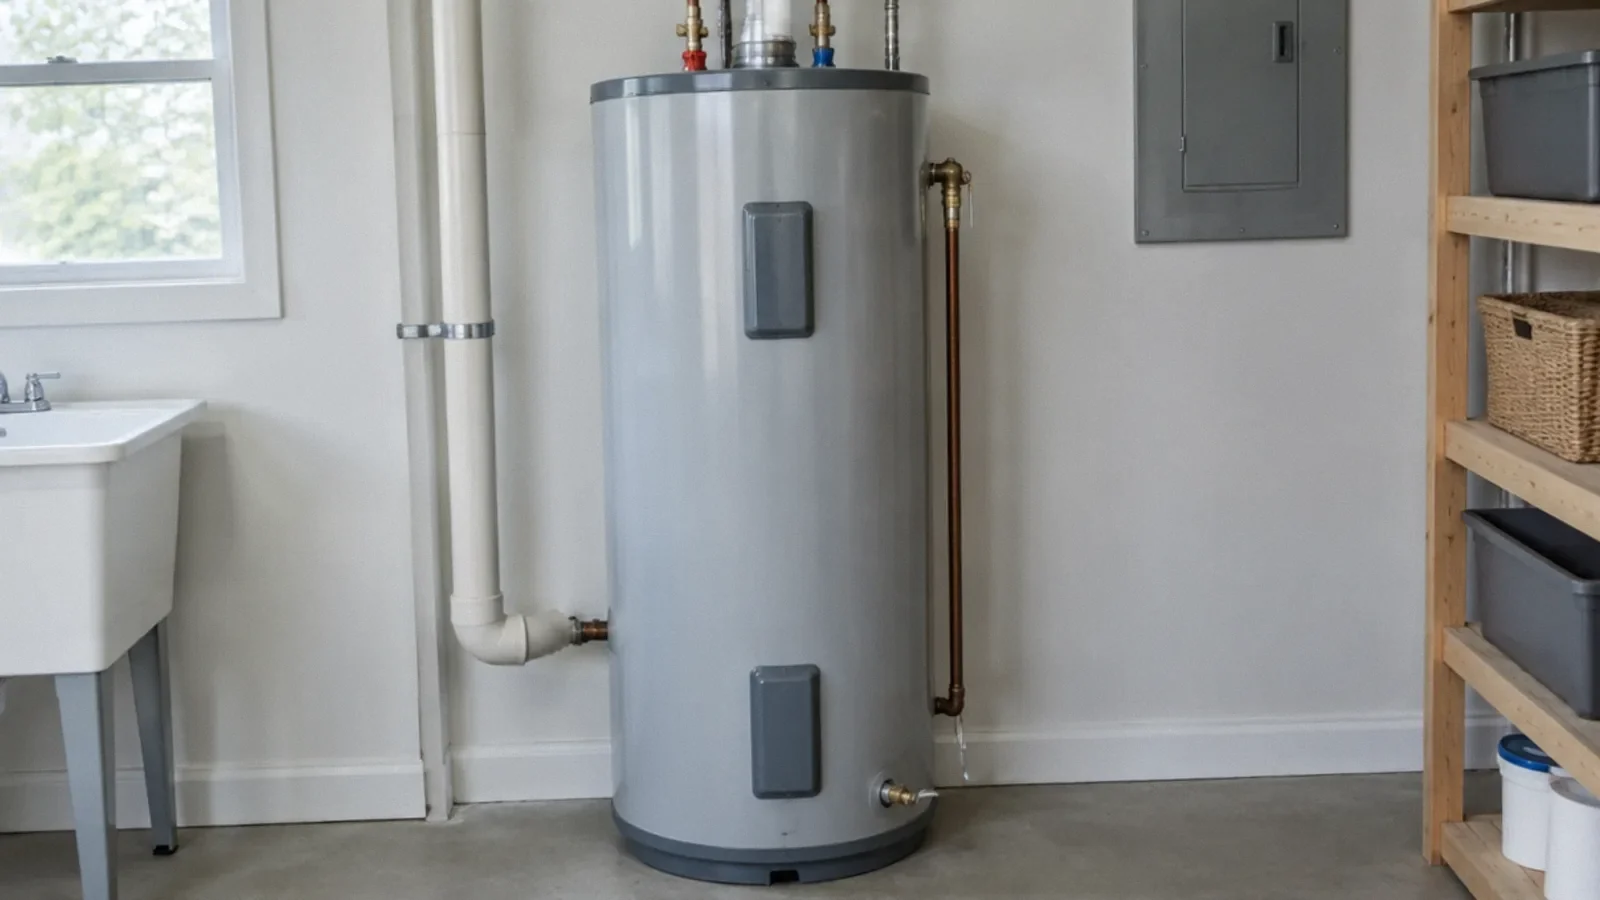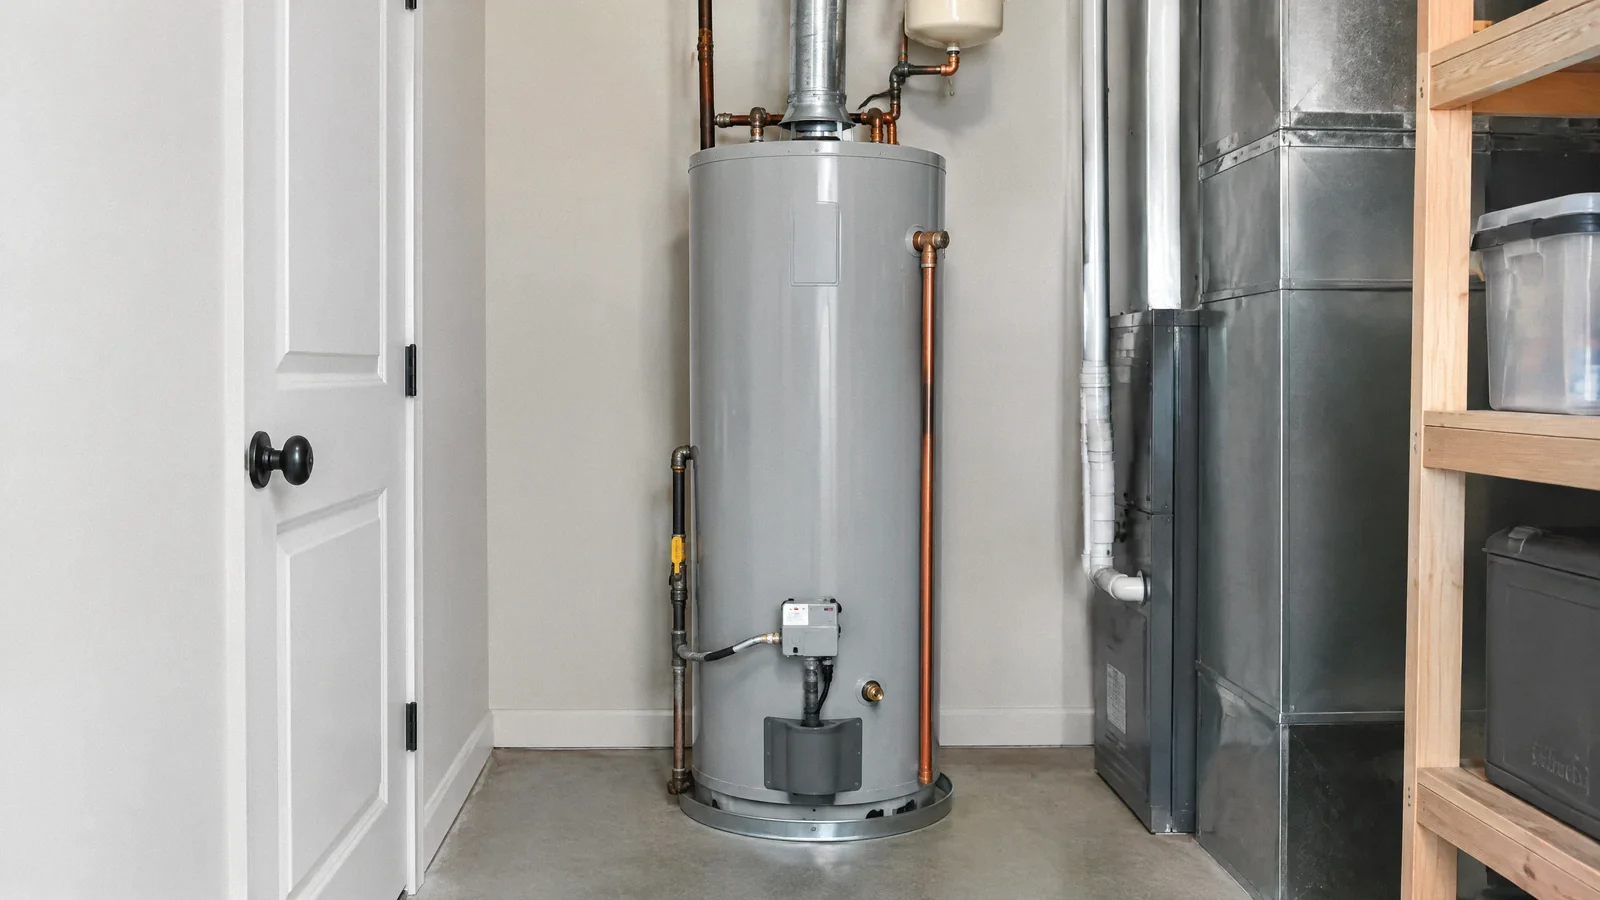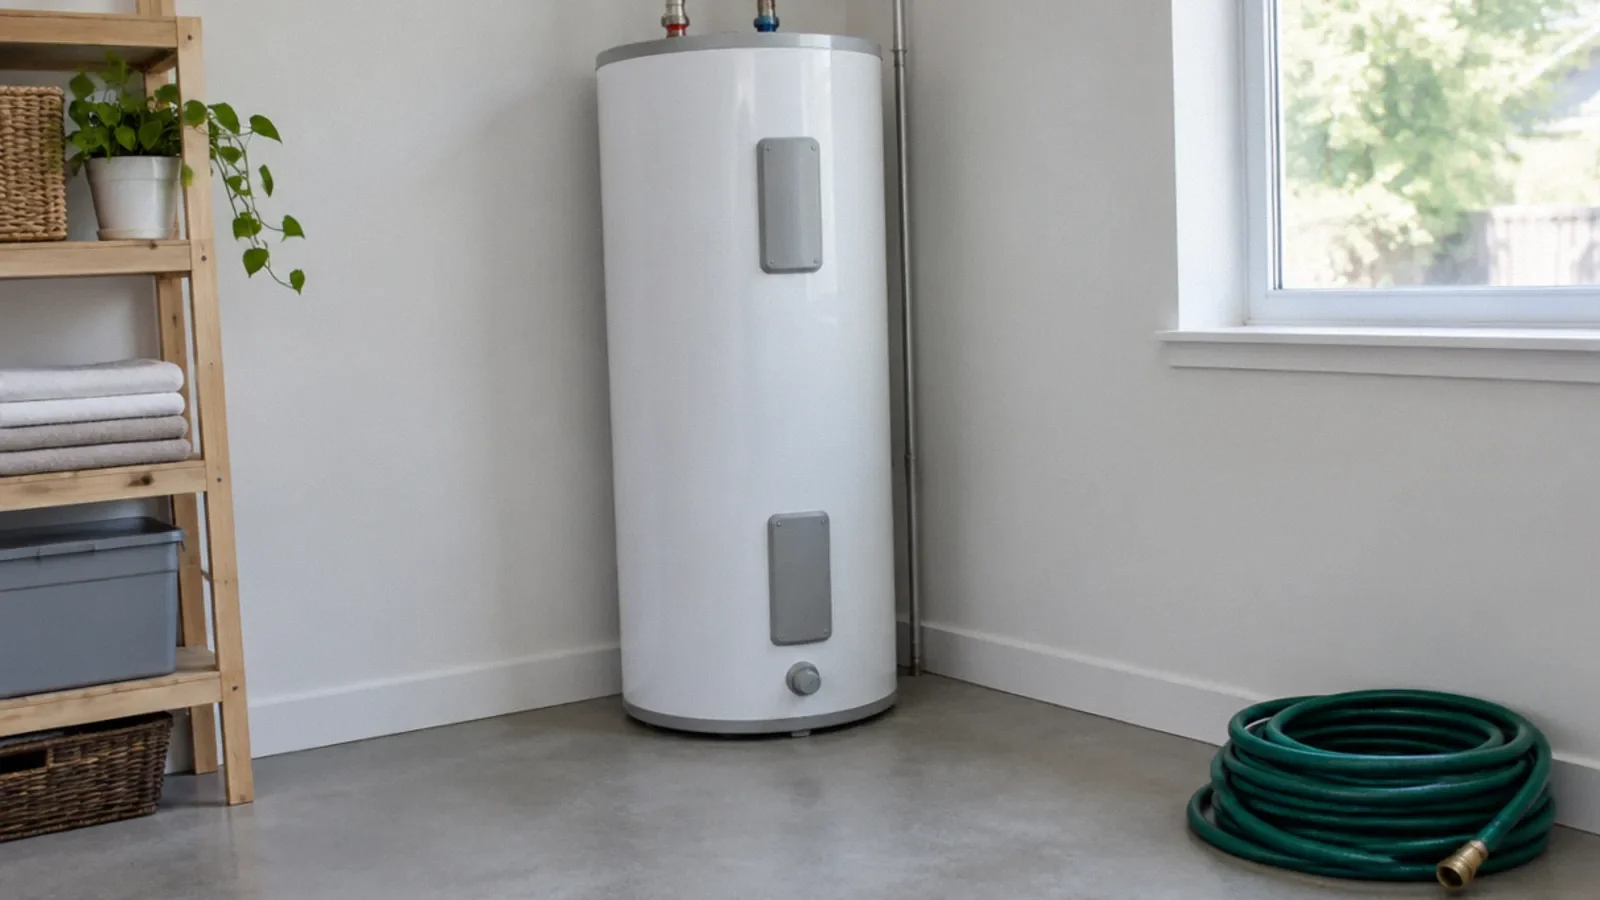
Follow the manual for the exact heater. For a storage tank, the process generally involves safely turning off the heat source, allowing the water to cool, closing the inlet, routing a suitable hose to an approved drain and opening the drain as directed. Never restore power to an electric heater until the tank is completely full.
When not to approach the heater
If you smell gas, see smoke or fire, observe escaping steam or believe the heater is unstable, leave and call 911 and the utility from a safe location. Do not operate switches or appliances near a suspected gas leak. Water near wiring or an outlet can create a shock hazard; stay out of standing water.
This guide addresses routine draining of a storage tank in safe conditions. It is not a procedure for an emergency, a damaged heater or every tankless model. If the valves, fuel control or electrical isolation are unclear, contact a qualified water-heater professional.
Read the model instructions
Locate the manufacturer’s manual and identify the heater type, cold-water inlet, drain valve and required method for turning off its heat source. Procedures vary for electric, gas, heat-pump and tankless equipment. Do not disconnect a gas line or open an electrical panel to perform routine draining.
A. O. Smith recommends protective gloves and eye protection for its maintenance procedures. Check that the drain valve and hose connection are accessible, that the chosen drain can accept the water and that the route will not create a trip, flooding or electrical hazard.
Turn off the heat and let water cool
For an electric storage heater, turn off its correctly identified electrical supply as the manufacturer directs, only when the control can be reached safely from a dry location. For a gas heater, follow the model’s specific shutdown instructions; use a qualified technician if the fuel control is uncertain.
Hot water can cause serious burns. A. O. Smith advises turning the heater off ahead of time to let the tank cool and, for a specific electric model, running a hot-water faucet until the water is cool before draining. Follow the exact manual and verify conditions before handling the hose.
Close the inlet and route the hose
Close the heater’s identified cold-water inlet as directed. Attach a suitable hose to the drain valve and route its other end to an appropriate drain or other location allowed by local rules. Secure the hose and keep people, pets and electrical connections away from the discharge.
A drain line or bucket must be able to handle the volume without overflowing. Do not direct water into a space where it can damage the building or create an unsafe condition. If a valve is corroded, stuck or leaking, stop and arrange service rather than forcing it.
Drain the tank according to the manual
A. O. Smith’s storage-tank instructions describe opening a hot-water faucet to admit air and opening the drain valve to let the tank empty. Follow the sequence and valve positions for the particular model. Keep clear of the discharge and monitor the hose and drain.
Some maintenance calls for flushing sediment rather than simply emptying the tank. Follow the manufacturer’s directions for that task. Do not operate a temperature-and-pressure relief valve as an improvised shortcut unless the model instructions and a qualified person’s assessment support it; its discharge can be dangerously hot.
How long does draining take?
A. O. Smith says most water heaters take about 20 to 40 minutes to drain completely, while sediment can slow the process. This is a manufacturer’s general estimate, not a guarantee. Tank size, water temperature, hose, drain-valve condition and the need to let water cool can increase the total time.
A slow or stopped flow may mean sediment, an unsuitable hose route or another problem. Do not assume the tank is empty or force a damaged valve. A qualified technician can diagnose a blockage and handle water safely.
Refill before returning to service
Close the drain valve and follow the manual’s instructions to refill the tank and purge air through a hot-water faucet. Check accessible connections for leaks. A. O. Smith warns that restoring power before an electric tank is completely full can damage the heating elements.
Do not restore electrical power or fuel until the tank is full, the drain is closed, connections have been checked and the manufacturer’s startup sequence has been followed. If you cannot confirm the condition or safe startup procedure, leave the unit off and call a professional.
When to call for service
Call a qualified professional if a valve will not operate, the heater leaks, sediment prevents draining, the discharge cannot be managed safely or you are uncertain about gas or electrical controls. A leaking temperature-and-pressure relief line, steam or a suspected gas leak needs its own safety response.
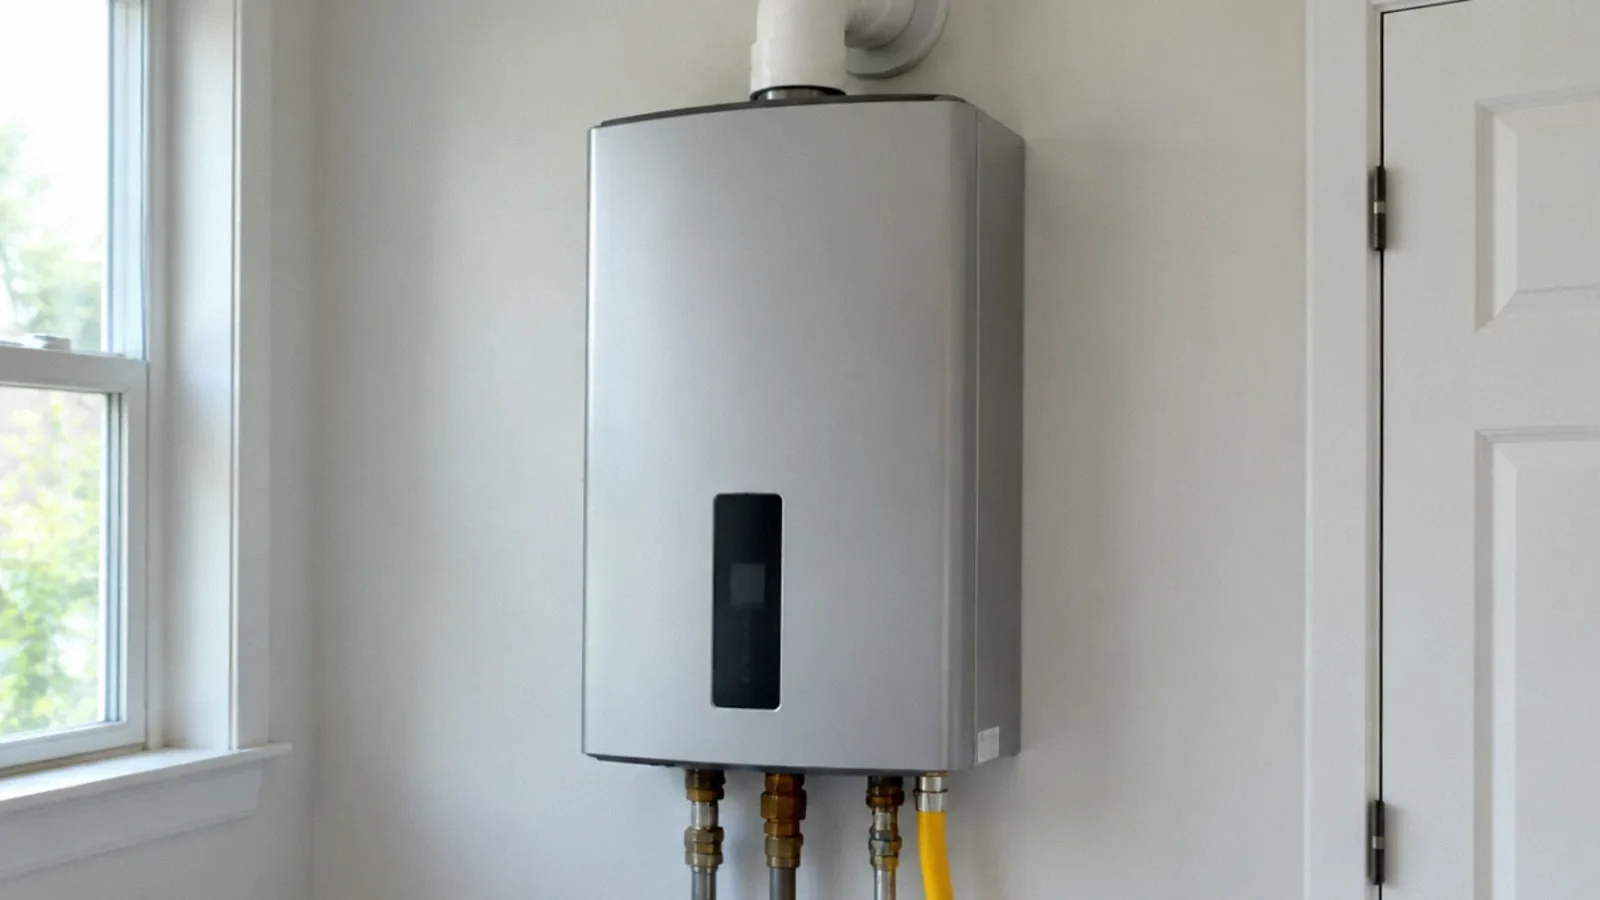
Keep maintenance records and follow the manufacturer’s schedule for the specific unit and local water conditions. A tankless heater has a different maintenance process and may require descaling rather than draining a large storage tank; consult its manual and service provider.
Draining versus removing a heater
Draining leaves the appliance in place; removal is a separate job involving equipment connections, safe handling and applicable local requirements. See the water heater removal guide and arrange qualified help for gas, electrical or equipment disconnection. Do not treat an empty tank as permission to disconnect it.
Before starting, identify the manufacturer’s instructions for the exact storage heater and confirm that a safe discharge route can handle its contents. The stated 20–40 minutes is an approximate draining time, not the time required to cool the water, prepare the site, refill and check the system. Sediment or a restricted valve can extend it; stop rather than forcing a stuck part.
Your next-step checklist
- Leave and call for help for gas, smoke or steam hazards.
- Follow the specific heater manual and safely isolate heat.
- Allow water to cool and direct discharge to a suitable drain.
- Do not force a stuck valve or enter standing water.
- Completely refill an electric tank before restoring power.
Related questions
How long does it take to drain a water heater?
A. O. Smith gives a general estimate of 20–40 minutes, but cooling, tank size, sediment and the drain arrangement can make the total longer.
Can I drain an electric water heater while it is powered?
No. Follow the manufacturer’s directions to turn off the correct electrical supply safely before draining.
When can I turn an electric water heater back on?
Only after the tank is completely full, air has been purged and the manufacturer’s startup and safety checks have been followed.
What if the drain valve will not open or the tank will not drain?
Do not force the valve. Contact a qualified water-heater technician to assess sediment, valve condition and safe discharge.
Sources & context
Public guidance supports the principles in this article. The practical questions and examples are editorial interpretation, not a site assessment or a coverage decision. State-specific rules apply only where identified.
- A. O. Smith: How to drain and flush a water heatermanufacturer guidance
- A. O. Smith: Water heater maintenancemanufacturer safety guidance
- A. O. Smith: Electric tank maintenance instructionsmanufacturer manual