For washable, sound paint, test a mild cleaner in a hidden area and wipe in small sections without soaking the wall. Heavy residue, delicate finishes or damaged older paint may need professional assessment before repainting.
Identify the surface first
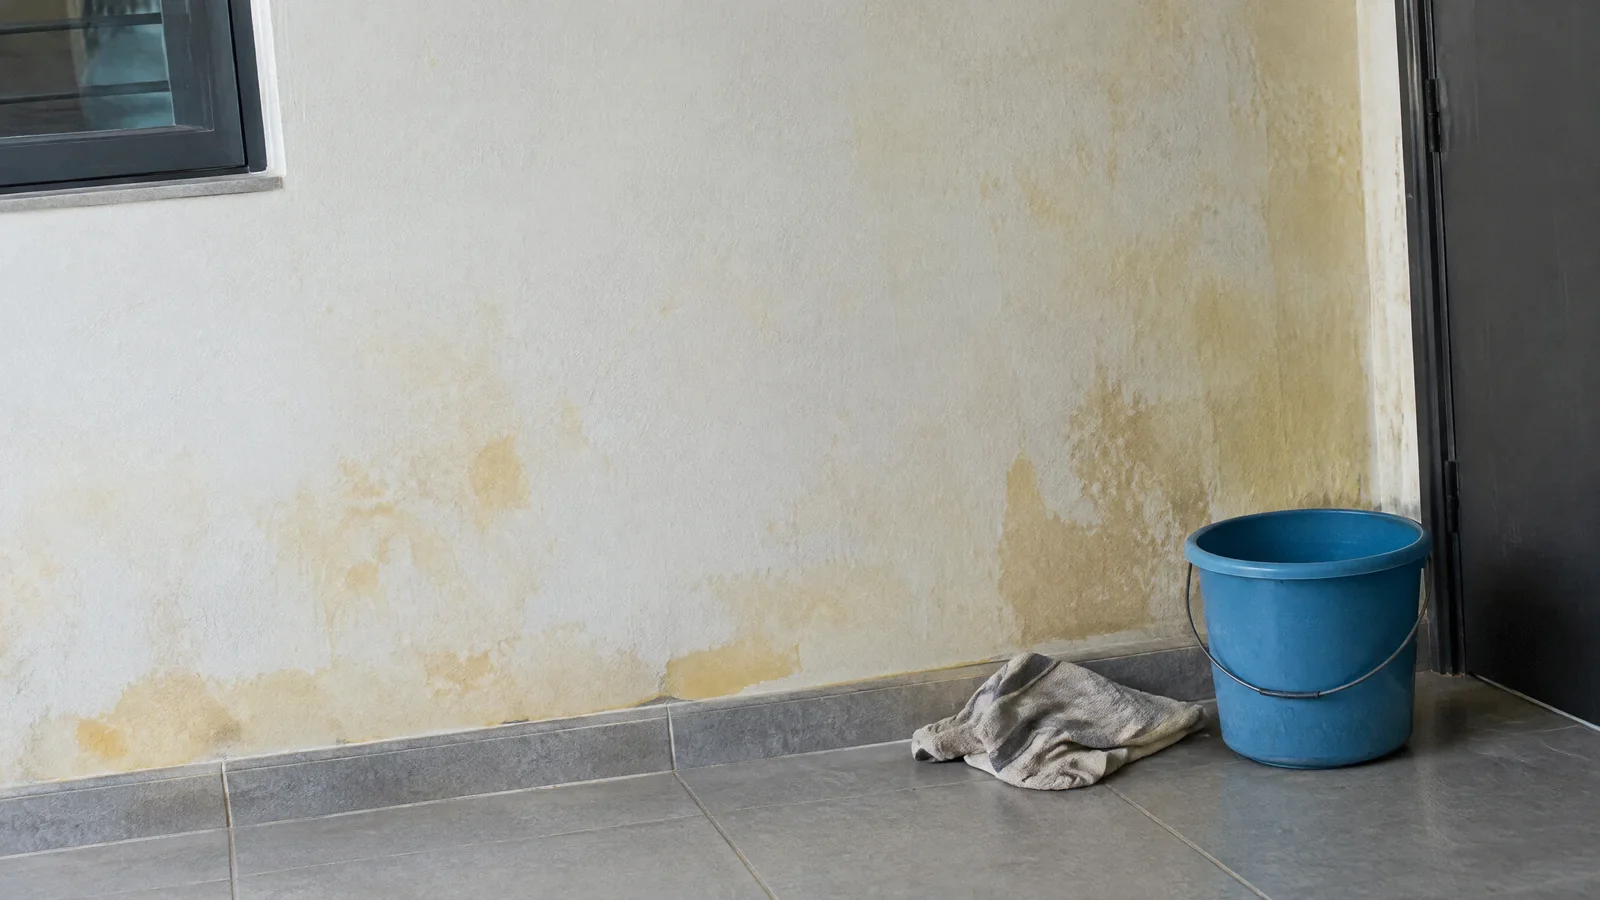
Yellow or brown wall discoloration can have several causes, including smoke residue, water stains and age. Examine whether the paint is sound, washable and firmly attached. Wallpaper, flat paint, bare plaster and textured ceilings may respond poorly to wet cleaning. If the surface is damp or the mark is spreading, investigate the moisture source. Cleaning residue cannot repair a leak or guarantee removal of odor from the entire home.
Check for lead before disturbing paint
In older homes, disturbing painted surfaces can create hazardous lead dust. EPA advises lead-safe precautions for pre-1978 housing and recommends qualified lead-safe contractors for renovation work. Do not dry sand, scrape or aggressively abrade questionable paint to remove a stain. If the coating is peeling or the age and condition are uncertain, obtain an appropriate assessment before preparing it for painting. A gentle cleaning plan does not authorize demolition or paint removal.
Prepare and test a small area
Ventilate the room, protect floors and furnishings, and keep cleaning solution away from outlets and switches. Wear gloves and any other protection on the cleaner label. Select a mild cleaner suitable for the particular finish, dilute only as directed, and test behind furniture or another inconspicuous place. Let the patch dry and check for color change, sheen loss or softening. If the finish changes, stop and consult its manufacturer or a professional.
Wipe in manageable sections
Use a soft cloth lightly dampened with the labeled solution; avoid dripping liquid down the wall or saturating drywall. Work methodically, changing the cloth or cleaning water when it becomes dirty. Follow the cleaner’s rinse directions with a separate clean damp cloth, then dry the surface. Keep the area around electrical fixtures dry. Avoid steel wool, harsh abrasive pads and excessive rubbing, which can damage the coating.
Treat ceilings with extra care
Test ceiling paint separately: it may be flatter, more delicate or textured. Do not soak a textured ceiling or work above your head with liquid that can drip into your eyes. Use safe access equipment and stop if the finish loosens or the area cannot be reached safely. A large ceiling or fragile surface may be better handled by a professional. Do not assume the product that worked on the wall is suitable overhead.
Understand what cleaning can and cannot do
Visible residue may decrease without eliminating all odor. Smoke compounds can also be present in soft furnishings, ventilation components and other surfaces. Clean or assess those materials according to their own care instructions. Repeated wetting can harm the wall while delivering little improvement. If residue is heavy, the finish fails the test or the odor persists after cleaning, ask an experienced cleaning or restoration provider for a room-wide assessment.
Prepare for repainting only after cleaning
Allow the surface to dry thoroughly and follow the paint manufacturer’s instructions. A compatible stain-blocking primer may be recommended for persistent staining, but the right product depends on the existing surface and paint system. Primer is not a substitute for removing loose contamination or fixing moisture. If preparation will disturb old paint, use an appropriately qualified lead-safe professional. Do not assume a fresh coat alone removes smoke residue.
Prevent a repeat problem
Removing the source of indoor smoke is the most direct way to prevent fresh deposits. Keep ventilation and filtration equipment maintained according to its manual, but do not rely on fragrance to conceal an ongoing source. Record the products used and test results so a future cleaner does not accidentally apply incompatible chemicals. Never mix bleach with ammonia or other cleaners.
A realistic sequence for one room
Start with a test behind a door or piece of furniture and allow it to dry fully. If the finish remains stable, remove loose dust gently, protect the floor and wipe a small area using the cleaner’s instructions. Work across the room in sections so you can monitor changes in sheen and avoid long wet streaks. Replace dirty cloths and rinse water as needed. When finished, let the wall dry before deciding whether a second pass is useful. Compare the test area in the same light; wet paint can look darker and may suggest a false result. If a patch becomes sticky, dull or discolored, stop rather than scrubbing harder. Record the cleaning product and dilution. For a heavily affected house, obtain a professional assessment of the ceiling, furnishings and ventilation as well, because wall washing alone cannot establish that every source of odor has been addressed.
Your next-step checklist
- Identify the surface first
- Check for lead before disturbing paint
- Prepare and test a small area
- Wipe in manageable sections
Related questions
What if the first attempt does not solve the problem?
Stop and reassess the material and underlying cause. A qualified professional can help with inaccessible, damaged or persistent problems.
Should I follow the manufacturer’s care instructions?
Yes. Use the instructions for the actual material, equipment and cleaning product.
Sources & context
Public guidance supports the principles in this article. The practical questions and examples are editorial interpretation, not a site assessment or a coverage decision. State-specific rules apply only where identified.