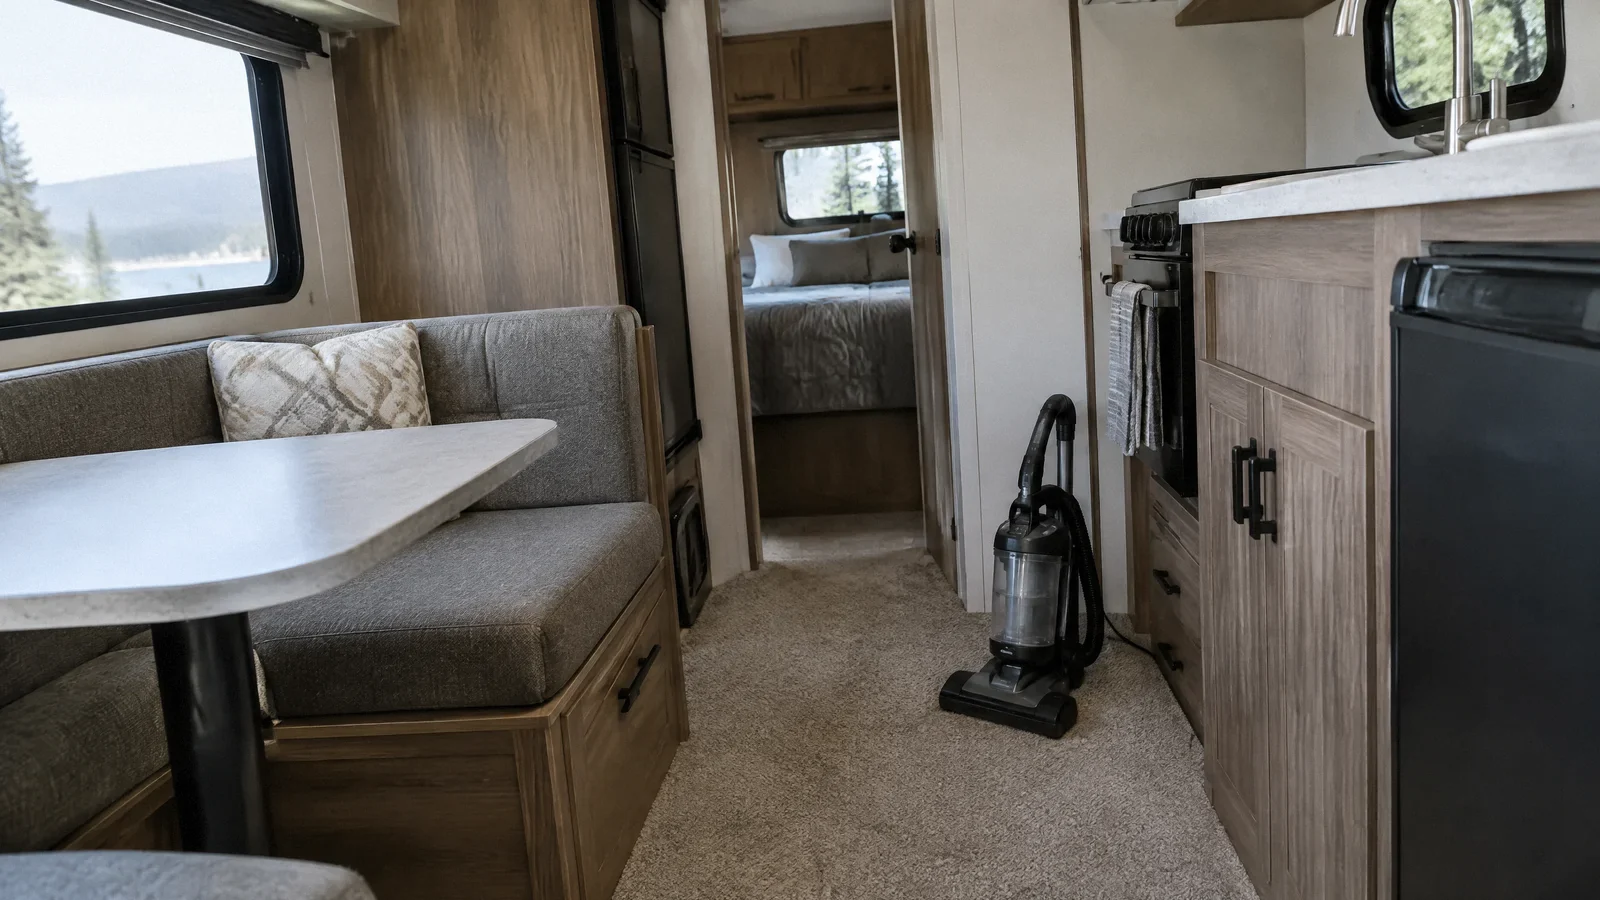
Vacuum loose soil, treat spots with a product approved for the carpet, and use only enough moisture for the chosen method. Ventilate and confirm the carpet and backing are dry before closing or storing the RV.
Inspect the carpet and surroundings
Find the RV and carpet care instructions. Note whether the carpet is removable, glued down or installed over a sensitive subfloor, and inspect slide-out edges and storage compartments for moisture. A small RV has less space to disperse moisture than an open room, so plan drying before using a wet machine. If the carpet smells musty or feels damp before cleaning, investigate leaks and condensation first.
Remove loose soil
Remove loose mats and vacuum slowly across the pile, along edges and under accessible furniture. Use an upholstery or crevice attachment where a full-size head cannot fit. Do not pull up glued edges or force a tool into a slide mechanism. Shake removable mats outside only if their care instructions allow it. Empty the vacuum as needed so it continues to pick up grit rather than redistributing it.
Spot-clean with a compatible product
Check the carpet fiber and choose a cleaner approved for it. Test in a hidden location and let it dry before treating a visible stain. Blot fresh liquid with a clean white cloth; lift solids carefully. Apply only as the product directs and work from the outside toward the center. Do not mix cleaners, scrub aggressively or soak the area. Rinse or extract residue only as instructed, using the least moisture needed for the method.
Decide whether deeper cleaning is appropriate
A small portable extractor may be convenient, but make sure both the RV and machine manufacturers permit the method. Too much water can reach backing, adhesive or the floor below. Make a small test and avoid repeated wet passes. If you cannot provide enough ventilation and drying time, postpone the job or use a qualified professional. A valuable removable rug or an unknown material may need separate specialist care.
Plan safe drying
Open windows and doors when weather and security allow, and use appropriate ventilation without blowing dirt from another area onto the wet carpet. Follow the RV manufacturer’s electrical and equipment guidance. Do not operate electrical devices in standing water or route cords where they can be damaged. Leave furniture and mats off the carpet until the surface and backing are dry. Do not close the RV for storage while dampness or a musty odor remains.
Handle leaks and contamination first
If water entered through a roof, window, plumbing connection or slide seal, fix the source and assess the floor assembly. A clean-looking surface can conceal damp padding or subfloor. A persistent odor or recurring damp spot warrants further inspection. Sewage or other contaminated water is a different situation from routine carpet cleaning; consult an experienced remediation professional and avoid treating it as an ordinary stain.
Maintain the carpet between trips
Use washable entry mats where appropriate, remove shoes or brush off grit, and vacuum after travel. Address spills promptly and keep an eye on areas around the entry and seating. Check the RV for leaks before storage and after heavy rain. Follow the manufacturer’s storage and ventilation directions. Do not use a fragrance to cover a moisture problem; find and correct its cause.
When to hire a cleaner
Ask whether the provider has experience with RV interiors, the carpet type and limited access. Explain whether the carpet is attached, identify sensitive materials and ask how much moisture the method uses and how drying will be verified. Discuss any preexisting stains or loose edges before work starts. Cleaning cannot guarantee repair of a damaged subfloor or removal of permanent dye loss.
Example: cleaning after a weekend trip
Begin by checking the carpet around the entry and seating for grit and spills. Remove the mats, vacuum the carpet and use the crevice attachment along accessible edges. For a fresh drink spill, blot with a white cloth and follow the carpet maker’s approved spot-cleaning directions after testing a hidden area. Keep the liquid away from cabinetry and seams, and avoid saturating the floor. Choose a day with conditions that permit safe ventilation and sufficient drying time before departure or storage. After the surface feels dry, check the edges and accessible backing rather than assuming the whole assembly is dry. If a damp smell persists, look for an unrelated leak or moisture trapped underneath and get help where inspection requires disassembly. This staged approach reduces unnecessary wetting and gives you a clear stopping point if the material reacts poorly.
Your next-step checklist
- Inspect the carpet and surroundings
- Remove loose soil
- Spot-clean with a compatible product
- Decide whether deeper cleaning is appropriate
Related questions
What if the first attempt does not solve the problem?
Stop and reassess the material and underlying cause. A qualified professional can help with inaccessible, damaged or persistent problems.
Should I follow the manufacturer’s care instructions?
Yes. Use the instructions for the actual material, equipment and cleaning product.
Sources & context
Public guidance supports the principles in this article. The practical questions and examples are editorial interpretation, not a site assessment or a coverage decision. State-specific rules apply only where identified.