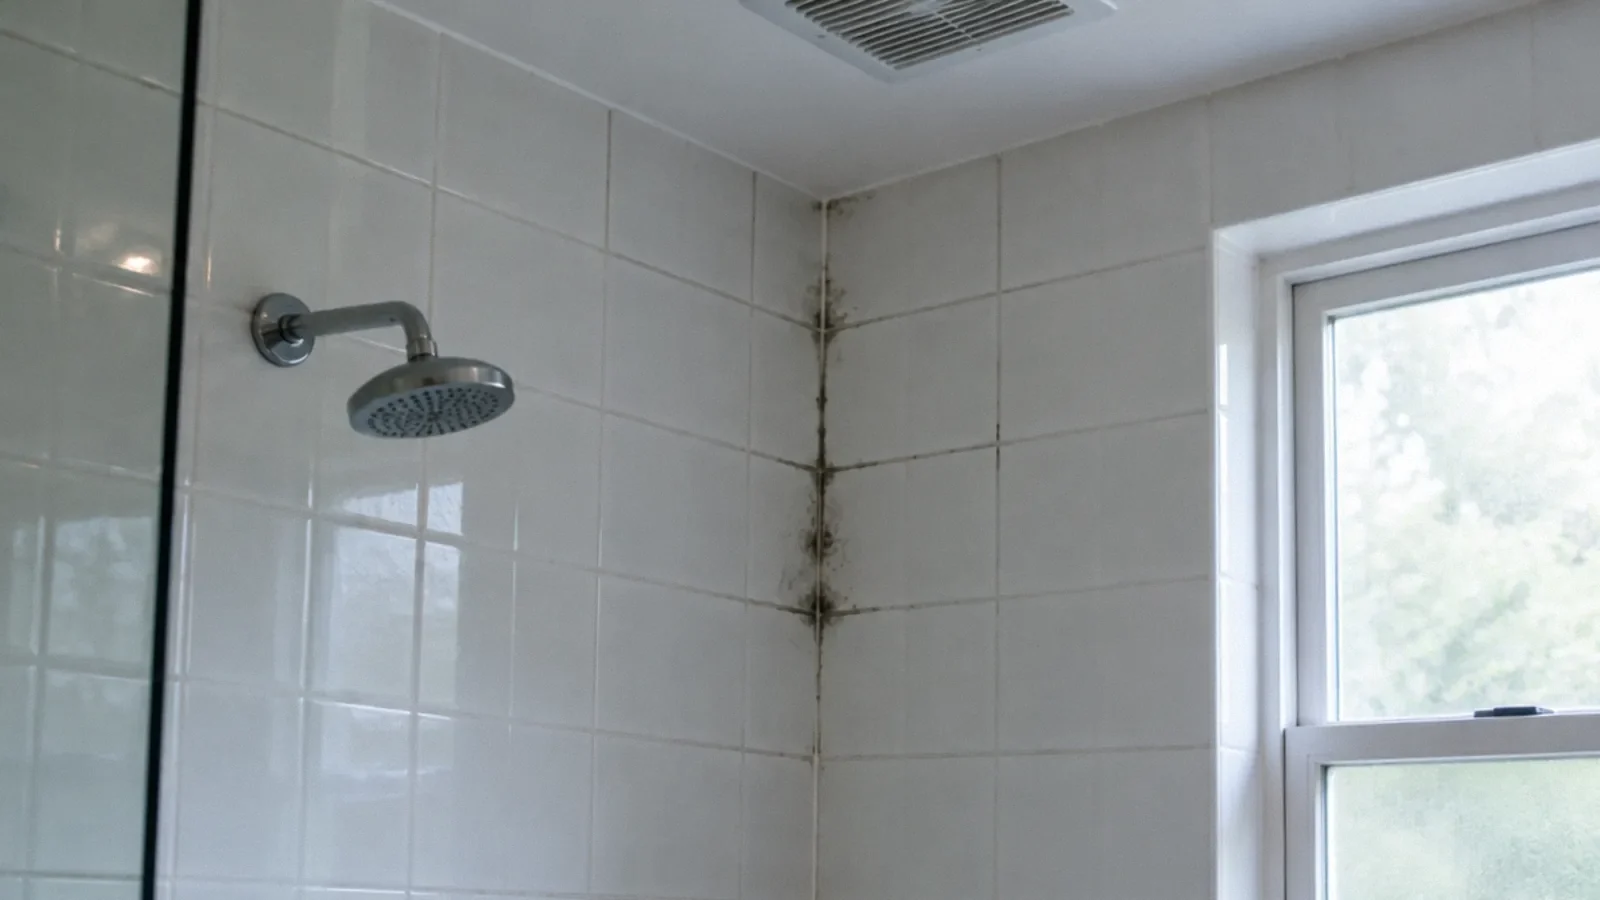
For a compatible threaded showerhead, turn the shower control off, remove the old head while supporting the shower arm, clean the threads and install the new head according to its instructions. Check the washer and test for leaks. Stop and call a plumber if the arm moves, is corroded or resists removal.
Choose a compatible replacement
Most replacement showerheads attach to the exposed shower arm, but do not assume every fitting or accessory uses the same connection. Check the dimensions and instructions supplied with the new head. If you are adding a handheld hose, filter or extension, check the weight, seals and compatibility of each connection.
EPA’s WaterSense label identifies showerheads independently certified to meet its water-efficiency and performance criteria. Product availability and local requirements may vary. Choose an appropriate unit for the existing shower valve and consult a plumber if you are uncertain about compatibility.
Gather supplies and protect the finish
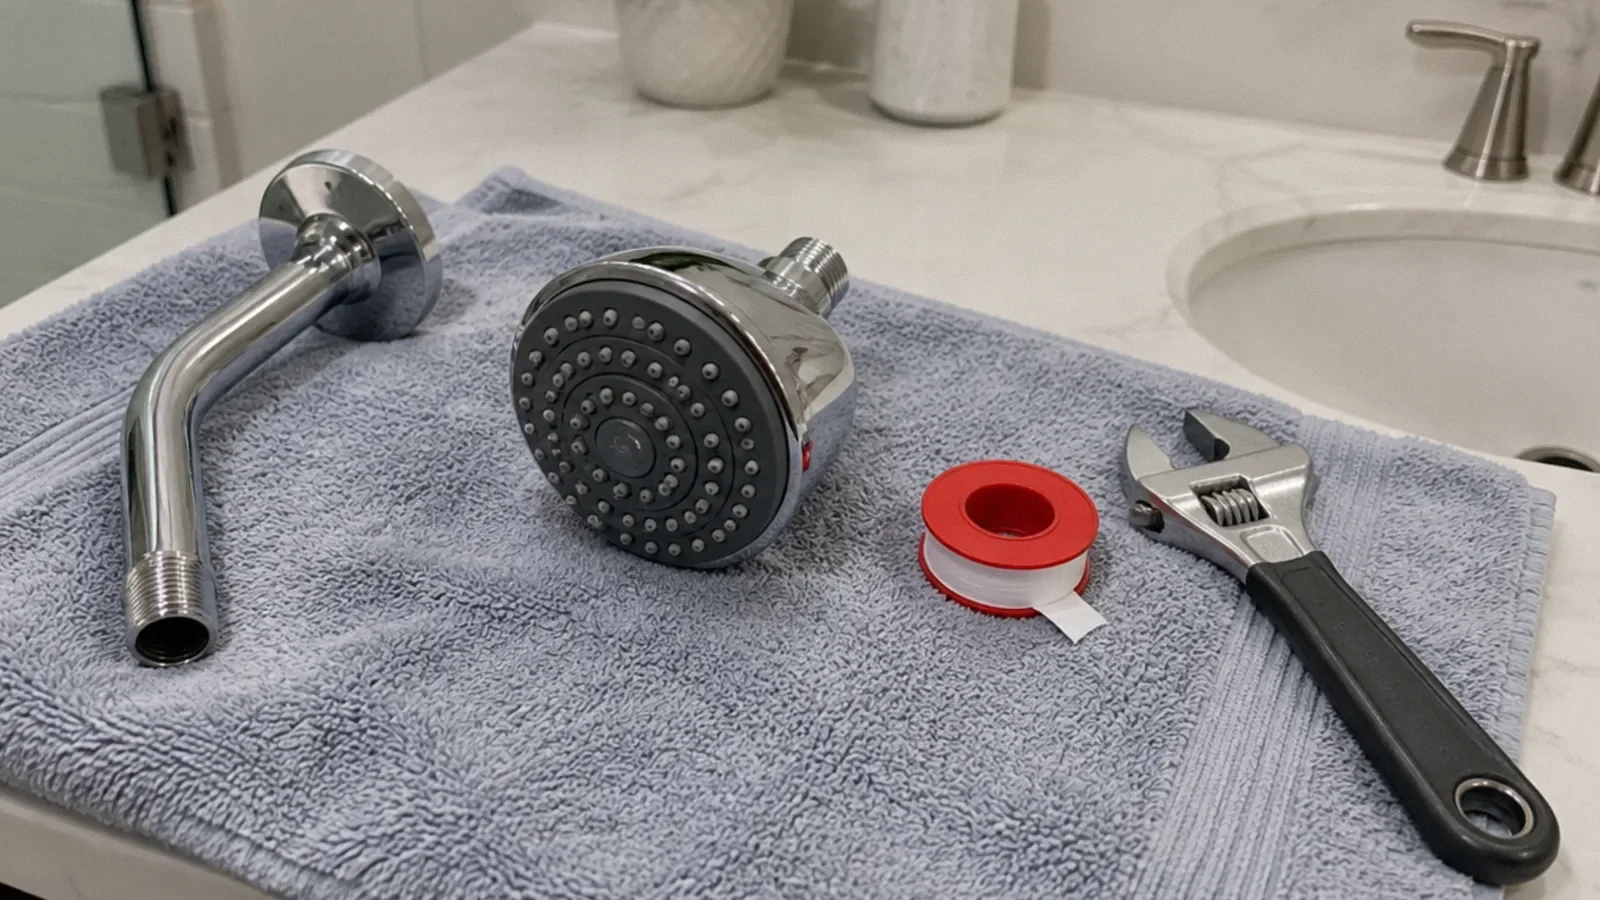
A soft cloth, an adjustable wrench if needed, a small brush and thread-seal tape when specified by the manufacturer are commonly useful. Place a towel over the tub or shower floor so a dropped part does not damage the finish or disappear down the drain. Keep the new washer and installation instructions nearby.
The shower control should be fully off. A typical head can be replaced without opening the wall, but the exposed arm must remain stable. If a fitting is severely corroded or the arm feels loose at the wall, stop: forcing it may create a concealed leak.
Remove the old head carefully
Hold or support the shower arm so it does not twist at the wall connection. Turn the old head counterclockwise as viewed from the end of its threaded connection. It may loosen by hand; if a wrench is required, protect the finish with a cloth and apply controlled force.
Do not brace the wrench against the wall or use increasing force on a stuck joint. If the arm rotates, flexes, leaks or shows deep corrosion, stop and contact a qualified plumber. Breaking a connection inside the wall can turn a simple fixture change into water damage.
Clean and inspect the threads
Remove old loose thread-seal tape from the exposed threads and wipe away debris without gouging the metal. Inspect the arm for cracks, damaged threads and signs of corrosion. The threads should allow the new connection to start by hand without resistance or cross-threading.
Check the new showerhead’s washer or O-ring and place it exactly as directed. Some connections seal primarily at a washer and may have specific instructions about tape. Follow those instructions rather than assuming that extra tape or a missing gasket will solve every leak.
Install the new showerhead
If the manufacturer specifies thread-seal tape, wrap a suitable tape around clean male threads in the direction that will not unwind as the fitting is tightened. Keep tape out of the opening. Start the showerhead by hand and make sure it turns smoothly.
Tighten according to the product instructions while supporting the arm. Avoid excessive force, especially on plastic fittings. An over-tightened connection can damage threads or a washer. A handheld model may have more than one joint; install its hose and seals in the order specified by the manufacturer.
Run the water and look for leaks
Turn the water on gradually and inspect the connection while the shower is operating. A drip or spray at a joint may mean a loose connection, an incorrectly seated washer or damaged threads. Turn the water off before making an adjustment. EPA advises checking the connection and using appropriate pipe tape or a wrench when necessary.
Also look where the arm enters the wall. A leak there or water appearing on the other side of the wall warrants professional investigation; tightening the head may not address a hidden problem. Do not caulk over an active leak or leave water running unattended.
When should a showerhead be replaced?
There is no universal replacement age. Consider replacement when a head is cracked, continues to leak after the washer and connection are checked, has damaged threads or no longer performs adequately. Mineral buildup alone may be removable; check the manufacturer’s care instructions before using a cleaning product.
EPA notes that some showerheads can be cleaned to address scale. Protect finishes and never mix cleaning products. A new efficient model can be a practical choice, but it should be selected for the existing shower system rather than solely for a low flow number.
Know when to stop
Call a plumber if the arm moves at the wall, the connection will not release, threads are damaged or a leak remains after careful reassembly. If the shutoff valve itself leaks or the wall is soft, the problem may extend beyond the showerhead. Document visible water damage and prevent additional water use until it is assessed.
For rented or managed property, notify the landlord or building manager before work if the lease or building rules require it. Keep the product instructions and receipts. A short test and careful inspection are more valuable than forcing the fitting to stop a drip.
Your next-step checklist
- Check fitting and shower-valve compatibility.
- Protect the finish and support the arm while loosening the old head.
- Inspect the threads and install the supplied washer.
- Follow product directions for tape and tightening.
- Test the joint and stop if the arm moves or leaks at the wall.
Related questions
Do I need to shut off the whole house water supply?
A normal showerhead change is generally done with the shower control off. If the control does not stop the flow or the arm requires repair, consult a plumber.
Should I use thread-seal tape on every showerhead?
Follow the manufacturer’s instructions. Some fittings seal with a washer and may specify different installation steps.
How often should a showerhead be replaced?
There is no fixed interval. Replace a damaged or persistently leaking head, and clean mineral buildup when the manufacturer permits it.
What if the shower arm turns while I loosen the head?
Stop. Continued force can loosen or damage the concealed connection; arrange professional help.
Sources & context
Public guidance supports the principles in this article. The practical questions and examples are editorial interpretation, not a site assessment or a coverage decision. State-specific rules apply only where identified.
- US EPA WaterSense: Home maintenanceofficial guidance
- US EPA WaterSense: Showerheadsofficial guidance