For a compatible conventional tank toilet, shut off the water supply safely, remove the worn flapper and install the replacement according to the manufacturer’s instructions. Restore water, check the chain and seal, and test for a leak. If the toilet uses a different mechanism or the shutoff valve is stuck, consult a plumber.
Confirm that your toilet uses a flapper
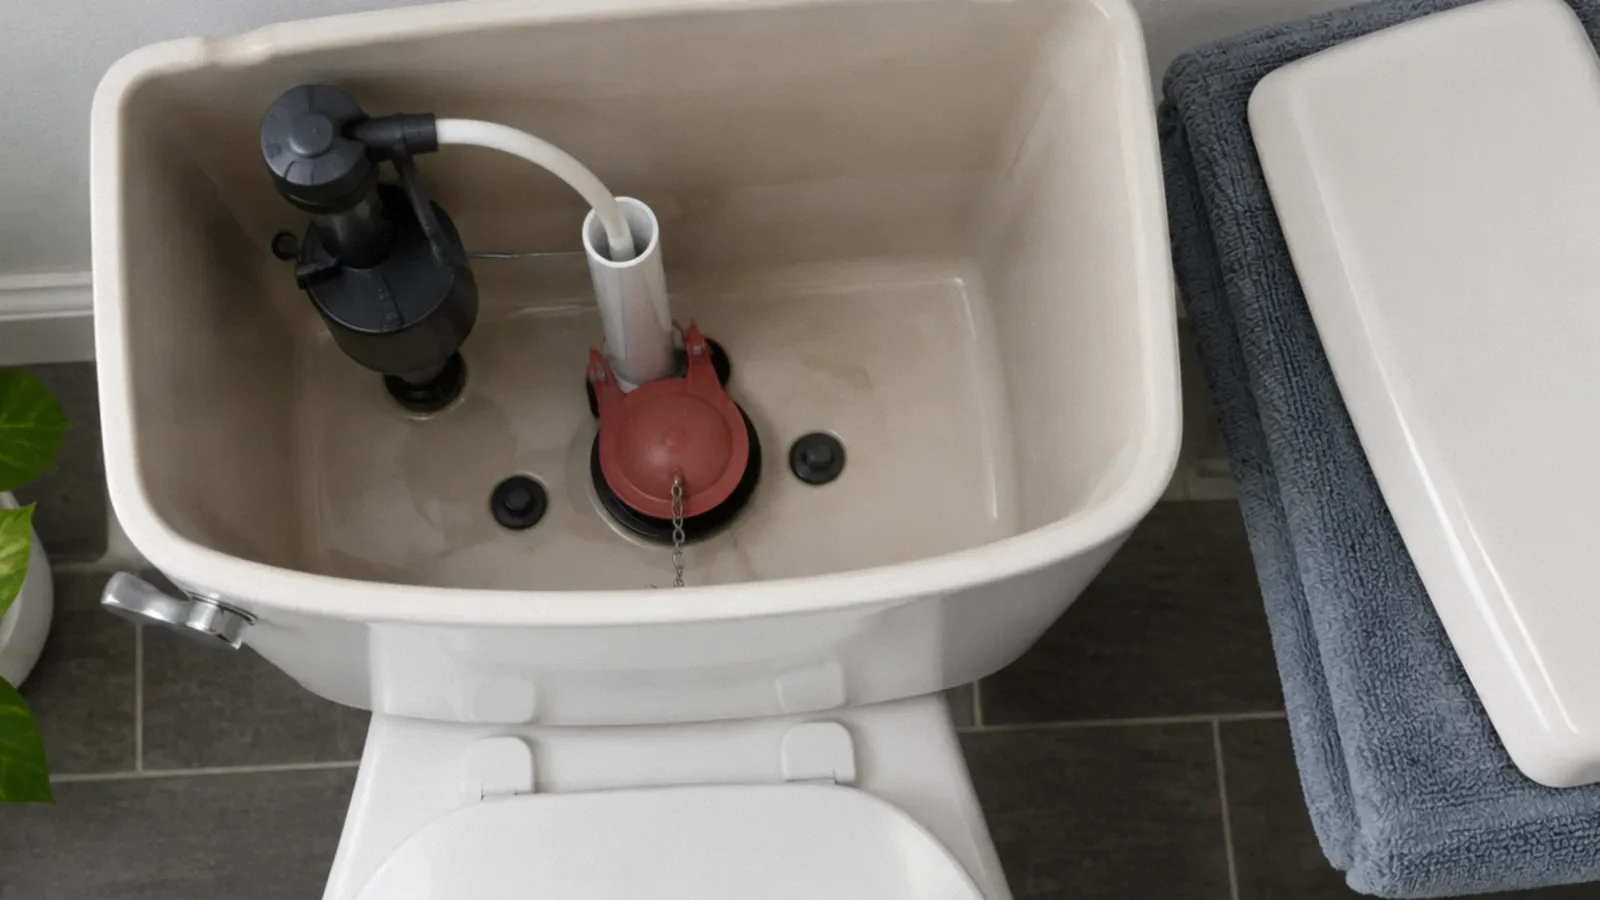
A flapper is a flexible valve in many tank toilets that lifts to release water into the bowl and then closes as the tank refills. Some toilets use canister, pressure-assisted or other mechanisms. Identify the make and model before buying a part; a guide for a flapper may not apply to another design.
A running toilet can also be caused by a chain or fill-valve issue. EPA notes that a worn flapper can allow a silent leak from the tank into the bowl. Inspect the mechanism and consider a dye test when appropriate instead of assuming every running sound has the same cause.
Prepare and shut off water
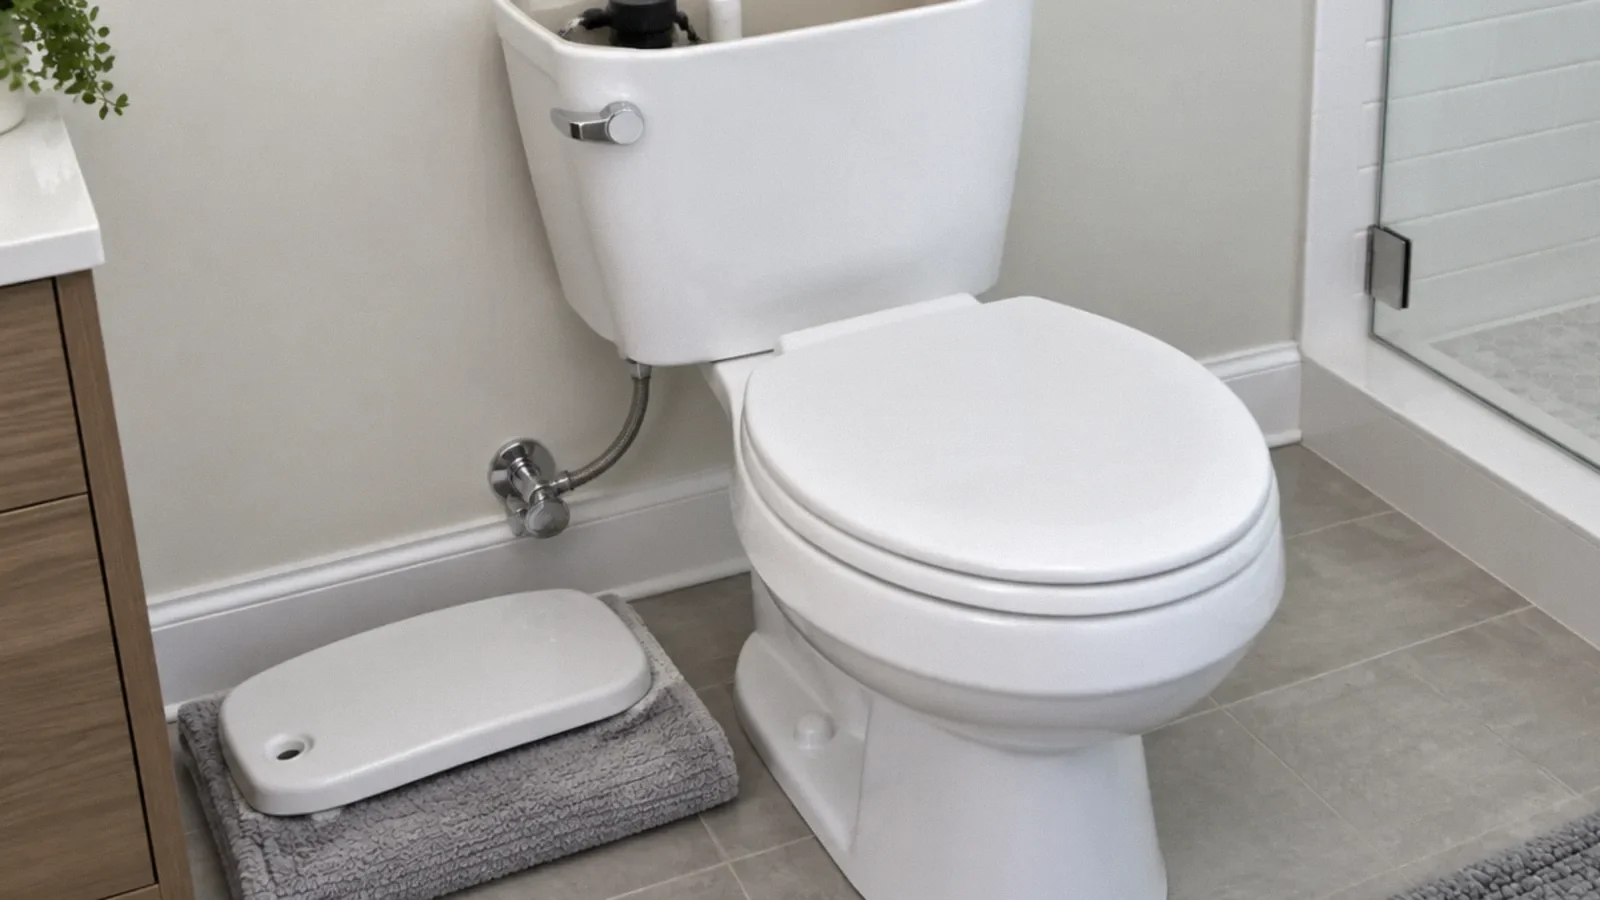
Gather the manufacturer-approved replacement, a towel and any tools specified in the instructions. Set the ceramic tank lid on a stable towel where it cannot fall. The supply valve is often located behind the toilet; close it only if accessible and it turns without excessive force.
If the valve leaks, is corroded or will not turn, do not force it. Contact a plumber or building management to isolate the water safely. Keep water away from electrical equipment and stop if the tank, supply line or surrounding floor is damaged.
Lower the tank water level
After the supply is off, flush once as directed to lower the tank water. Some water will remain. Use a sponge or towel if the manufacturer’s instructions call for it, and protect the surrounding floor. Do not disconnect the supply line or remove the tank for a simple flapper replacement unless the instructions require additional work.
Look at how the existing chain and flapper attach before removing them. A photograph can help preserve the arrangement. Avoid leaning on the tank or using force that could crack porcelain or damage the overflow tube.
Remove the old flapper
Disconnect the chain from the flush lever and release the flapper from its mounting points according to the model instructions. The exact tabs, ears or ring can differ. Do not pull hard on a brittle overflow tube or tank fitting.
Inspect the valve seat for residue or obvious damage and clean it using the manufacturer’s approved method. If the seat is cracked, badly worn or inaccessible, replacing only the flapper may not create a reliable seal. A plumber can assess whether another part is needed.
Install a compatible replacement
Attach the new flapper in the orientation specified for the flush valve and connect the chain to the lever. Ensure the flapper can lift and settle freely without catching. Follow the product instructions for chain length; a chain that holds the flapper open or prevents it from lifting can cause further problems.
Do not alter or cut parts unless the replacement instructions explicitly call for it. Some universal products include more than one mounting option, so identify the configuration that matches your toilet. Keep the old part or its information until compatibility is confirmed.
Restore water and observe
Open the supply valve slowly and let the tank fill. Check the supply connection, tank and floor for leaks. Flush and watch whether the flapper lifts, reseats and allows the tank to stop filling at the correct level. Replace the lid only after confirming that the chain and lever move normally.
If the toilet continues to run, the chain, seal, valve seat or fill mechanism may need further attention. Do not block the overflow tube or force a valve. Turn off the water if a leak appears and obtain help if the cause is uncertain.
Test for a silent leak
EPA recommends adding a few drops of food coloring or a dye tablet to the tank and waiting approximately 10 minutes without flushing. If color appears in the bowl, water is passing from the tank into the bowl. Flush promptly afterward to reduce staining and follow the dye product’s directions.
A positive test does not prove that the new flapper itself is defective. The chain may interfere, the seat may be damaged or the part may not fit. Recheck the model instructions and consult a plumber if the leak persists.
Maintain the toilet
EPA advises periodic checks for silent toilet leaks and notes that flappers wear over time. A replacement interval depends on the product and water conditions; follow the manufacturer’s guidance and investigate running water promptly. Keep the model number and part information for future service.
If water appears outside the toilet, treat it as a separate leak requiring assessment. A leaking supply connection, tank seal or drain can damage flooring even when the flapper works. The running-toilet guide covers other causes of continuous filling.
Your next-step checklist
- Confirm the toilet design and obtain the correct part.
- Shut off the supply safely and protect the tank lid.
- Follow the manufacturer’s removal and chain-adjustment instructions.
- Restore water slowly and check for leaks.
- Use a suitable dye test to confirm the seal.
Related questions
Can every toilet use the same flapper?
No. Toilets and flush valves vary; select a replacement compatible with the make and model.
Do I need to shut off water first?
Yes for normal flapper service; close the supply valve safely and follow the manufacturer’s instructions.
Why does the toilet still run after a new flapper?
The chain, valve seat, fill valve or part compatibility may be the cause. Inspect according to the model instructions.
How do I check for a silent leak?
When suitable, use EPA’s tank dye test and flush promptly after the check to limit staining.
Sources & context
Public guidance supports the principles in this article. The practical questions and examples are editorial interpretation, not a site assessment or a coverage decision. State-specific rules apply only where identified.
- US EPA WaterSense: Home maintenanceofficial guidance
- US EPA WaterSense: Residential toiletsofficial guidance
- US EPA: Toilet leak test protocolofficial guidance