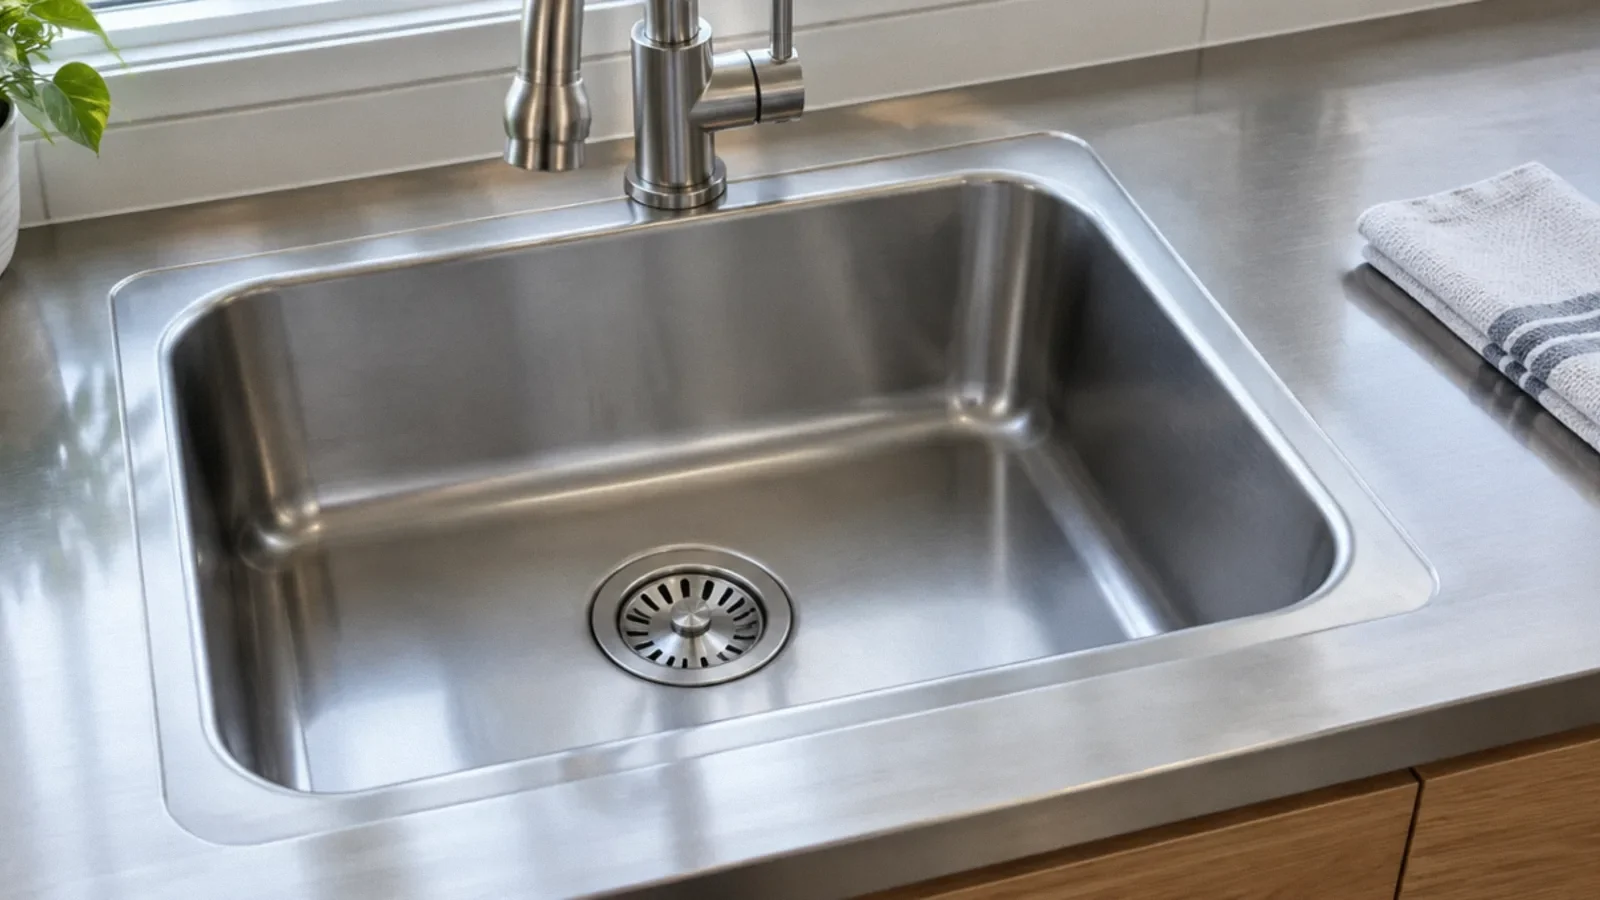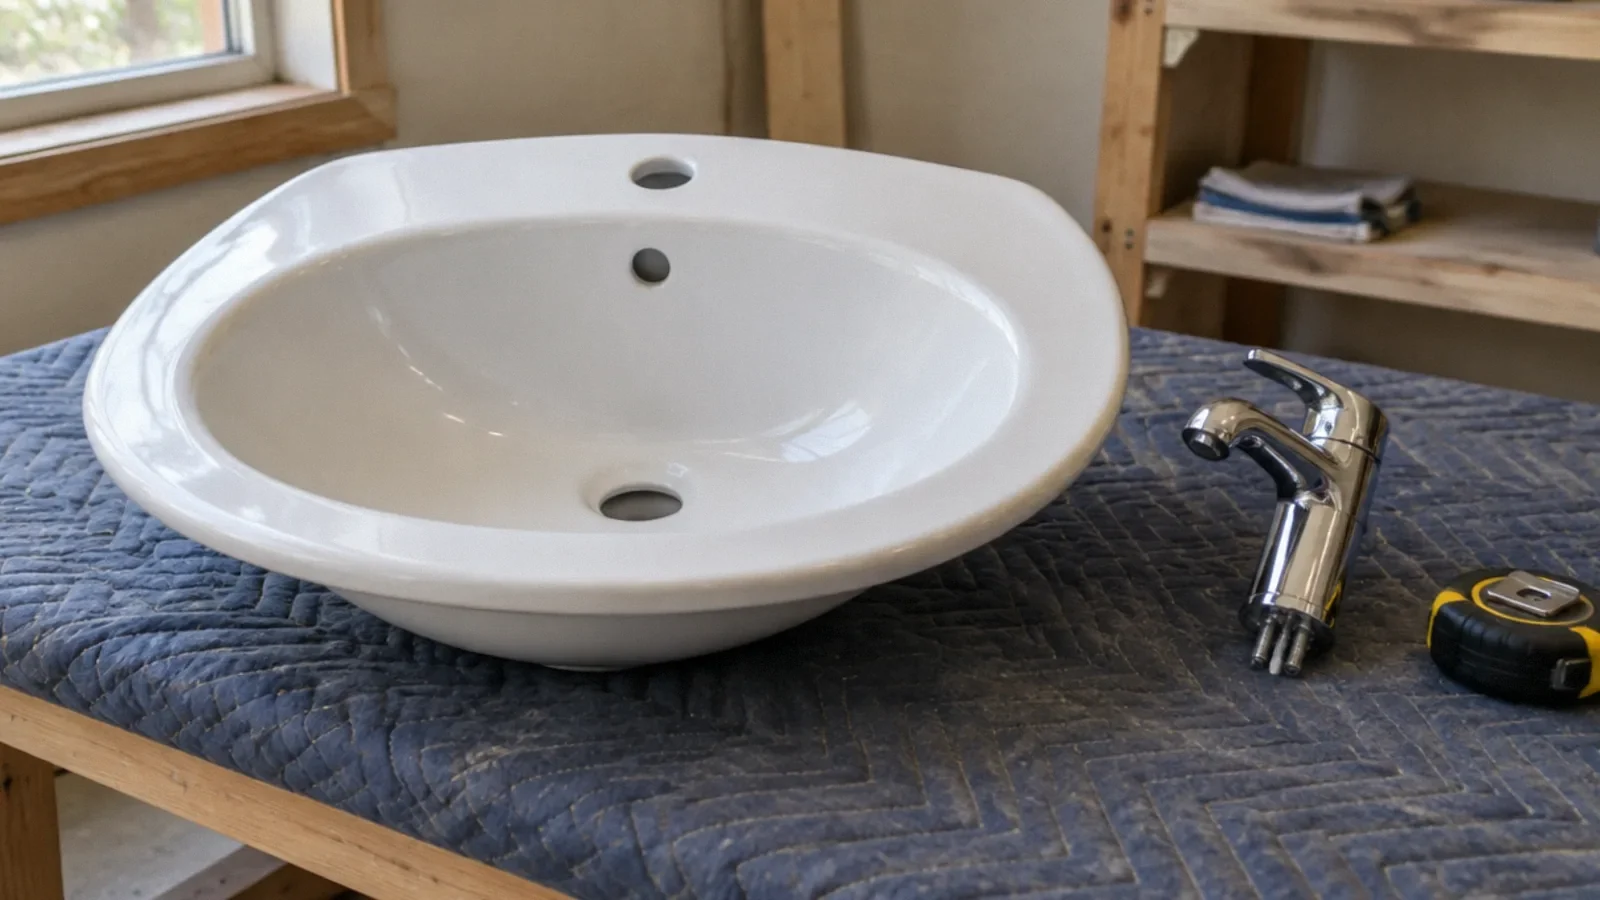
Sink installation involves a compatible fixture and countertop, secure mounting, water supply connections, a properly configured drain and trap, and leak testing. The exact steps depend on the sink, plumbing and local rules. Check manufacturer instructions and your building department before changing the installation.
Plan the sink and its surroundings
Measure the cabinet, existing opening and available space before selecting a sink. A drop-in, undermount or other fixture has different support and countertop requirements. Check faucet holes, bowl depth, drain position and any accessories against the manufacturer’s specifications.
Do not assume a new fixture will fit because its outer width resembles the old one. A deeper bowl or a drain in a different position can change the space available for the trap, disposal or dishwasher connection. A countertop fabricator or plumber can identify conflicts before the old sink is removed.
Check permits and the work scope
Permit and inspection requirements depend on the location and extent of work. California’s Contractors State License Board advises checking with the local building department. For example, Piedmont states that plumbing permits are often required for kitchen or bathroom work; that does not establish the rule for every Bay Area city.
Ask the authority having jurisdiction about the actual work, especially if supply lines, drains, venting, electrical equipment or a countertop are being changed. In a rental, condominium or shared building, obtain the approvals required by the owner or governing documents.
Shut off the correct water safely
Locate the hot and cold shutoff valves serving the fixture and test whether they can be operated without force. If a valve is stuck, leaking or cannot isolate the water, contact a plumber rather than forcing it. Protect the cabinet and floor from residual water after the supply is safely isolated.
Keep water away from electrical outlets, disposal wiring and appliances. If standing water is near electricity, stay clear and seek qualified help. Do not disconnect electrical equipment, modify wiring or work on concealed plumbing unless qualified and authorized.
Mount the sink for its design
Follow the fixture and countertop manufacturer’s instructions for supports, clips, sealant and curing time. An undermount sink may need support that differs from a self-rimming fixture. A heavy sink or stone countertop can require specialized handling and fabrication.
Check that the fixture is secure and that the faucet and drain remain accessible. Do not cut or alter a countertop based on a generic online dimension. The correct template, clearances and support depend on the exact product and existing structure.
Connect the water supplies
The faucet connects to hot and cold supplies using components compatible with the fixture and existing shutoffs. The type and length of connector, sealing method and torque depend on the manufacturer. Avoid cross-threading, excessive force and reusing visibly damaged parts.
A plumber can replace a defective valve or modify a supply when necessary. If water or pipe damage is visible inside a wall or cabinet, assess and dry affected materials separately. A new faucet alone will not resolve an existing concealed leak.
Understand the drain, trap and vent
The sink drain connects to a trap and a drain line; the trap holds water that helps separate indoor air from sewer gases. The arrangement may also include a disposal, dishwasher connection or additional bowl. The system needs appropriate venting, and the approved configuration varies with the building and jurisdiction.
Do not improvise a trap, remove a required vent or rely on a generic diagram for pipe sizing and slope. Follow the fixture instructions and local plumbing requirements, and ask a plumber when the drain location or configuration changes. Never open a backed-up line or a trap containing corrosive drain cleaner without appropriate precautions.
Disposal and dishwasher connections
A kitchen sink may connect to a garbage disposal and dishwasher drain. Each has product-specific plumbing and, for a disposal, electrical requirements. Isolate power according to the equipment instructions and use qualified help if wiring or a receptacle must be changed.
A dishwasher connection and any required air-gap or backflow arrangement depend on the installation and local rules. Ask the installer to identify the connection and test it as part of the full scope. Do not reach into a disposal chamber, even when the appliance is off.
Test, document and monitor
After the work is complete and any required sealant has cured, restore water as directed and check the accessible supply, faucet, drain and trap connections for leaks. Test the sink and associated equipment according to the manufacturer’s instructions. A dry-looking cabinet before testing does not prove every connection is sound.
Ask the installer what was replaced, whether permits or inspections apply, and what to watch for. Keep the product manuals and invoices. Recheck accessible connections and the cabinet after normal use; if water returns, stop the source when safe and arrange a prompt assessment.
A typical kitchen connection sequence
With the water isolated and the old fixture removed, confirm the new sink, faucet, drain position and cabinet clearances against their instructions. Install the faucet and drain fittings at the stage specified by the manufacturer, mount and support the sink, and allow any specified sealant to cure. Connect compatible hot and cold supply lines without forcing threads.
Connect the drain outlet to the correctly arranged trap and existing drain, with any disposal and dishwasher connection installed to their own instructions and local requirements. Restore water and inspect supply joints; run water, fill and drain the bowl, and check the drain, trap and cabinet for drips. Test any dishwasher connection as directed. Arrangements, venting and permit rules vary; a plumber should resolve mismatched elevations, damaged valves or alterations rather than forcing parts to fit.
Your next-step checklist
- Confirm the fixture fits the cabinet and countertop.
- Check local permits and building approvals.
- Isolate water and electrical hazards safely.
- Use the specified mounting and drain configuration.
- Test accessible connections and monitor for leaks.
Related questions
Can I install a new sink in the existing opening?
Sometimes. Check the exact opening, cabinet, support requirements and drain and faucet positions for the selected fixture.
Does a sink need a trap and vent?
A sink drain generally uses a trap and requires an appropriate venting arrangement. The approved design depends on local requirements and the actual system.
Do I need a permit to replace a sink?
Requirements vary by jurisdiction and scope. Ask the local building department before work begins.
Why is there water under the new sink?
A supply, faucet, drain, trap or other connection may be leaking. Stop the source if safe and have the installation inspected; a puddle alone does not identify the cause.
Sources & context
Public guidance supports the principles in this article. The practical questions and examples are editorial interpretation, not a site assessment or a coverage decision. State-specific rules apply only where identified.
- California CSLB: Building permit requirementsstate consumer guidance
- City of Piedmont: Plumbing permitslocal permit guidance
- City of San Ramón: Plumbing permit exemptionslocal permit guidance
- KOHLER: Kitchen sink installationprimary guidance