A dripping faucet may need a worn seal, washer or cartridge replaced, but the correct part depends on the faucet design. Turn off the appropriate water supplies before disassembly, follow the manufacturer’s instructions and stop if valves or fittings are corroded or unsafe. A plumber can help identify and repair an uncertain leak.
Identify where the water appears
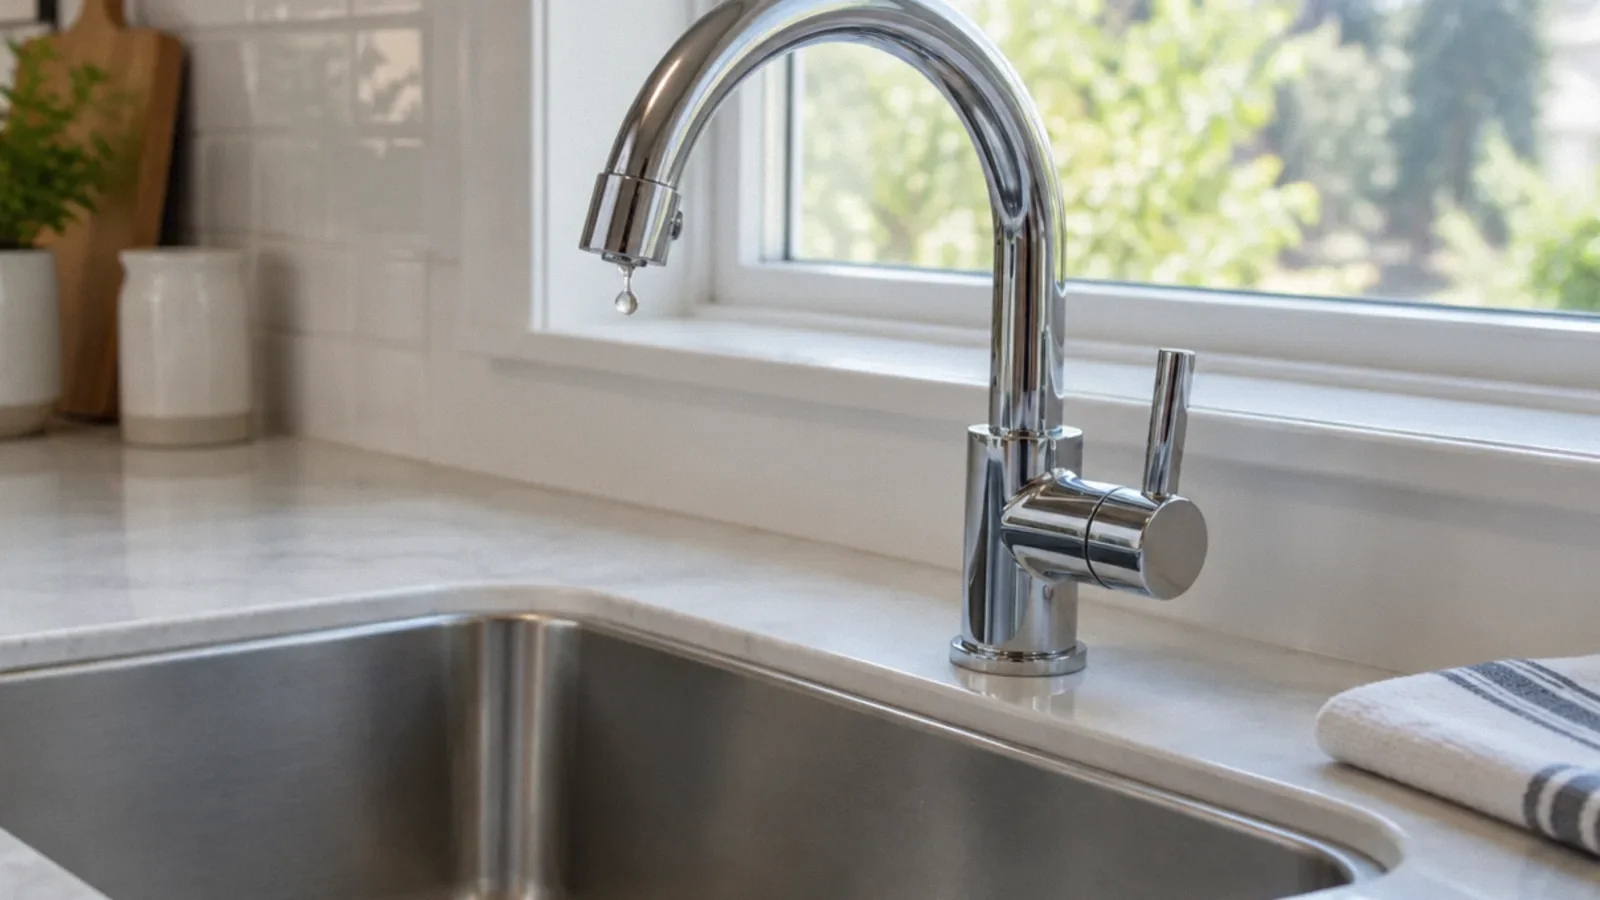
A drip from the spout after the handle is closed can indicate a problem inside the faucet. Water around a handle, base or supply connection may have a different source. Look from a dry, safe position and note whether the leak occurs only while the tap is running or continues when it is off.
Water can travel along a hose or cabinet surface before forming a puddle. Dry an accessible area and observe it carefully without touching nearby electrical equipment. If water is near an outlet or damaged wiring, keep clear and arrange qualified help.
Choose between repair and service
Many faucets use replaceable components, but compression, cartridge, ceramic-disc and other designs are not assembled in the same way. A correct diagnosis and part depend on the manufacturer and model. An old fixture, inaccessible connection or damaged valve may make professional service more appropriate.
Call a plumber if the shutoff will not close, a connection is badly corroded, water continues to flow or disassembly would require force. A leak inside a wall or under flooring needs a broader assessment than replacing a visible faucet component.
Shut off the water safely
Identify the hot and cold supply shutoffs serving the fixture and close them only if they can be operated safely. Follow the manufacturer’s instructions to relieve remaining water and confirm the supply has stopped before opening the faucet. Keep a towel and suitable container nearby.
Do not force a stiff or leaking shutoff valve. If the fixture valves cannot isolate the water, a plumber may need to use the main shutoff or repair the valves. Know how to restore water safely and check other affected fixtures afterward.
Find the model and replacement part
Look for a manufacturer and model marking, installation manual or receipt. A cartridge, washer, O-ring or other part must match the particular faucet; components that look similar may not fit or seal correctly. Photograph the assembly before disassembly if doing so is safe.
Use the manufacturer’s parts diagram and instructions. Keep small parts in their order, protect the sink finish and do not force a handle or retaining nut. If a part is seized or the design is unclear, stop before damaging the fixture or supply line.
Single-handle faucets may use one mixing cartridge; two-handle models often have separate hot and cold cartridges or valves. Ceramic-disc and compression designs differ, and similar-looking cartridges are not necessarily interchangeable. Identify the model, affected side and exact manufacturer part before buying; follow that model’s diagram rather than assuming a universal assembly.
Replace the affected component
With water isolated and the faucet opened as directed by the manufacturer, inspect the specified replaceable components. Install the correct part in the orientation required for that model, using only the tools and materials recommended by the manufacturer. Reassemble without overtightening.
A general guide cannot provide a universal sequence for every faucet. Some units require a special tool, and hot-water components may remain hot. If the leak continues or the fitting does not seat correctly, stop and obtain the correct instructions or professional help.
After safely shutting off and confirming both supplies are stopped, follow the specific manufacturer’s sequence for removing the handle and retaining parts, noting orientation and reassembling with the specified replacement. Do not force a seized cartridge or improvise a retaining clip. If the valve is damaged or the instructions do not match, stop and call a plumber.
Restore water and check
After reassembly, ensure the faucet is properly closed, restore the supplies as directed and check accessible connections for leaks. Open the fixture according to the manufacturer’s instructions and observe the spout, handles, base and supply connections. Do not leave an active leak unattended.
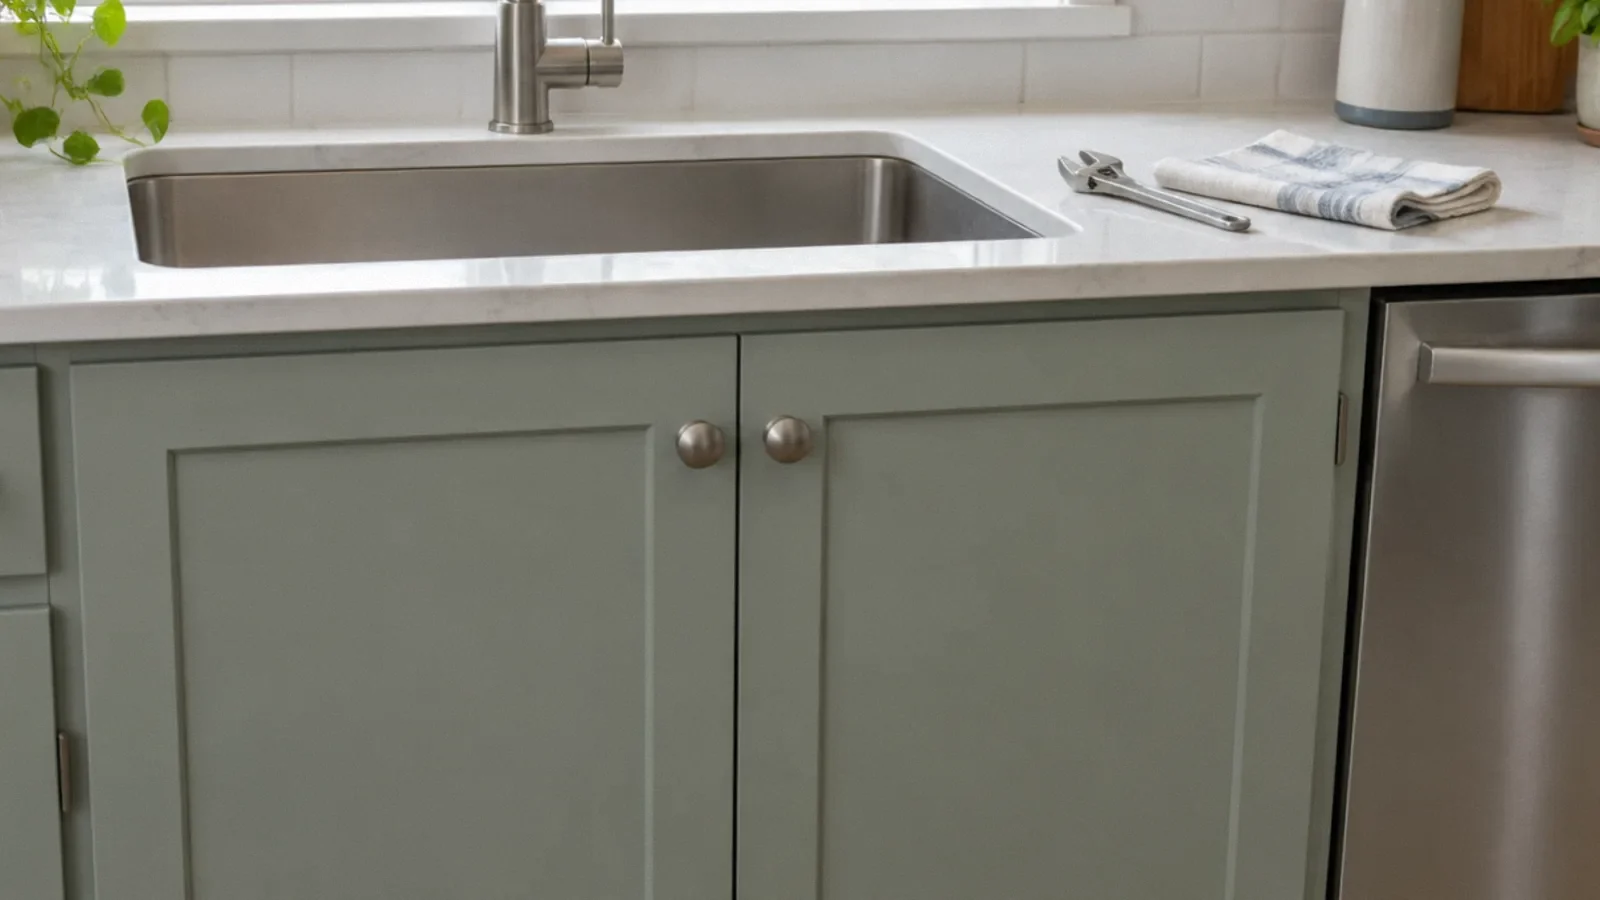
Check the cabinet again later for new moisture. If a valve or supply line begins leaking, isolate the water only if safe and call a plumber. A successful initial test does not guarantee that a hidden water-damaged cabinet or wall has dried.
Deal with water damage
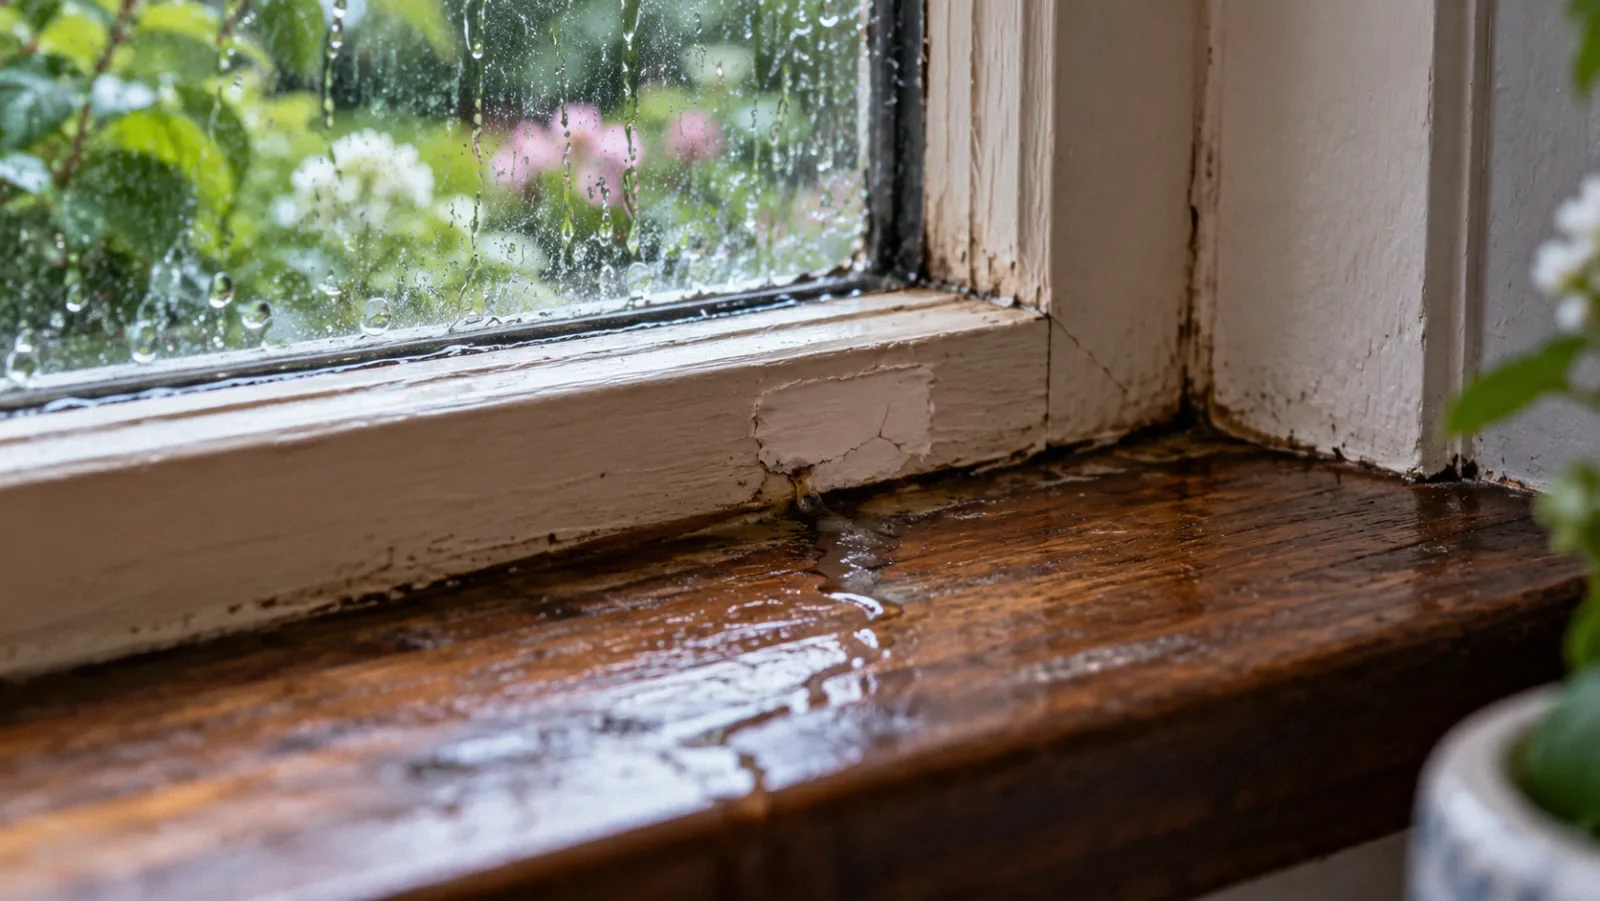
If water has soaked a cabinet, floor or wall, investigate how long it was wet and whether water reached concealed materials. Keep clear of electrical hazards and arrange appropriate drying or assessment. A repaired faucet stops one source of water but does not automatically repair the affected building materials.
Document the damage and keep service records. If the water source is uncertain or moisture returns, ask the professional to trace the leak rather than replace additional parts at random. Repeated staining can indicate a separate supply, drain or countertop problem.
Preventing repeat leaks
Inspect accessible connections periodically, avoid using excessive force on handles and follow the manufacturer’s maintenance guidance. Mineral buildup and wear can affect fixture operation, but their appearance alone does not establish which component has failed.
Save the model information and receipts for replacement parts. If the fixture is replaced, select a compatible product and follow local requirements. EPA WaterSense resources include guidance on finding leaks and choosing water-efficient fixtures.
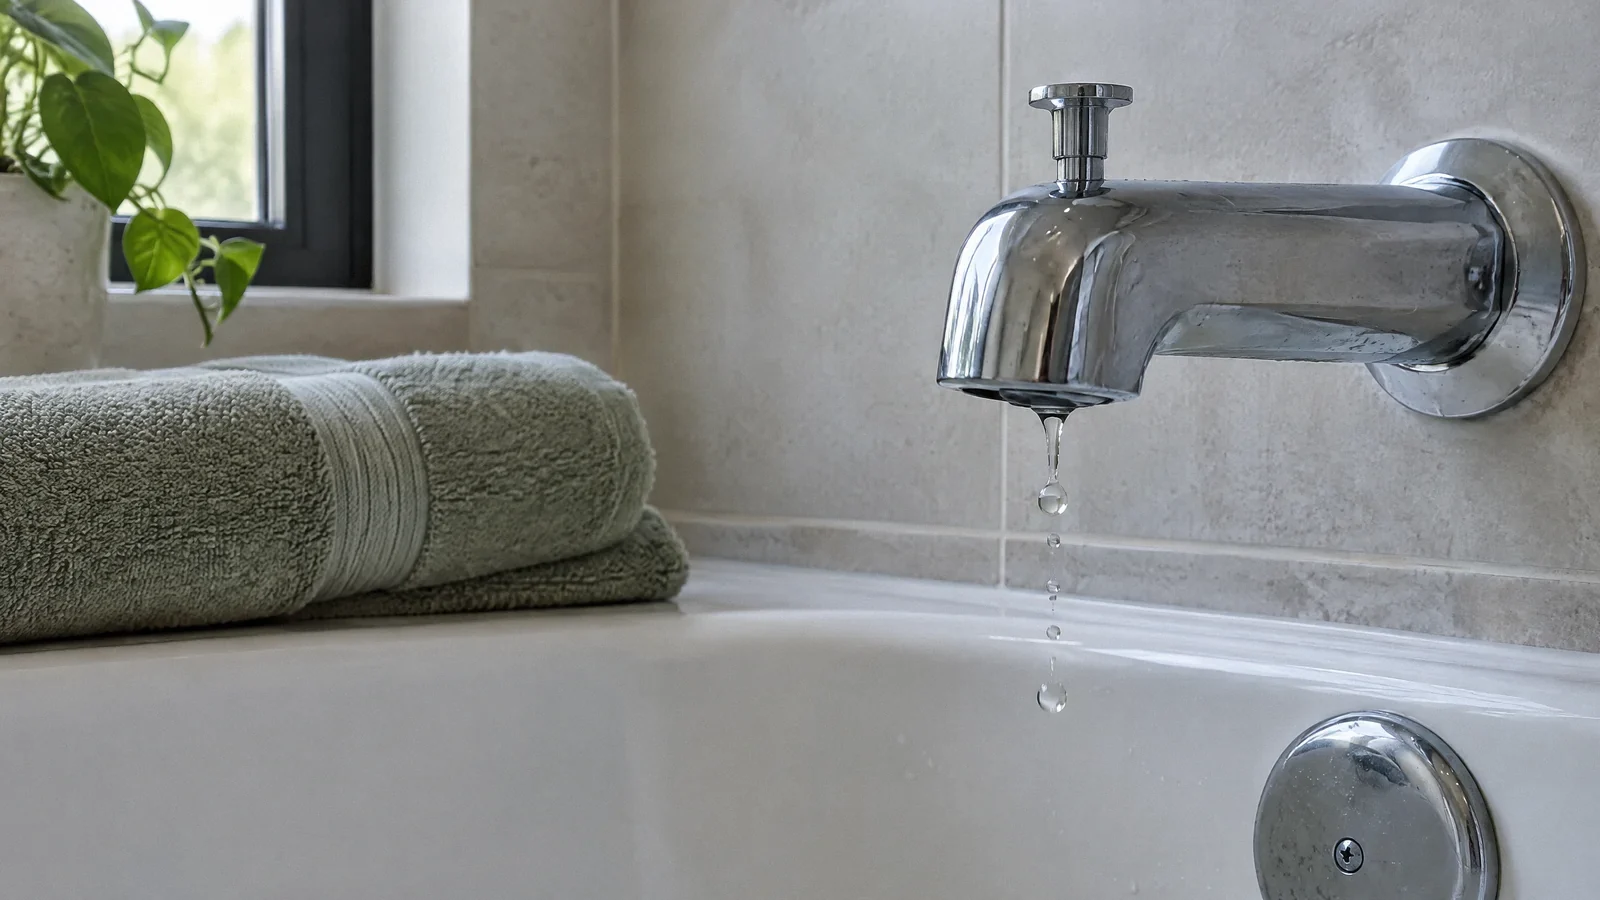
A dripping bathtub faucet
A bathtub faucet may use a different valve and access arrangement. See the related bathtub faucet guide; do not open a concealed wall or force a valve to diagnose it.
Your next-step checklist
- Identify whether the leak is at the spout, base or supply.
- Close the correct water supplies before disassembly.
- Do not force a corroded shutoff or fitting.
- Use the manufacturer’s correct replacement part.
- Check for leaks and assess any wet materials afterward.
Related questions
Why does a faucet drip after it is turned off?
A worn internal component is one possibility, but the part and cause depend on the faucet design. Identify the model before choosing a repair.
Should I force a stuck shutoff valve?
No. A stiff or corroded valve can fail or start leaking. Ask a plumber to assess it.
Can I use any faucet cartridge that looks similar?
No. Use the part specified for the fixture and follow its instructions.
What if the faucet is fixed but the cabinet remains wet?
The affected materials still need assessment and drying. Investigate whether water reached concealed surfaces or another leak is present.
How do I fix a dripping bathtub faucet?
Identify the model and isolate the water safely. The valve and access vary, so follow its instructions or call a plumber if the shutoff or repair is uncertain.
Sources & context
Public guidance supports the principles in this article. The practical questions and examples are editorial interpretation, not a site assessment or a coverage decision. State-specific rules apply only where identified.
- U.S. EPA: Home maintenance and faucetsfederal water guidance
- U.S. EPA: Fix a leakfederal water guidance
- U.S. EPA: Mold cleanup in your homefederal guidance
- Source guidance: solutions.moen.comverified guidance
- Source guidance: assets.moen.comverified guidance