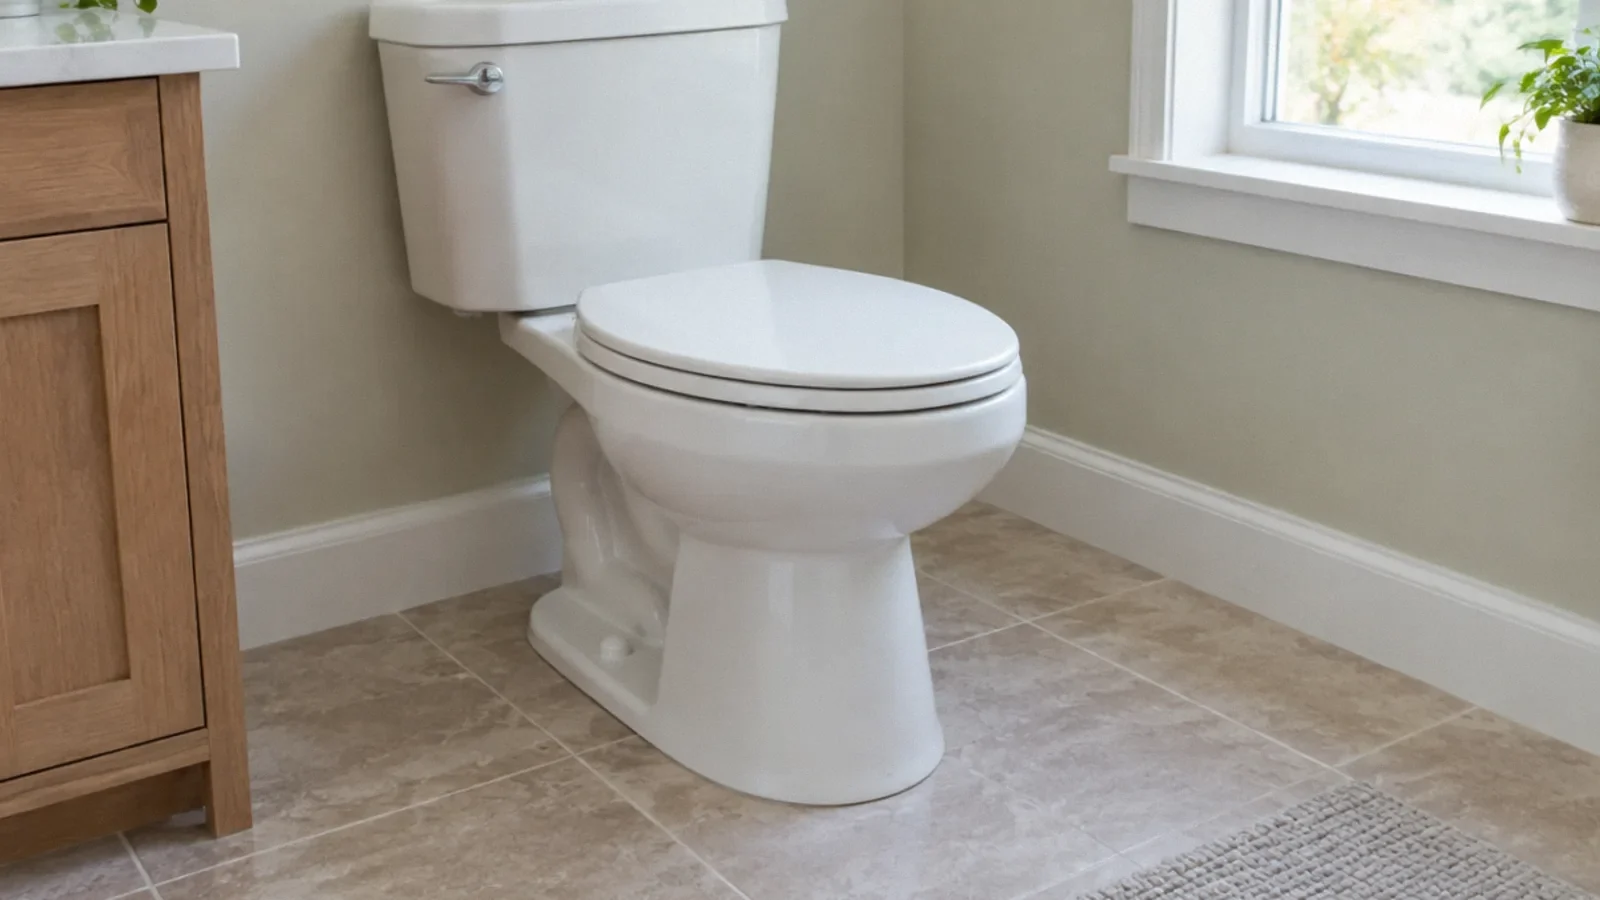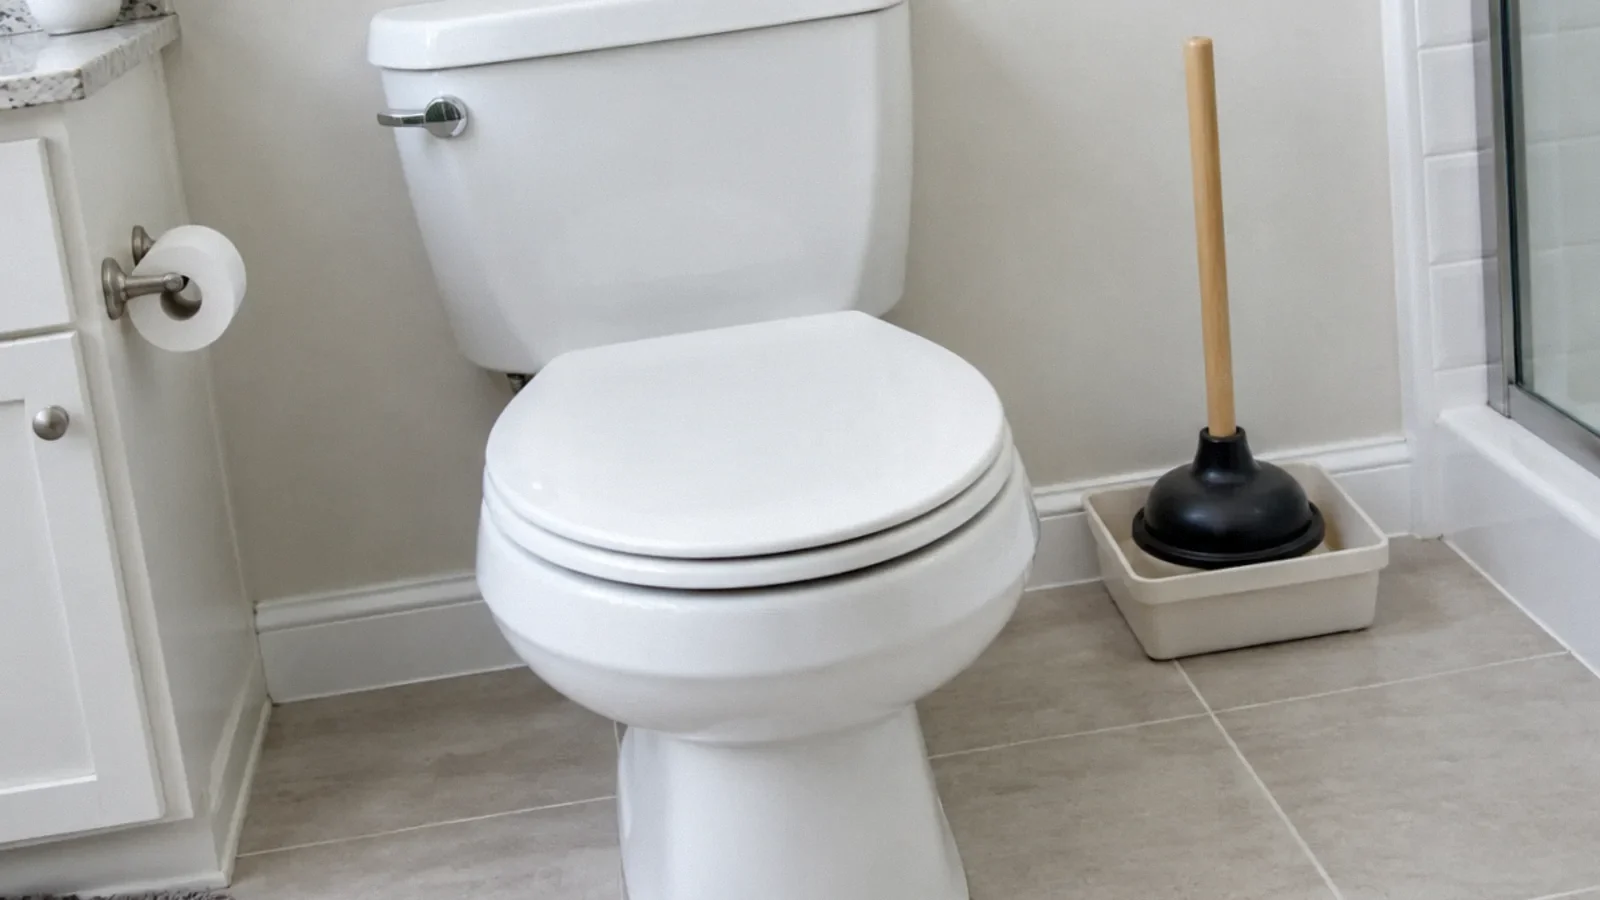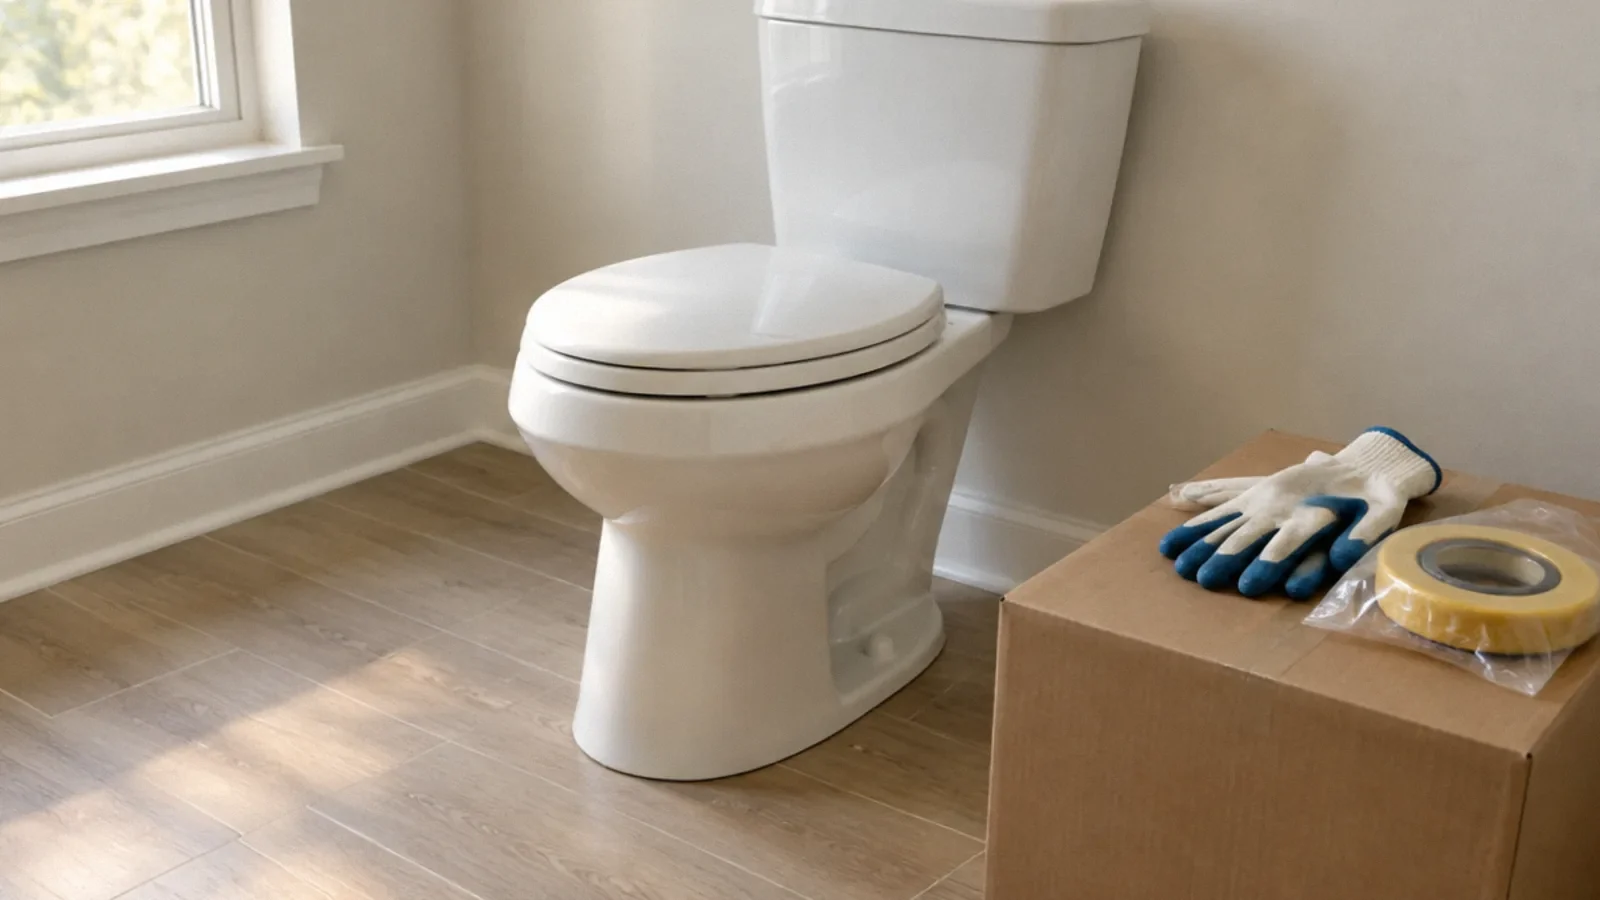
Installing a toilet involves isolating water, removing the old fixture, checking the floor and flange, setting the new toilet with the correct seal, reconnecting supply and checking for leaks. Exact steps depend on the toilet and installation. The fixture is heavy and improper sealing can cause water or sewer-gas problems, so hire a plumber if the work is uncertain.
Check the model and the location
Read the installation instructions for the exact toilet before buying parts or removing the old fixture. Check the rough-in dimension, available clearance, supply position and whether the floor and flange suit the new model. A one-piece, two-piece, wall-hung or specialty toilet may have different requirements.
Ask the local building department whether a permit or inspection is required for the planned work, especially when moving plumbing or changing the drainage system. A licensed plumber can assess an unfamiliar installation and any local requirements.
For a typical floor-outlet toilet, measure rough-in from the finished wall, excluding baseboard, to the center of the drain or closet bolts. Kohler identifies 12 inches as most common, with 10- and 14-inch models also available. This measurement is not the side clearance; confirm both the model drawing and applicable local requirements.
Prepare for safe removal
Shut off the fixture water supply if the valve works normally and follow the manufacturer’s instructions for draining and disconnecting the old toilet. Keep towels and a suitable container nearby. Do not force a corroded valve or connection; arrange a plumber if the water cannot be isolated safely.
Toilets are heavy and awkward, and porcelain can crack or cut skin. Use help and suitable protective equipment. Wastewater can be contaminated, so protect the area and clean according to the situation. Do not move the fixture through standing water near electrical equipment.
What does the toilet flange do?
The floor flange connects the toilet to the drain and provides attachment points for the fixture. The seal between the toilet outlet and flange helps prevent leaks and sewer gas from escaping. A broken, loose, corroded or incorrectly positioned flange requires assessment before the new toilet is set.
Kohler’s linked installation manual includes a diagram of a toilet, seal, flange and mounting hardware for a specific model. Use it to understand the relationship of parts, not as a universal substitute for your own model’s instructions. Existing flooring height and flange condition can change the repair.
The flange is the floor connection and attachment point, whereas the toilet trapway is the curved passage inside many bowls. The water retained in that passage forms a seal against sewer gas; it is not a separate sink-style P-trap. Check the model diagram for the actual arrangement.
See the Kohler installation diagram listed in Sources for one model: it labels the floor flange, mounting bolts and rough-in. It is an example, not a universal specification; obtain the instructions for the toilet and flange actually being installed.
Inspect the floor and surrounding materials
With the old fixture removed, check the accessible floor and subfloor for softness, swelling or damage. A leaking toilet may have affected layers beyond the visible surface. Repair the source and any damaged support before installing a replacement; a new seal cannot correct an unsound floor.
If damage is extensive, contaminated or difficult to reach, stop and arrange qualified assessment. Follow safe practices for an open drain and the applicable plumbing instructions; do not leave an opening accessible to children or pets during the work.
Set the new fixture using its instructions
Use the seal, fasteners and sequence specified for the toilet and flange. Carefully align and lower the fixture as the instructions direct. Kohler cautions in its model-specific manual that rocking or lifting the toilet after placement can break a wax seal; a disturbed seal may need replacement.
Do not overtighten fasteners and crack the porcelain. Manufacturer instructions can differ, so do not transfer a torque value or seal arrangement from an unrelated model. If the toilet rocks, the flange is damaged or alignment is uncertain, stop and have a plumber correct the cause.
Connect the supply and test
Connect the supply using compatible parts and the manufacturer’s directions, then restore water gradually and inspect accessible connections. Flush and check the base, tank connections and supply line for leakage. Do not rely on a bead of caulk to conceal an active leak.
Some leaks become apparent only under use. Recheck the area after the fixture has operated and ask a professional if water returns. If the toilet will not sit securely, the tank continues filling or the shutoff leaks, correct the issue instead of repeatedly tightening parts.
How hard is it to install a toilet?
Difficulty varies with the fixture, weight, condition of the existing flange and floor, water shutoff, access and local requirements. A straightforward replacement can become more involved if bolts are corroded, the subfloor is damaged or the drain position must change. Plan time and help accordingly.
Call a plumber when water cannot be isolated, the flange or drain needs repair, a concealed leak is suspected, the fixture cannot be safely lifted, or the instructions are unclear. Request a written scope that distinguishes fixture installation from floor repair or plumbing alterations.
Home Depot describes a typical professional removal and replacement as taking about one to two hours. Treat that as a planning illustration, not a promise: a damaged flange, seized shutoff, rotten floor, difficult access or changes to the drain can add substantially to the work. Ask the installer what the appointment includes.
After installation
Keep the model and service information and document any repairs made to the flange or floor. Dispose of old materials according to local requirements and clean the work area. A stable fixture and a dry accessible connection are useful checks, but hidden damage may need separate assessment.
Monitor for movement, odors or water around the base. Stop using the fixture and seek help if it leaks or sewage backs up. A properly installed toilet still needs a sound water supply, drainage path and floor assembly.
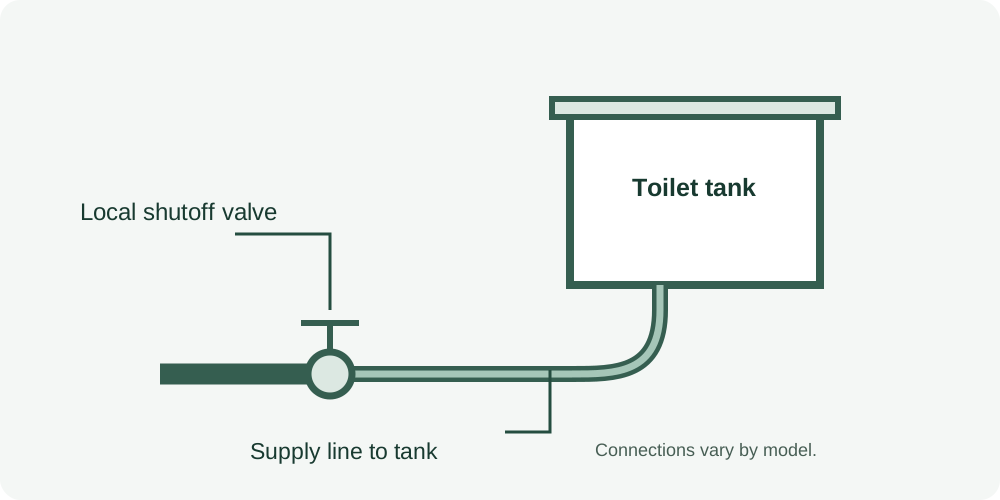
Water supply line and shutoff
A toilet supply line connects the local shutoff valve to the tank’s fill connection. Its material, connections and location depend on the specific fixture. The diagram is an identification aid, not an installation specification. Follow the toilet and supply-line instructions and consult a qualified plumber if the valve or connection is damaged.
Your next-step checklist
- Read the exact toilet manufacturer’s installation instructions.
- Confirm water shutoff, clearance, flange and floor condition.
- Use help for the heavy fixture and avoid contaminated water.
- Use the specified seal and do not overtighten porcelain fasteners.
- Check supply, tank and base for leaks after installation.
Related questions
How hard is it to install a new toilet?
It depends on the fixture and the condition of the shutoff, flange and floor. The fixture is heavy and a damaged drain or floor can require a plumber.
What is a toilet flange?
It is the fitting that connects the toilet to the drain and provides attachment points. The linked manufacturer manual shows a model-specific diagram.
Can I reuse an old wax ring?
Follow the replacement instructions for the exact fixture. A disturbed wax seal may not reseal reliably and generally needs replacement.
What if the toilet rocks after installation?
Do not conceal the problem by repeatedly tightening bolts. A damaged flange, uneven floor or another condition may need correction; ask a plumber.
Are toilet flanges universal?
No. Flanges differ by drain material, size and installation. Check the actual plumbing and toilet instructions and consult a plumber if compatibility or flange condition is uncertain.
What is a toilet trapway or P-trap?
Many toilets contain an integral curved passage, or trapway, that retains a water seal and carries waste to the drain. Its shape differs from the separate P-trap often seen under a sink; consult the fixture’s documentation.
How far is a toilet set from the wall?
The rough-in and finished clearances depend on the toilet model, plumbing layout and local requirements. Measure and follow the manufacturer’s installation instructions and obtain qualified help when moving a drain.
Can a toilet drain through a wall?
Some toilets use a wall outlet while others discharge through the floor. The model, rough-in and local requirements determine the connection. A qualified plumber should assess any change in location or outlet type.
Sources & context
Public guidance supports the principles in this article. The practical questions and examples are editorial interpretation, not a site assessment or a coverage decision. State-specific rules apply only where identified.
- Kohler: Toilet installation instructions and flange diagrammanufacturer installation instructions
- U.S. EPA: Caring for a septic systemfederal wastewater guidance
- California Contractors State License Board: Hiring a contractorstate consumer guidance
- Kohler: Toilet installation overviewtechnical reference
- Kohler: Toilet buying guidemanufacturer guidance
- Home Depot: Toilet installation timeinstallation service guidance