Some clean-water-damaged drywall can be dried in place if it remains sound and the wall cavity can be addressed. Swelling, failed seams, contamination, wet insulation, or concealed moisture may require removal. The decision should follow the assembly and condition, not an automatic cut height.
Start with the conditions behind the rule
EPA’s clean-water table says wallboard may be dried in place when there is no obvious swelling and seams remain intact. This is conditional guidance. It does not say every wall can be saved, and it is not intended to turn a sewage or mold event into a simple dry-out.
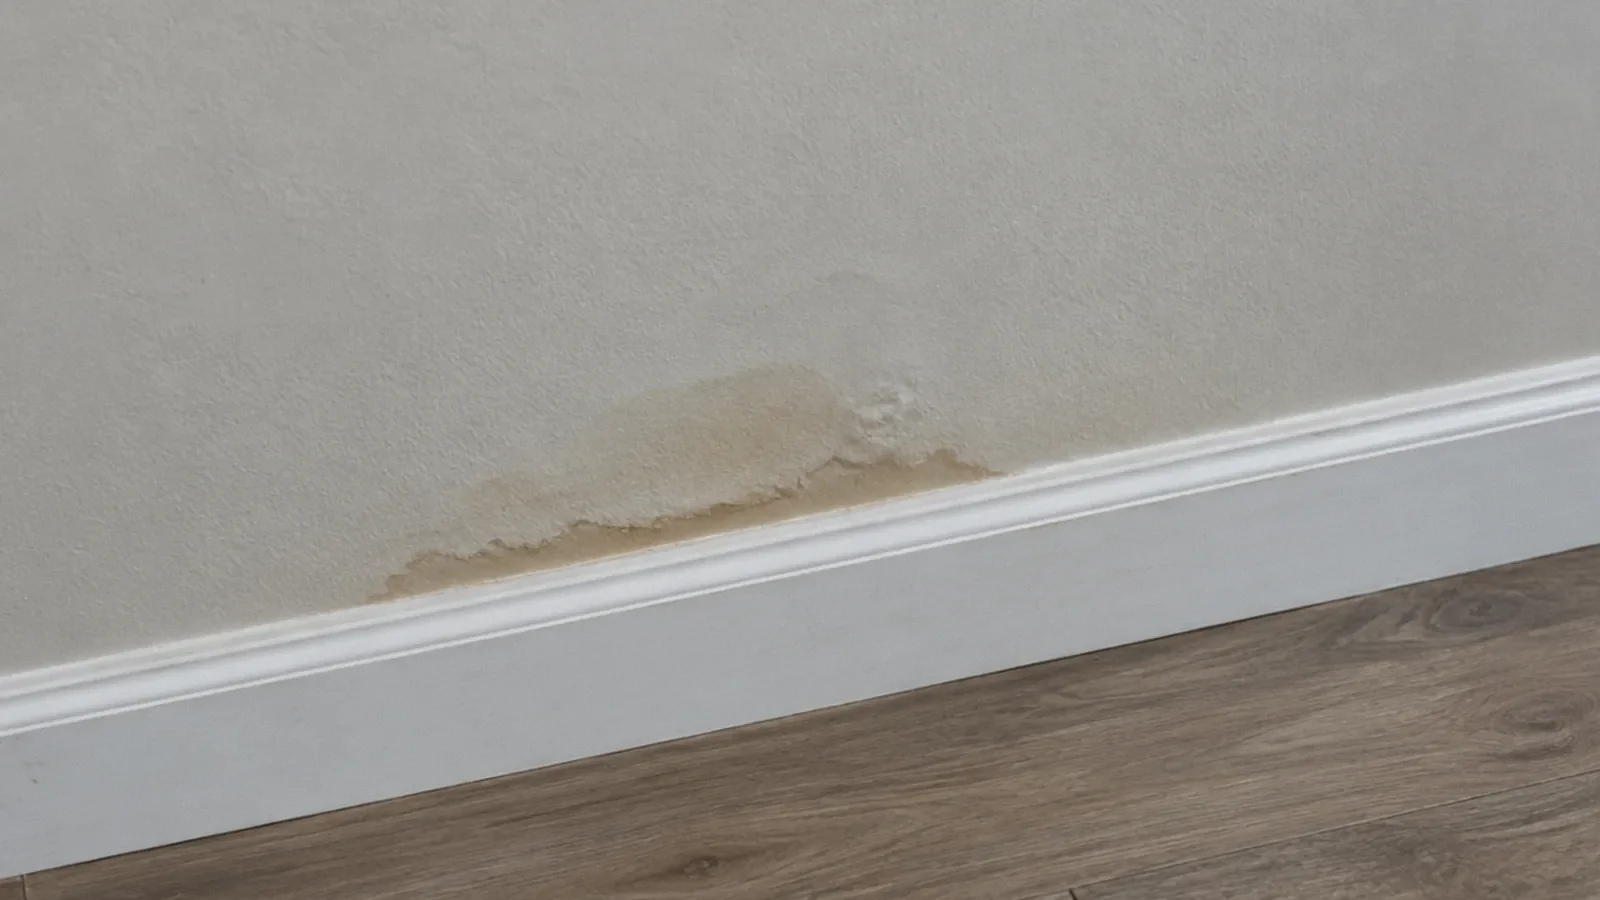
Examine softness, distortion, paper separation, loose joints, and attachment. Record the water route and exposure history. A wall that looks acceptable on the room side may have a wet back face, soaked insulation, or moisture at the bottom plate.
First response and drying a small clean-water leak
Stop the source if it is safe and keep away from water near electrical equipment. Identify the source before drying; if the origin is uncertain, see the guide to signs of water damage in walls. Sewage, floodwater, a sagging ceiling or a large affected area calls for qualified help rather than this clean-water approach.
For a limited confirmed clean-water incident, remove accessible standing water safely and use ventilation and dehumidification where suitable. Drywall may look dry while insulation, framing or its back face remain wet. A qualified assessor can determine whether the cavity needs access and check retained materials with suitable moisture measurements. Do not cut into a wall with concealed utilities or suspect hazardous materials. Stop and seek help if the board softens, the wet area spreads, odors persist or the cavity cannot be assessed.
Getting drywall wet does not guarantee mold, but continued moisture can support growth. Correct the source and dry or remove affected material promptly. EPA recommends drying wet materials as quickly as possible, ideally within 24 to 48 hours; this is not a precise growth deadline or a guarantee for a particular wall. Drying time depends on the board, water exposure, wall layers and conditions. A question about drying joint compound during a repair is different: follow that product’s application and drying instructions rather than applying a water-damage timetable.
Why fixed two-foot cuts are not a diagnosis
A horizontal removal strip can make repair practical, but its height should not replace assessment. Water can wick or travel above a visible line, and a cavity can be affected higher than the floor-facing stain. Other events may be localized above a ceiling or around a pipe.
Ask what observation sets the removal boundary and whether it will be reassessed after opening. A proposal should distinguish material removed because it is damaged from sound material removed to gain access. Both can be reasonable, but they are different explanations.
Insulation and cavities change salvage options
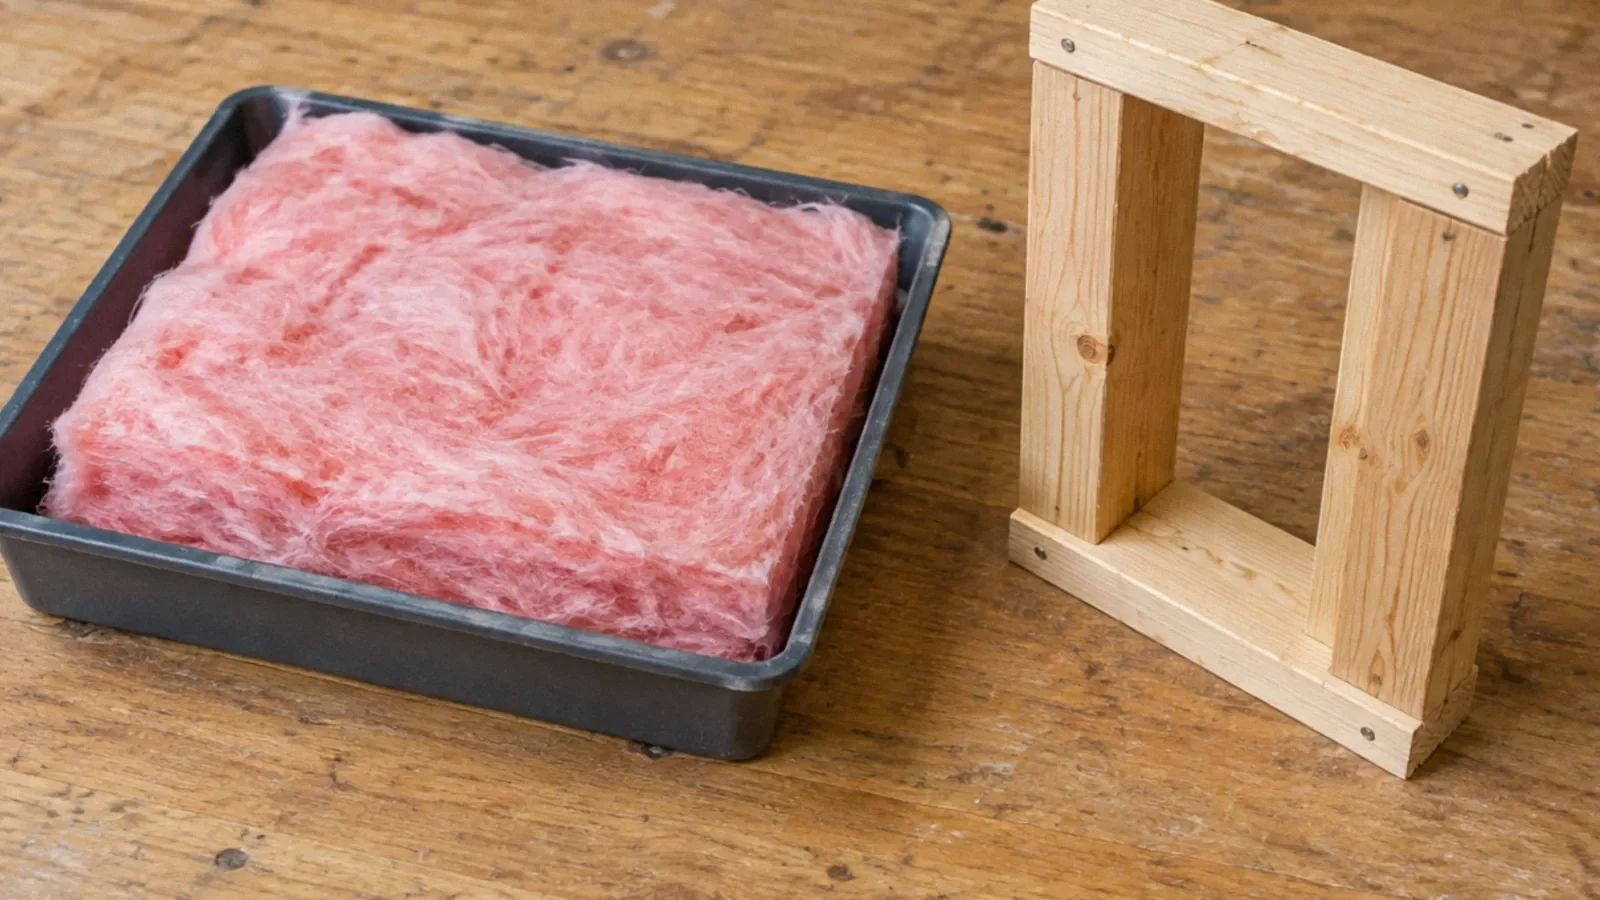
An insulated exterior wall contains layers that may not dry effectively through the exposed face. EPA recommends replacing wet fiberglass and cellulose insulation in its clean-water table. Leaving the wall closed to preserve drywall can conflict with the need to address those layers.
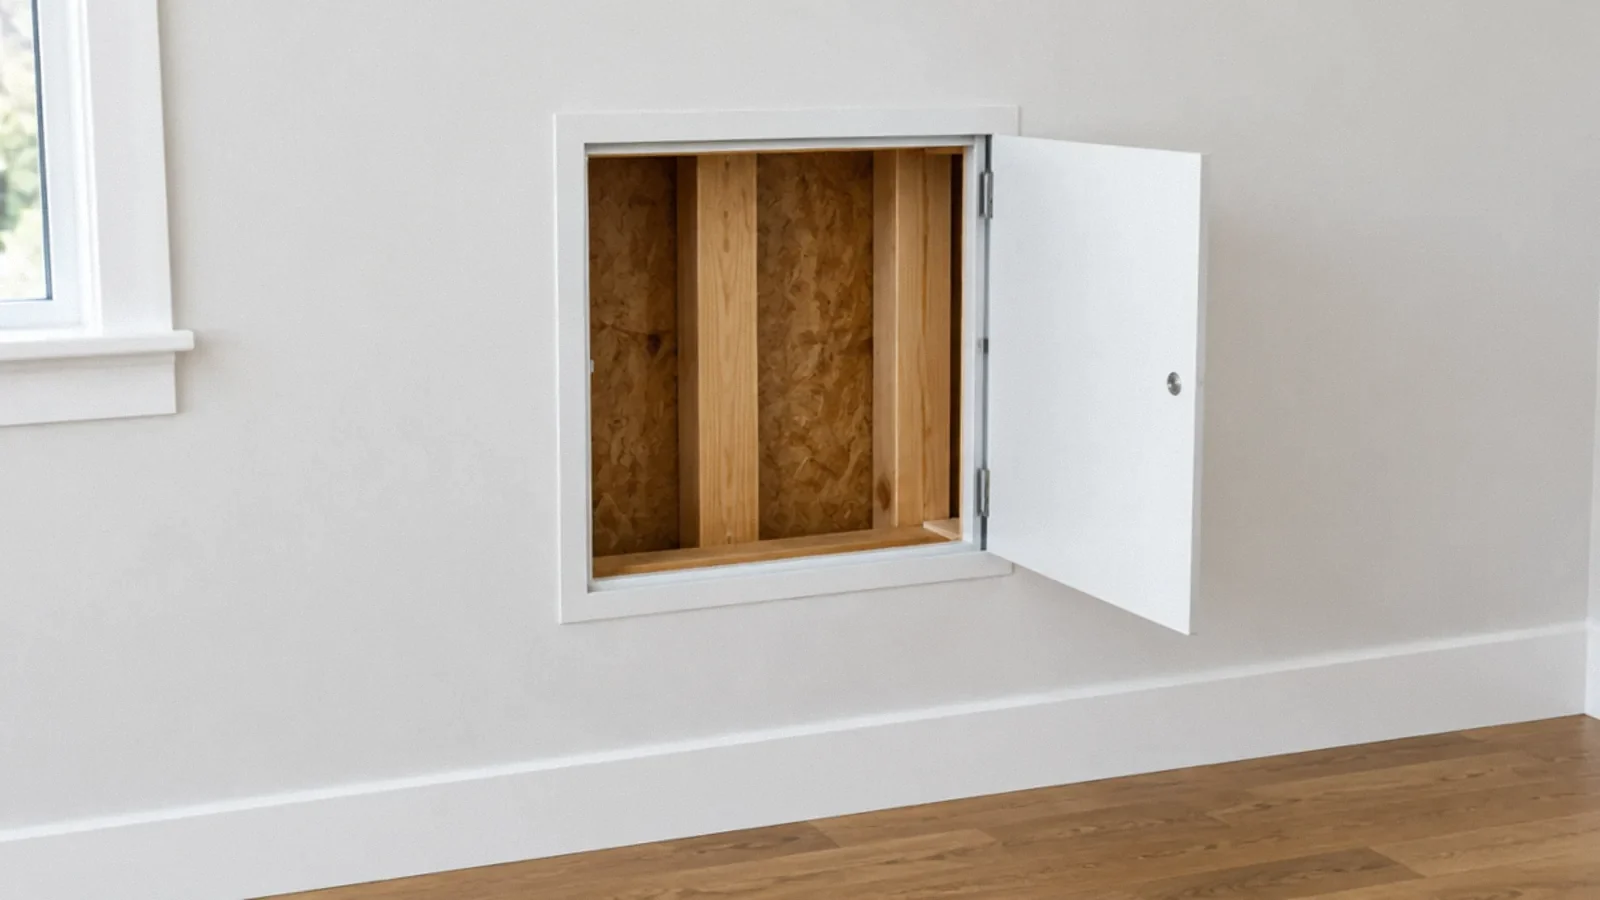
Cavity ventilation or specialist drying methods may be considered when appropriate, but the restorer should explain how water and contamination will be evaluated and how retained layers will be checked. A row of holes is a technique, not proof that the entire cavity dried.
Plan safe access and correct reconstruction
Before cutting, consider concealed wiring, plumbing, and potentially hazardous finishes or old materials. The repair must also restore any required fire resistance, sound control, insulation, and air or vapor-control details. A visually neat patch is only one part of the assembly.
Do not install a new plastic layer merely because the old wall lacked one or because a forum recommends it. Moisture-control design depends on climate, wall construction, and exposure. EPA’s building moisture guidance emphasizes the entire assembly rather than a universal barrier placement.
Two walls with the same stain can need different scopes
Compare an uninsulated interior partition affected by a brief confirmed clean-water leak with an exterior wall containing soaked insulation. Their room-side stains might look similar. The first may offer an accessible, intact assembly suitable for evaluated in-place drying; the second may require opening to remove affected insulation and inspect sheathing. Appearance alone cannot resolve that difference.
A sound proposal describes both the drywall’s condition and the cavity’s needs. If a wall is opened only for access, keep that reason in the record. It avoids the misleading suggestion that every removed square foot was independently unsalvageable. If removal reveals a higher wet boundary, document the new evidence before revising the scope.
Check corners, intersecting partitions, and door jambs where water may move outside the initial opening. These details can also affect how a patch restores the original assembly. A standard rectangular cut can simplify finishing without defining the full investigation.
A useful closure meeting
Before the board installer arrives, review the open-wall photographs and remaining readings with the responsible person. Confirm which materials were removed, which were cleaned, and which were retained. Name any area that could not be directly checked and how the uncertainty was resolved.
If a trade says the wall is ready based only on elapsed days, ask for the actual retained-material basis. If the conditions support closure, record that decision and proceed; there is no benefit in keeping a verified assembly open indefinitely. The goal is a defensible hold point, not delay for its own sake.
Accept retained material using evidence
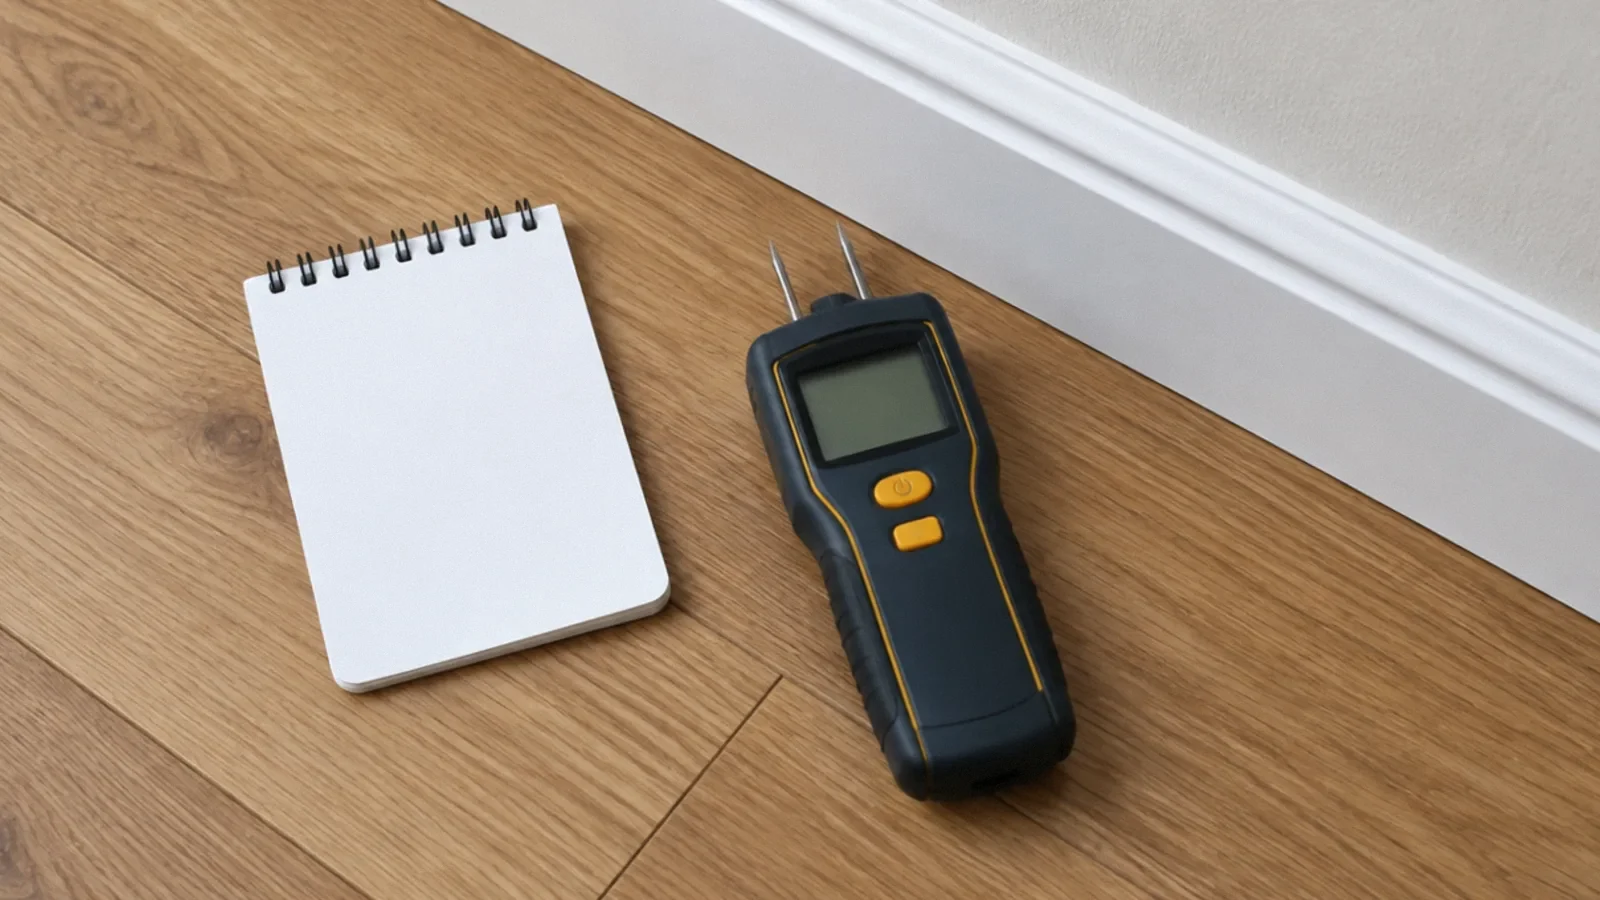
Ask for a map of moisture readings, their material and instrument settings, and the basis for the drying goal. Compare relevant retained surfaces and framing, including the locations that were initially wettest. A dry room does not establish a dry wall cavity.
Before closing, photograph the cavity and identify remaining limitations. If a section could not be accessed or measured, have the contractor explain how that uncertainty affects the repair. A written conclusion with boundaries is more useful than a blanket “all dry” statement without locations.
Recognize damage and plan a repair
Drywall is porous, not a waterproof nonporous surface; its paper facing and gypsum core can absorb moisture. Swelling, softening, crumbling, staining, bubbling paint or a musty odor may justify an inspection, but appearance alone does not determine how far moisture traveled. A moisture assessment and the condition of the concealed layers guide the scope.
After the source is repaired and retained materials are clean and suitably dry, a qualified repairer can replace unsound board, restore the wall assembly and finish the surface. Check insulation and framing before closing a cavity. Follow product instructions for joint compound drying; painting over damp material can conceal an unresolved problem.
Your next-step checklist
- Identify water quality and visible loss of drywall integrity.
- Ask what evidence determines removal height and the lateral boundary.
- Include insulation, framing, wall backs, and bottom plates in the scope.
- Plan invasive access around utilities and suspect materials.
- Document retained-material acceptance and reconstruction details before closure.
Related questions
Does any stain require replacement?
A stain alone does not settle the question. Source, contamination, physical integrity, back-face condition, and the ability to dry the cavity matter.
Can I wait until a future remodel to remove wet drywall?
Do not leave unresolved wet or contaminated material in place merely because appearance is unimportant. Prompt assessment is needed to determine what can be safely retained.
Is moisture-resistant drywall floodproof?
No. Product characteristics may help in particular applications, but they do not make an assembled wall immune to flooding or eliminate the need to address wet insulation and framing.
What should a removal photograph show?
Include enough context to identify the wall, the opening, and adjoining features, then record close views of affected layers. A close-up alone can be hard to locate later. Pair the photographs with the moisture map and the reason for the removal boundary.
How long does wet drywall take to dry?
There is no reliable universal duration. Water source, material condition, the cavity, access and drying conditions matter. Use material-specific observations rather than an elapsed-day promise.
Can drywall rot after water damage?
Wet drywall can soften, crumble or support microbial growth, while adjacent wood may decay under prolonged moisture. Assess the material and moisture source rather than assuming all damage is the same.
Sources & context
Public guidance supports the principles in this article. The practical questions and examples are editorial interpretation, not a site assessment or a coverage decision. State-specific rules apply only where identified.
- EPA: Table 1, Water Damage Cleanup and Mold Prevention (clean-water material guidance)official
- EPA: Mold Cleanup in Your Homeofficial
- EPA: Mold Course, General Remediation Issuesfederal guidance
Community questions behind this topic
These discussions helped identify reader concerns. They are anecdotal, not technical or legal authority.