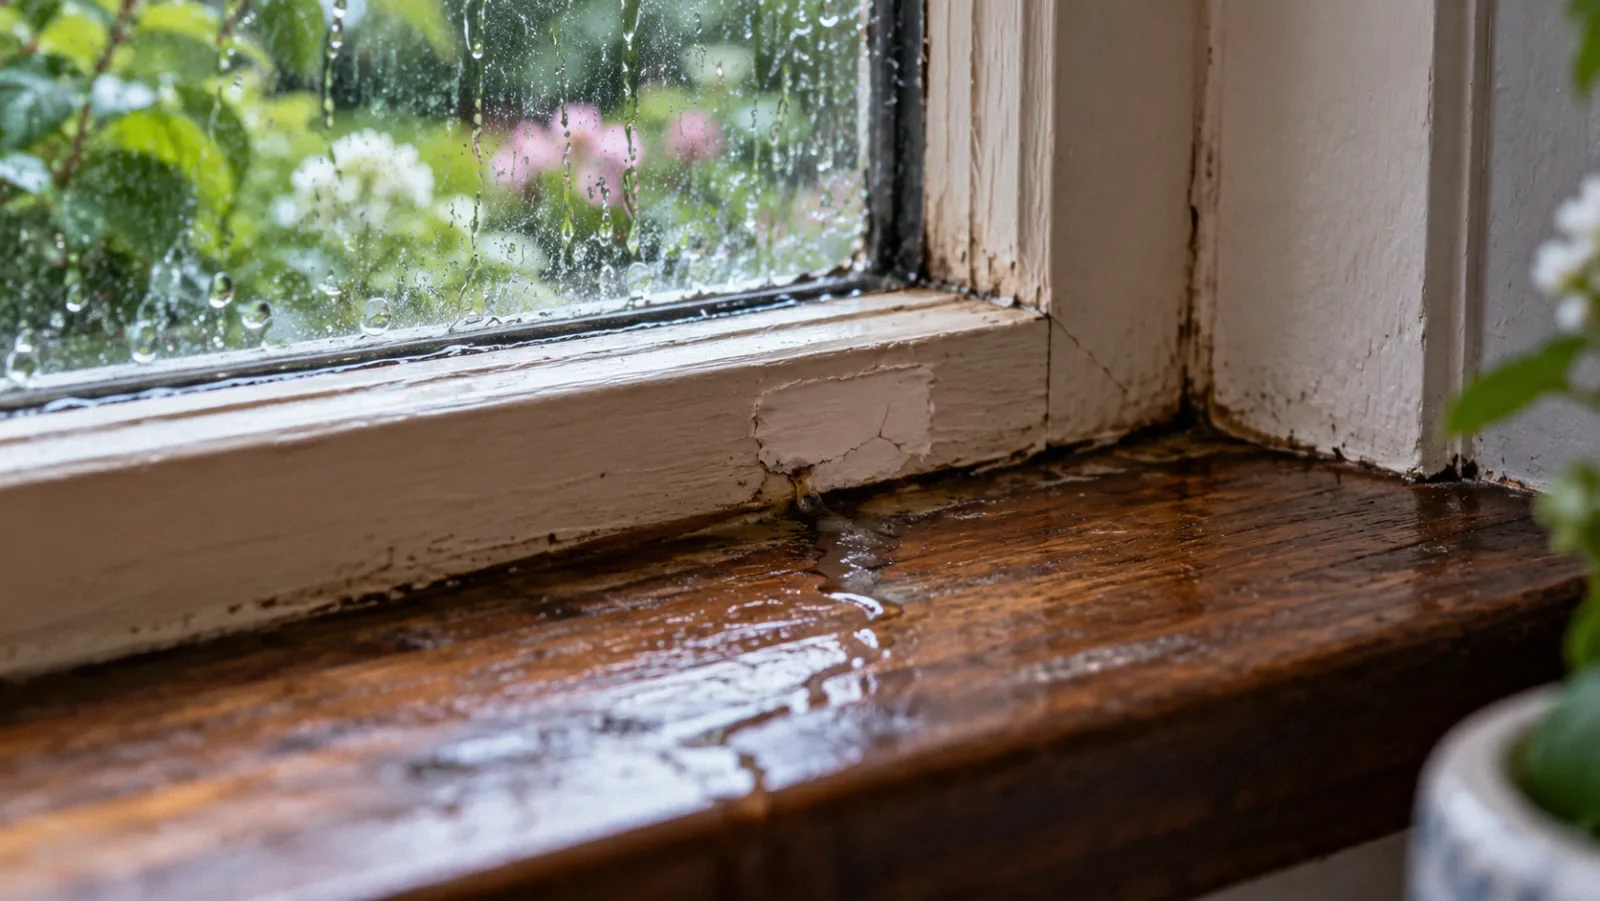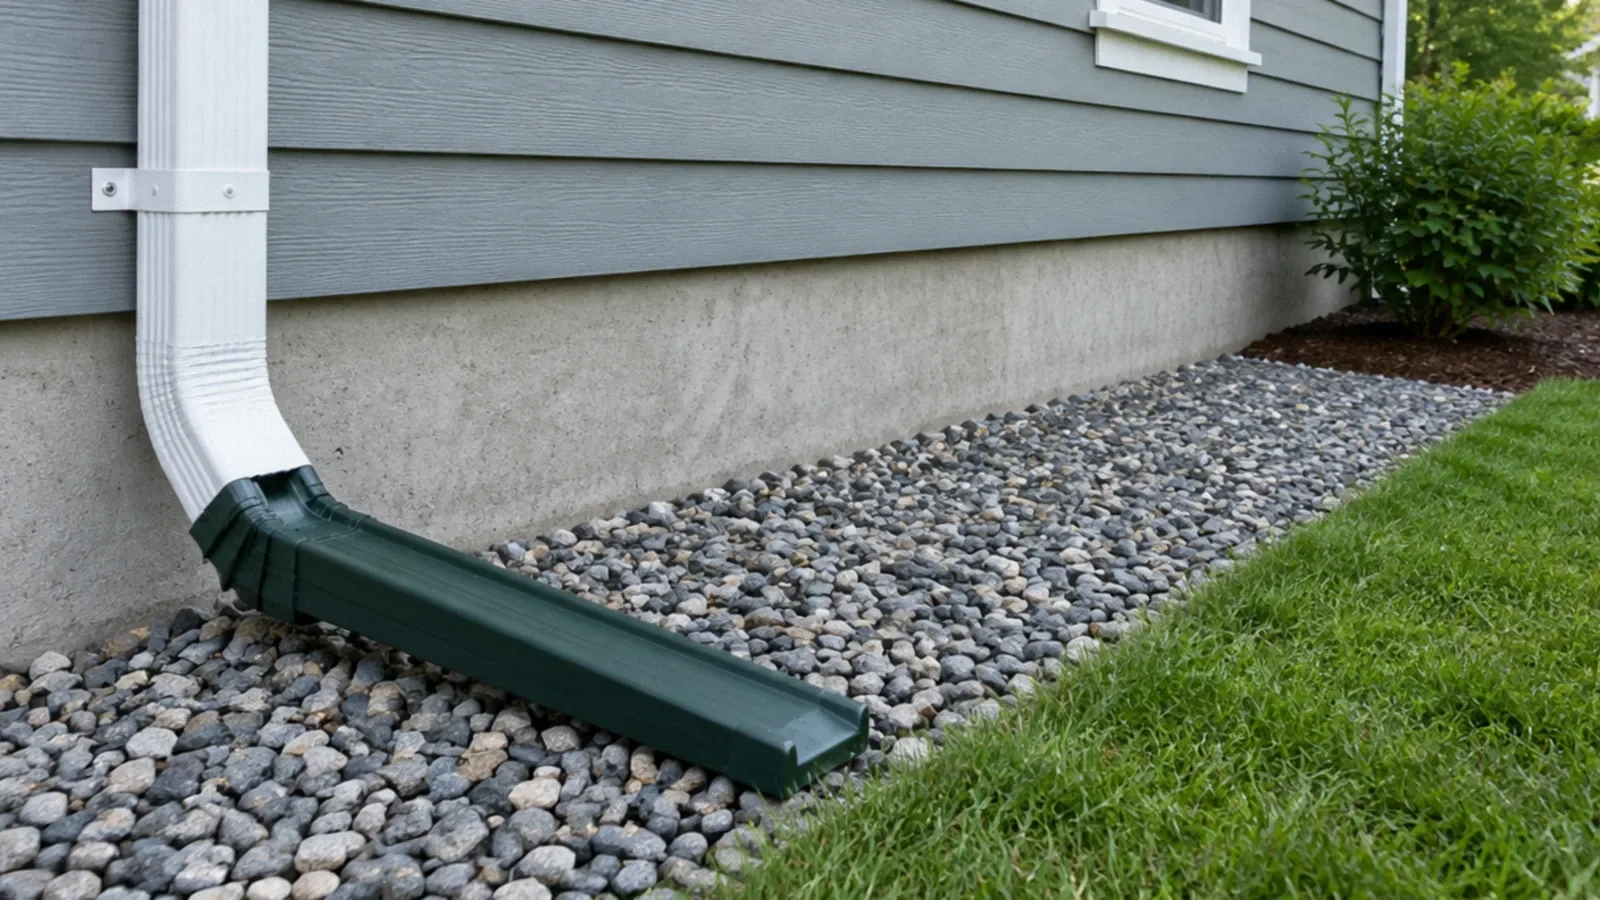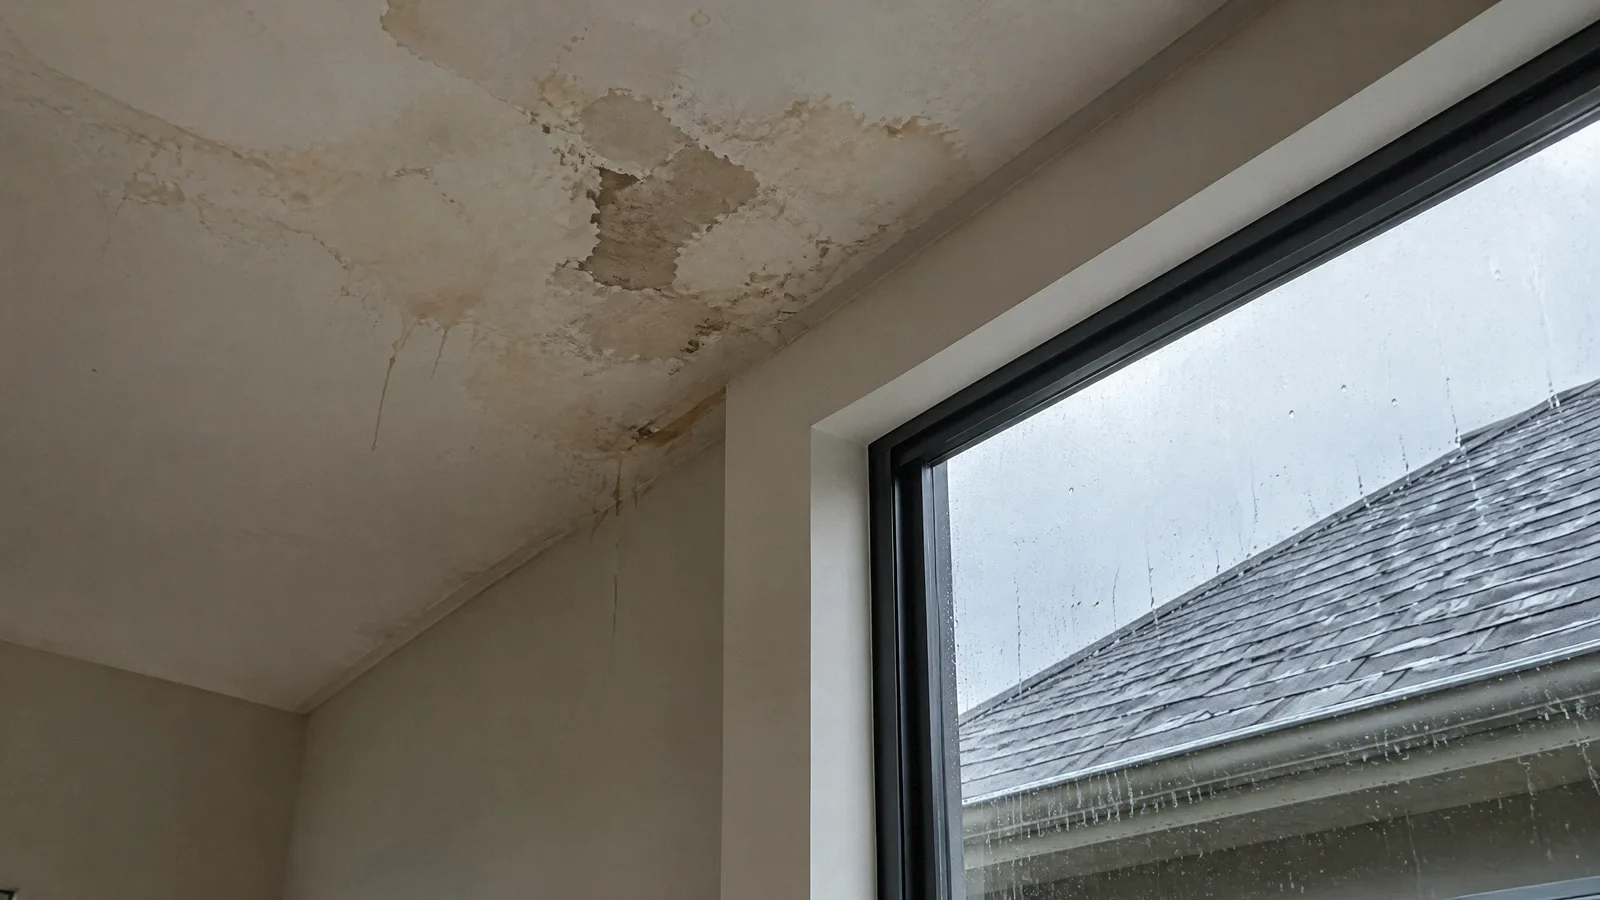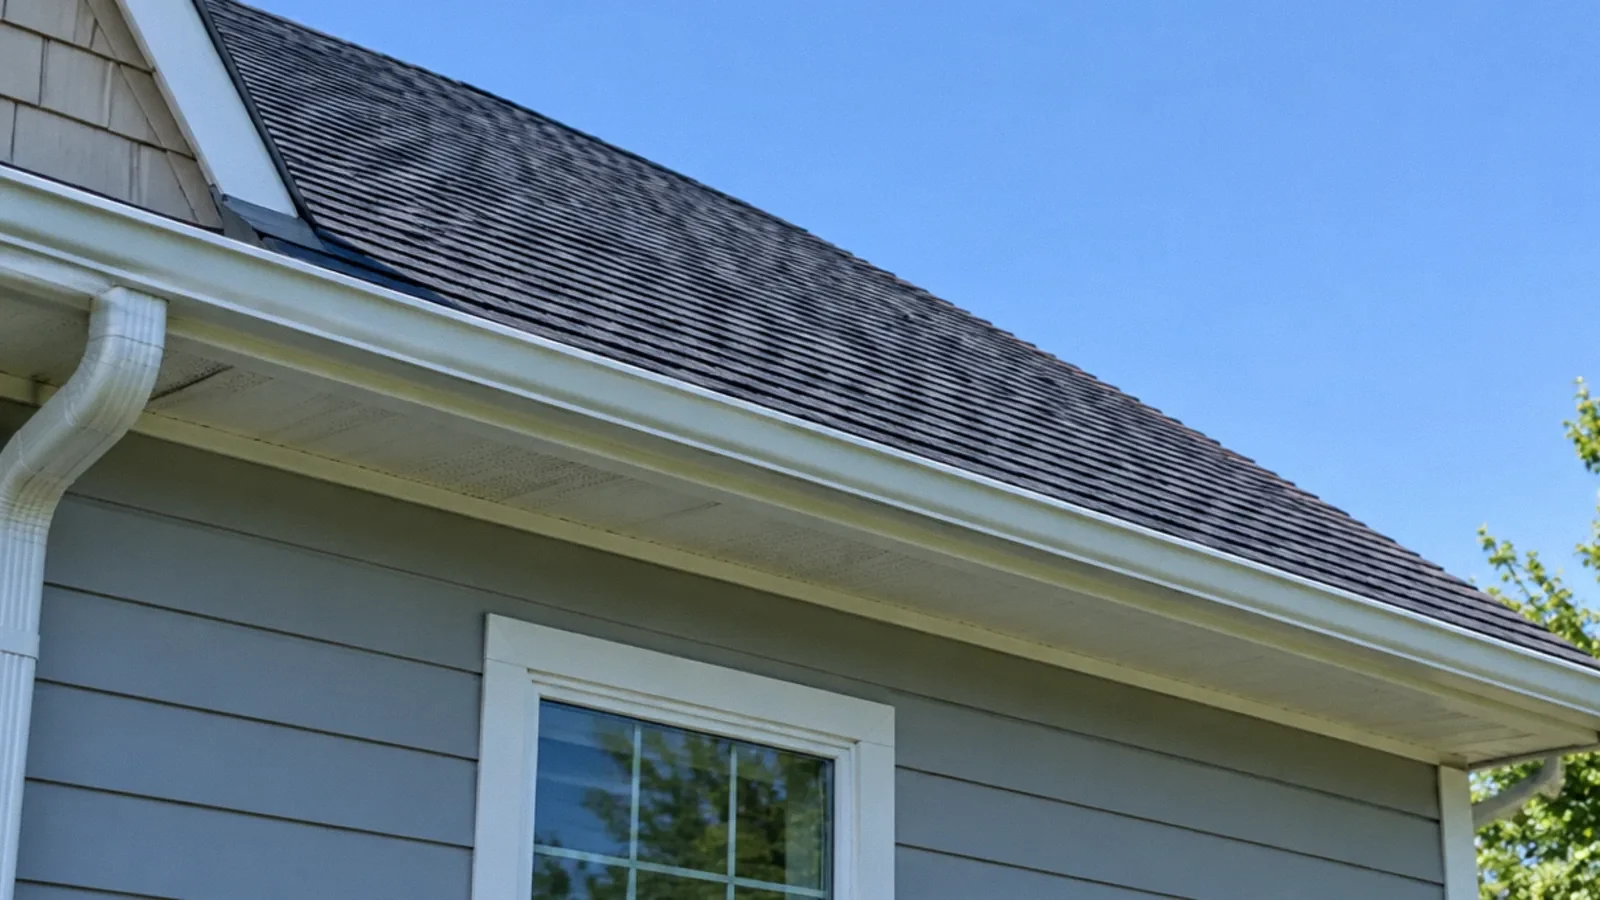
Leaks near roof-wall intersections, chimneys, valleys, or penetrations may involve flashing, but the stain alone cannot locate the entry point. Document patterns safely and request an assessment of the complete water-shedding detail rather than another unexplained surface patch.
First steps when the roof is leaking
Keep away from a sagging ceiling, wet light fixture or electrical equipment. Move belongings only from a safe position and place a container beneath an accessible drip if doing so does not put anyone in danger. Do not climb onto a wet roof or enter an unassessed attic.
Contact building management or a qualified roofer promptly, and use emergency services if the structure or occupants are in immediate danger. Record the time, weather and visible location safely. A temporary protective measure and a permanent roof repair should be documented as separate work.
Understand what flashing does
Flashing directs water across vulnerable transitions in the roof and wall system. Its performance depends on connections, overlaps, drainage paths, and adjacent materials, not just whether a strip of metal is visible. DOE's roof-wall guidance highlights the role of kick-out flashing in directing water away from the wall at the lower end of an intersection.
A roof can have new shingles while an older transition detail remains problematic. That does not automatically establish faulty work or contractual responsibility, but it explains why the phrase 'new roof' is not a complete diagnosis. Ask what was replaced, what was retained, and how the retained flashing was evaluated when the roof work occurred.
Document clues from a safe position
Record where the interior stain appears, when dripping starts, whether wind-driven rain matters, and whether water continues after rain stops. From the ground, photographs may show relevant roof-wall intersections, gutters, or penetrations. Do not climb onto a wet roof or enter an unsafe attic to obtain evidence. Qualified inspectors can choose safe access methods.
Interior location can suggest a route but does not precisely identify the entry point. Water may travel along framing or sheathing before appearing. A stain near a chimney can involve flashing, masonry, a cap, or another nearby detail. The investigator should consider competing explanations instead of deciding from one photograph that a particular seam must be responsible.
Ask for an assembly-level explanation
A useful roof assessment describes how water should move through the detail and where that path fails. At a roof-wall junction, this may involve the relationship between roofing, flashing, wall drainage layers, and the gutter. At a penetration, the assessment should address the specific assembly rather than treating every pipe or vent as the same problem.
Ask for photographs and a written proposed repair. If sealant is included, ask its role and whether the underlying detail remains dependent on a short-lived surface patch. Sealants can have legitimate uses, but 'apply more' is not a complete explanation for repeated leakage. The repair should identify the defect and how the intended drainage will be restored.
What a roof leak repair can involve
Ask a qualified roofer to identify the water path and provide a written scope. The related roof repair guide discusses repair choices in more detail.
Review prior contracts and repair history
Collect roof replacement proposals, warranty terms, invoices, and photographs of earlier patches. Note whether flashing, chimney work, wall repairs, or removal of rooftop equipment was included or excluded. Technical responsibility and contractual responsibility are related but different questions. A correct diagnosis does not by itself determine who must pay.
Provide the history to the next investigator so they know which areas were altered. Repeated treatments can obscure original details. If a temporary repair is needed before a storm, document it and preserve the distinction between emergency protection and the permanent scope. Avoid repeated interior repainting before the source and concealed damage have been evaluated.
Inspect the damage below the roof as well
Stopping entry does not automatically dry insulation, framing, or ceiling material. EPA emphasizes both moisture correction and cleanup of affected materials. Ask whether the interior scope includes the actual travel path and inaccessible pockets. A small ceiling stain may be the visible end of a longer route, while a dramatic stain does not necessarily mean the entire roof assembly is affected.
If access is proposed, consider electrical systems and potential lead or asbestos hazards before opening finishes. Photograph exposed conditions and define the retained-material drying criteria. The roof repair and interior restoration should exchange information so each team understands what the other found and what remains unverified.
Confirm performance under relevant conditions
Ask the roofer or investigator what test or observation supports completion. The appropriate method depends on the assembly and should avoid creating new damage. If the original leak occurred only during certain weather, note whether that condition has been observed after repair. A dry inspection immediately after installation may leave a legitimate follow-up requirement.
Retain the final detail photographs, scope, and warranty information. Recheck the interior after relevant weather and report recurrence promptly with the same location references. The goal is a documented water-shedding repair and verified interior recovery, not simply a roof surface that looks recently treated.
Commercial and low-slope roof leaks
Commercial and low-slope roofs need an assessment tailored to their drainage and membrane. See the related commercial roof leak guide for details.
Ice dams and roof leaks
Ice and snow can contribute to roof leakage. Keep clear of falling ice and ask a qualified roofer to assess the roof and water path.
Document damage and dry before finishing
From a safe location record the date, time, rain and wind conditions, when dripping starts or stops, and the position and size of visible stains. Photograph each area and retain repair invoices for the roofer, building manager or insurer. Water may travel before appearing, so these observations guide inspection rather than prove an entry point.
Keep clear of a bulging or sagging ceiling and wet electrical fixtures; do not puncture or prop it yourself. Arrange an assessment of the roof and affected ceiling assembly. After the leak is repaired, wet insulation and drywall may need removal or controlled drying; ask how retained materials will be measured before repainting or closing the ceiling.
Your next-step checklist
- Record weather, timing, and interior locations without climbing onto unsafe surfaces.
- Request an explanation of the complete flashing and drainage detail.
- Compare the repair proposal with prior roof contracts and retained components.
- Document temporary patches separately from permanent work.
- Coordinate concealed interior assessment and follow-up after relevant rain.
Related questions
Does a new roof rule out flashing problems?
No. Some details may have been retained, excluded, or affected by adjacent work. Review the scope and actual assembly.
Is every chimney leak a flashing leak?
No. Masonry, caps, adjacent roofing, and other pathways can produce similar symptoms. A targeted assessment should compare explanations.
Can I verify the repair from the ground?
Ground observations can document symptoms and visible details, but they may not reveal the full assembly. Use qualified inspection for inaccessible parts.
What should I do when the roof is leaking?
Protect people from electrical and ceiling hazards, contain accessible drips only if safe, document conditions and contact qualified help. Do not climb onto a wet roof.
Sources & context
Public guidance supports the principles in this article. The practical questions and examples are editorial interpretation, not a site assessment or a coverage decision. State-specific rules apply only where identified.
- DOE: Kick-out flashing at roof-wall intersectionsofficial
- EPA: Mold, moisture and your homeofficial
- Primary guidance: www.epa.govprimary guidance
- Primary guidance: www.epa.govprimary guidance
Community questions behind this topic
These discussions helped identify reader concerns. They are anecdotal, not technical or legal authority.