Keep people out from under a leaking, bowed, or sagging ceiling. Stop the water source through safe access and arrange assessment of the ceiling, utilities, and wet layers above it. A stain may be small even when insulation or framing beyond it is wet.
Protect the room before investigating the stain
A ceiling can hold water above its visible face, and saturated finishes may lose attachment. Do not stand beneath a bulge, climb into an unassessed attic, or puncture the ceiling to release water. Keep the room clear when collapse is possible and have an appropriate professional determine how controlled access should be made.
Move belongings only if the approach is safe. Do not handle a wet light fitting or switch to find out whether it still works. CDC flood guidance places electrical and structural safety before cleanup. A ceiling containing lights or other electrical equipment deserves particular caution even when the leak appears to come from a familiar plumbing fixture.
Trace the source and the travel path separately
The stain marks where water became visible, not necessarily where it entered. Roof leaks can follow framing; plumbing leaks can spread above a finished ceiling; a bathroom leak can involve supply, drain, or enclosure waterproofing. Note what was happening when the leak appeared, including rainfall and fixture use, without repeatedly recreating the leak.
Ask the source-repair specialist to document the cause and how the repair was verified. Then ask the restorer to inspect the water path beyond the visible opening. Merely patching the point where water dripped can leave wet insulation and concealed materials in place.
Removal and drying answer different questions
If damaged drywall will be removed, paying to restore its appearance through drying makes little sense. But its removal does not eliminate the need to evaluate and dry the retained framing, adjacent drywall, or other wet layers. A sensible scope names the discarded material and separately names what remains.
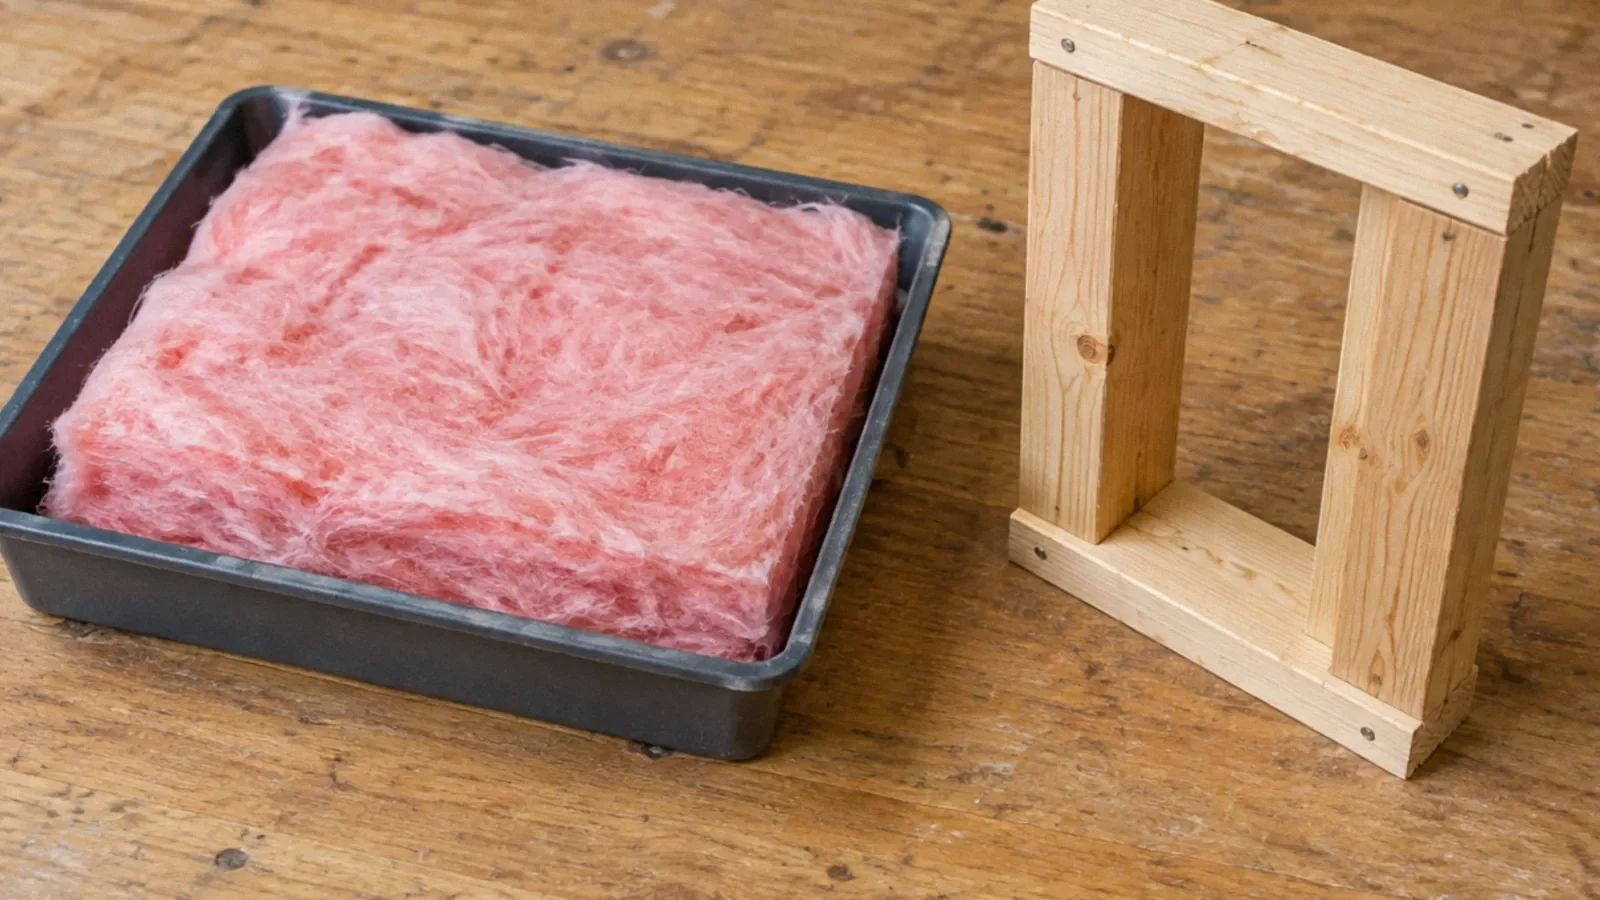
EPA’s clean-water table allows some intact wallboard to be dried in place, while swollen material or failed seams may require replacement. The same table recommends replacement of wet fiberglass and cellulose insulation. These are general starting points, not permission to leave an unsafe overhead assembly in position while waiting for it to dry.
Before a patch closes the cavity
Request photographs of the opened area and readings tied to specific retained materials. The person closing the ceiling should know whether insulation was replaced, whether the cavity is dry, and whether utilities were evaluated. Drywall finishing cannot substitute for those checks.
A ceiling below an upstairs bathroom may also need an intact fire or sound assembly restored. A roof repair can involve air sealing and insulation details above the patch. Have the repairer identify the existing assembly so that a cosmetically smooth repair does not introduce condensation or leave required layers incomplete.
Compare a removal-only quote with a complete repair plan
Suppose the ceiling drywall directly below a roof leak is visibly damaged and will be discarded. One quote includes only removal and a new patch. Another includes inspection of adjacent insulation, retained framing measurements, and a return check. The difference is not necessarily unnecessary drying of disposable drywall; it may be work on the assembly that stays.
Ask each bidder to list the retained materials and the evidence needed before patching. If a joist or upper wall remains wet beyond the opening, the repair area may need to change. If the exposed assembly is already appropriately dry and sound, the record should say so rather than automatically assigning several equipment days.
A useful stop condition is new sagging, continued leakage after source repair, or unexpected electrical involvement. These findings change the risk and should interrupt ordinary patch work. A cosmetic contractor should not be pressured to continue because the scheduled painter is arriving.
For a shared ceiling in a condominium or apartment, management may need to coordinate access above the leak. Record who is responsible for the source unit, the affected ceiling, and any common systems. A repaired finish in your room does not establish that an inaccessible source above has been corrected.
When the stain returns
A recurring mark after repair deserves investigation rather than another coat of stain-blocking paint. It may indicate continuing leakage, another source, or moisture that was not fully addressed. Photograph its boundary and the conditions associated with recurrence. Avoid declaring a leak solved solely because it stopped during dry weather.
Where old plaster, textured finishes, or other potentially hazardous materials are involved, discuss assessment before cutting or sanding. Access planning should include dust and debris control and protection of adjacent occupied rooms.
Compare clues without recreating a leak
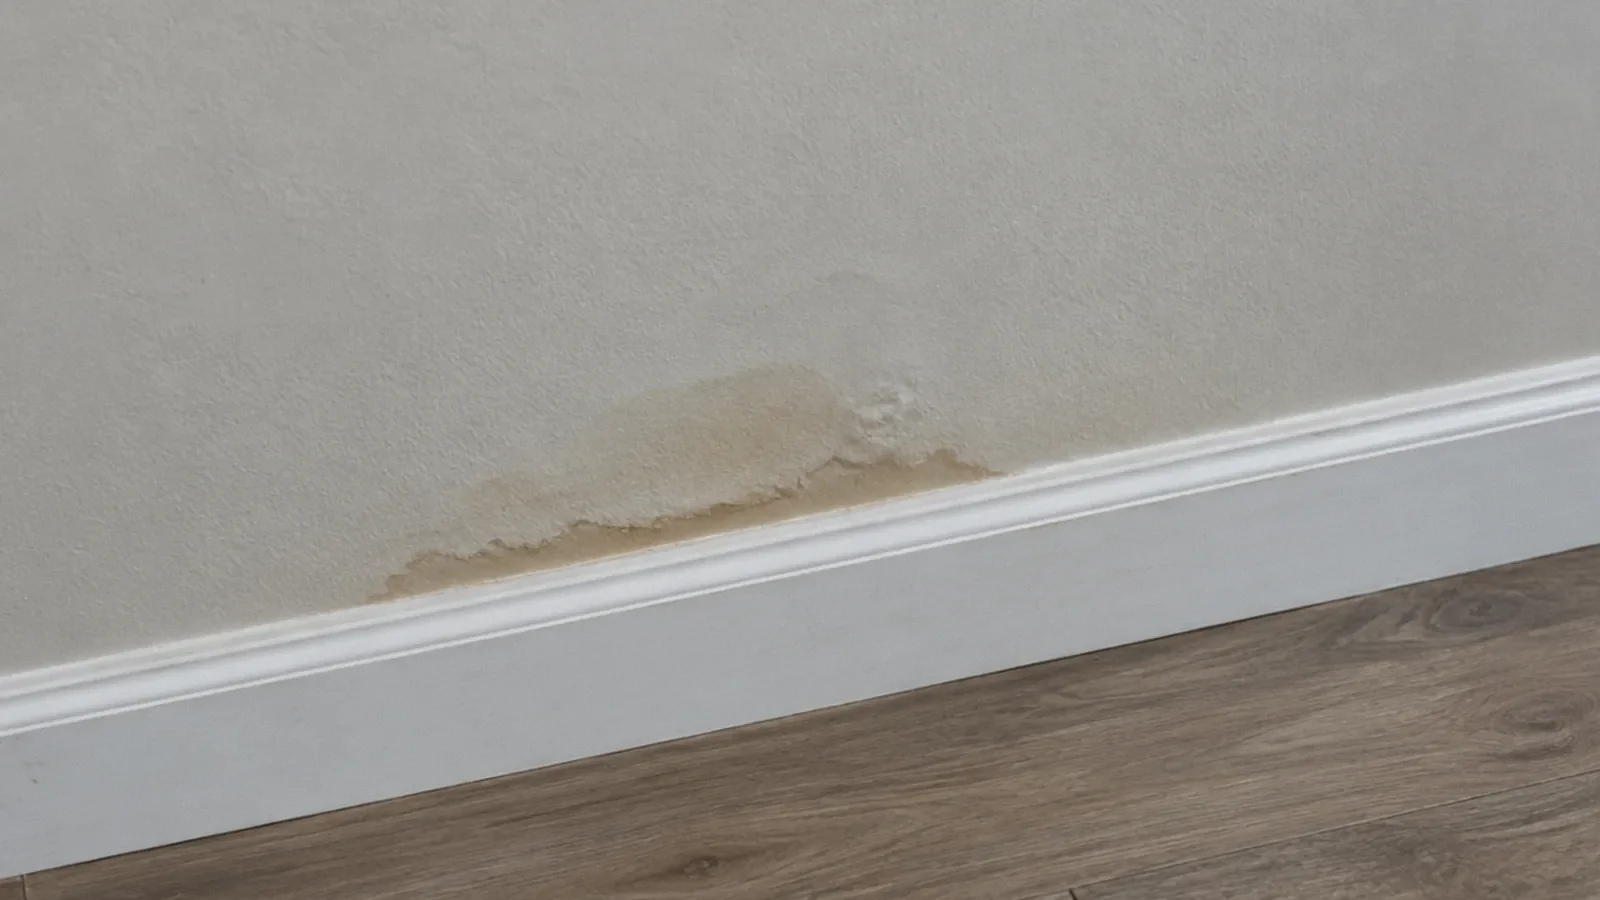
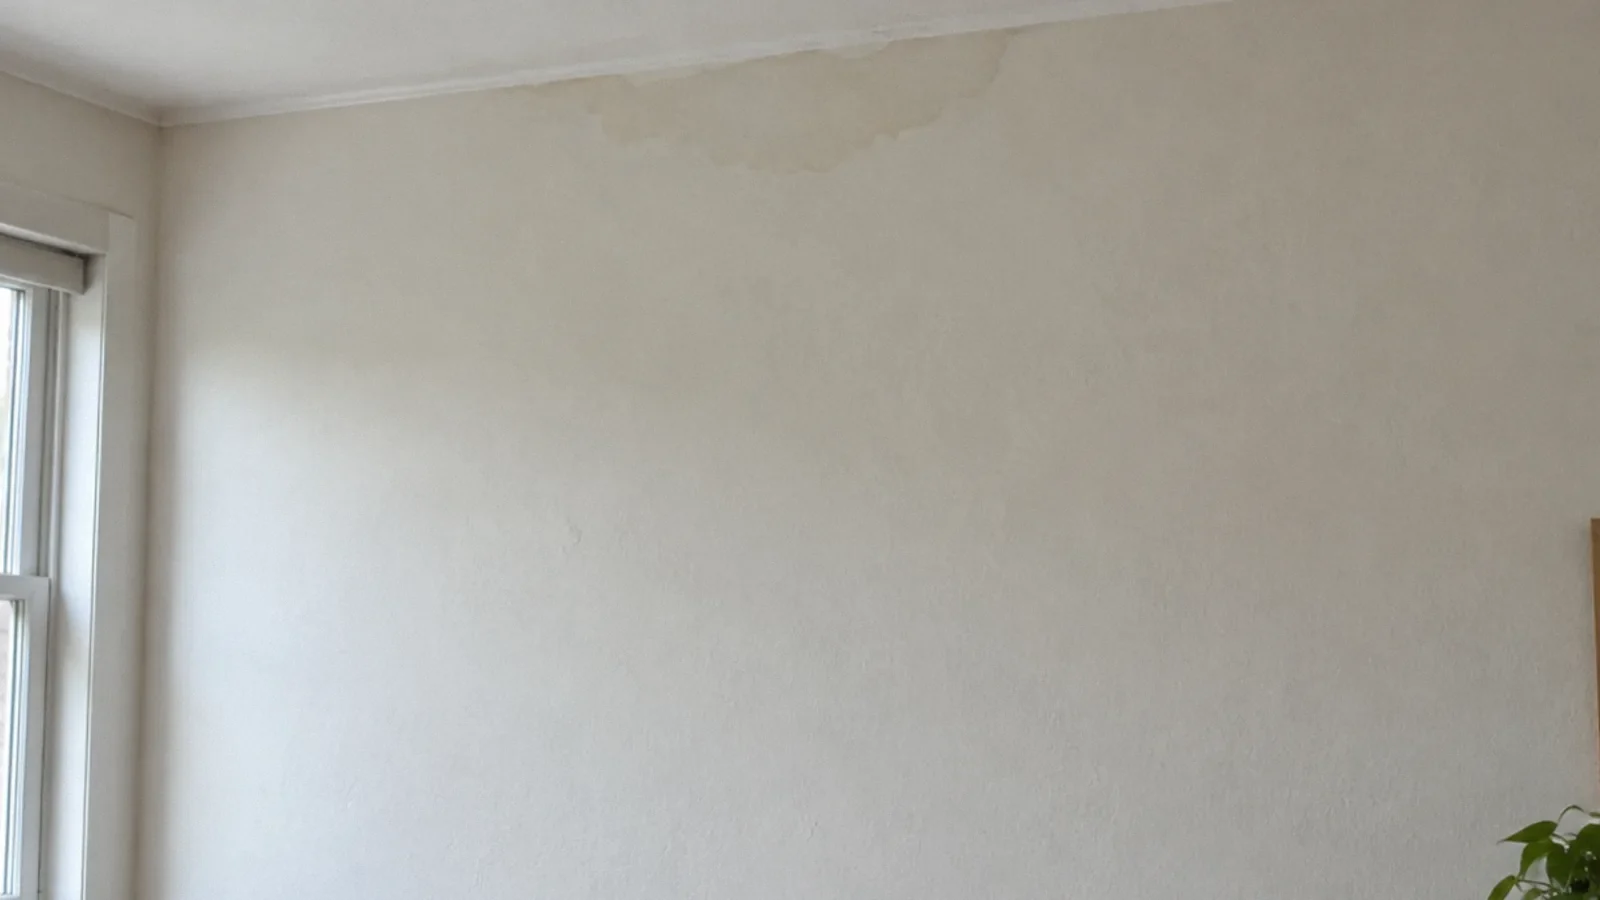
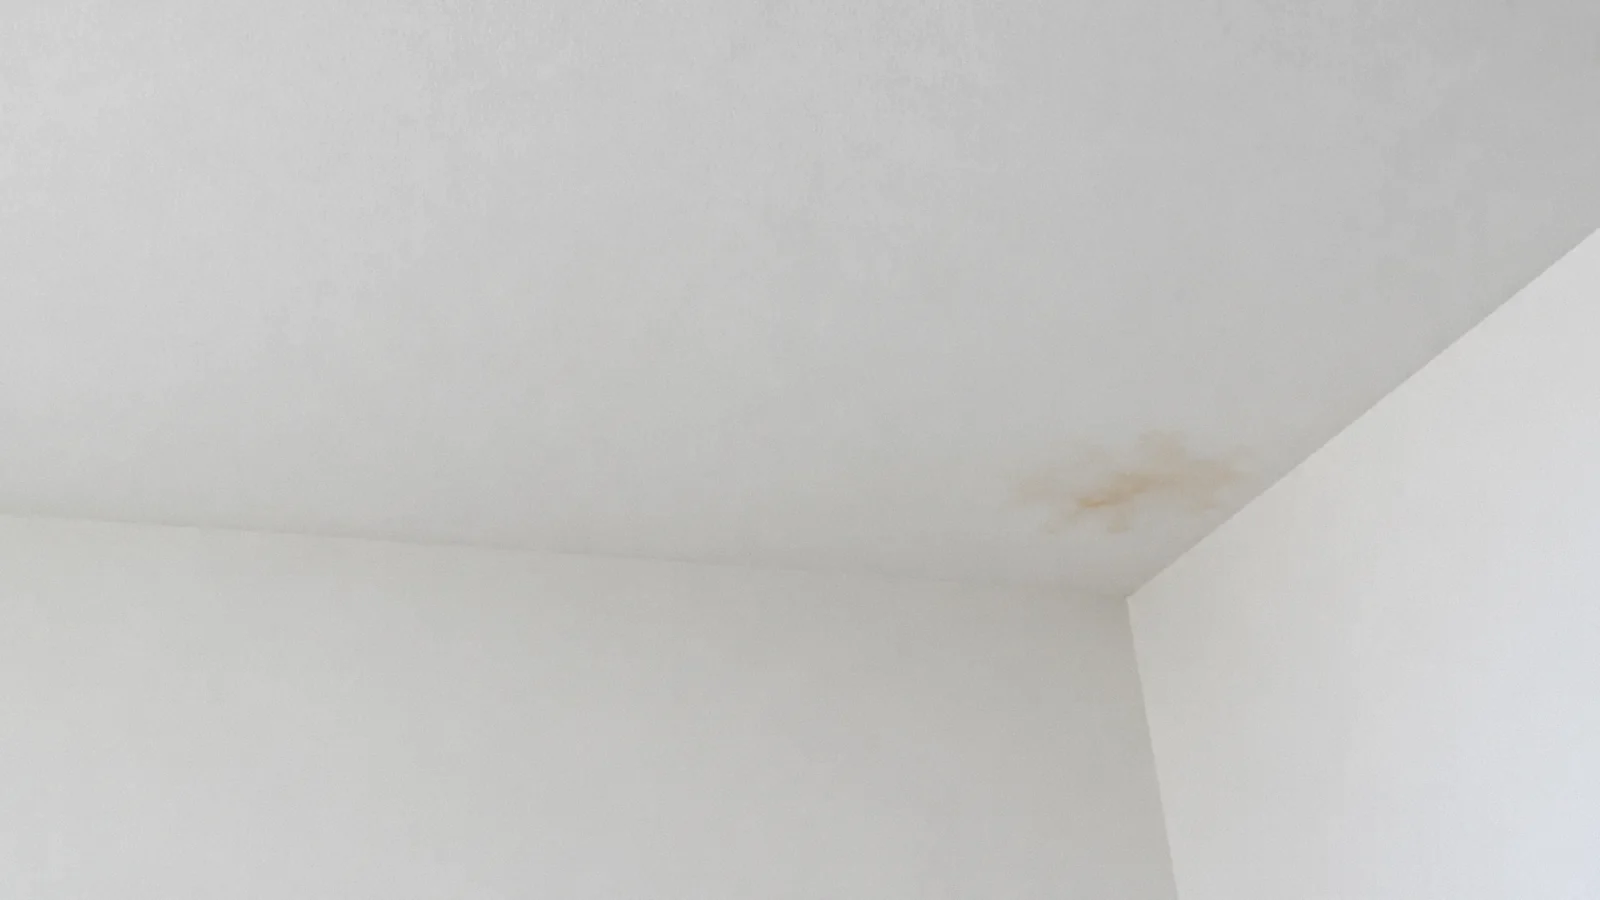
An old stain can remain after a repair; color alone cannot establish whether it is active. Photograph its boundary from a safe position and note whether it changes during ordinary use or rain. Yellow can reflect staining carried by water or aged finishes, but does not establish safety or the water source. Avoid contact with unknown water.
A bathroom ceiling can show condensation from humid air or leakage from above. Note ventilation, repeated surface moisture and normal-use timing; do not deliberately run a shower, fill a tub or drain water to recreate an active leak. A supply line may leak without fixture use, a drain problem may coincide with draining, and an enclosure problem may coincide with shower use. These are clues, not a diagnosis.
Respond to the likely source
Stop using a suspect fixture or appliance. If a water shutoff is safely accessible, close it and call a plumber for suspected supply or drain piping, including a basement ceiling below plumbing. If rain coincides with the damage, contact a roofer; do not climb onto the roof. A growing crack together with sagging means keep people out and arrange prompt professional evaluation.
Check the wall-ceiling junction from a safe position, avoiding switches and other electrical equipment near wet walls. Repair proceeds from stopping the source to assessing hidden layers, removing damaged material as needed, drying retained framing and replacing insulation or finish before painting. Cracks and stains can also have causes unrelated to water and may need separate evaluation.
Your next-step checklist
- Keep the area below sagging or loose ceiling material unoccupied.
- Record whether the leak tracks weather, fixture use, or continuous supply flow.
- Separate the source-repair report from the drying and ceiling-repair scope.
- Ask which insulation and retained framing were inspected beyond the visible stain.
- Approve closure only after the retained assembly and utilities have been evaluated.
Related questions
Should I drain a ceiling bubble myself?
An overhead opening can release water and falling material unpredictably and may involve wiring. Keep away and have the hazard assessed rather than puncturing the surface.
Do I need to dry drywall that will be discarded?
The important drying target is the material that remains. Removal may expose wet framing or adjoining finishes that still need measurement and controlled drying.
Can I paint over a dry-looking stain?
Only after the source is repaired, retained materials are appropriately dry, and the finish is sound. Paint may hide evidence without resolving a wet cavity or weakened attachment.
Who should confirm the cavity is ready for the ceiling repair?
Agree on that responsibility before scheduling the patch. The source-repair trade verifies its repair, while the drying or assessment professional addresses retained moisture and condition. The installer should receive those findings and identify any assembly requirements still outstanding.
What can early ceiling water damage look like?
A stain, bubbling paint, damp patch, dripping or a change in the ceiling surface may be a clue. A bulge or sagging material can be unsafe; keep the area clear and arrange assessment.
How much does a water-damaged ceiling cost to repair?
Angi’s national guide updated October 30, 2026 gives an illustrative $45–$55 per square foot. A local estimate depends on the source, materials and full scope.
What should I do with a water-damaged ceiling tile?
Keep clear of sagging or wet material near electrical equipment. Identify and stop the water source safely; porous tiles that remain wet or develop mold may need replacement after assessment.
What if a shower leaks through the ceiling below?
Stop using the shower and keep people away from a sagging ceiling or wet electrical fixture. Arrange a plumber and assess the affected ceiling and concealed materials after hazards are controlled.
Who should repair a water-damaged ceiling?
First address the source with the appropriate roofer, plumber or other specialist. A qualified restoration or building professional can assess wet materials, electrical hazards and the repair scope once the area is safe.
Are there pipes in a ceiling?
Some ceilings contain water supply, drain or other pipes, as well as electrical wiring and structural elements. A stain does not prove which system is involved. Avoid cutting or puncturing the ceiling and request qualified assessment.
Sources & context
Public guidance supports the principles in this article. The practical questions and examples are editorial interpretation, not a site assessment or a coverage decision. State-specific rules apply only where identified.
- CDC: Reentering Your Flooded Homeofficial
- EPA: Table 1, Water Damage Cleanup and Mold Prevention (clean-water material guidance)official
- Angi: Ceiling repair cost, updated October 2026national consumer cost estimate
Community questions behind this topic
These discussions helped identify reader concerns. They are anecdotal, not technical or legal authority.